This is my step by step of what I do to groom my silkies for a show.
I use my kitchen sink hose, I also don't fill the sink up, silkies tend to try their hardest to drown themselves

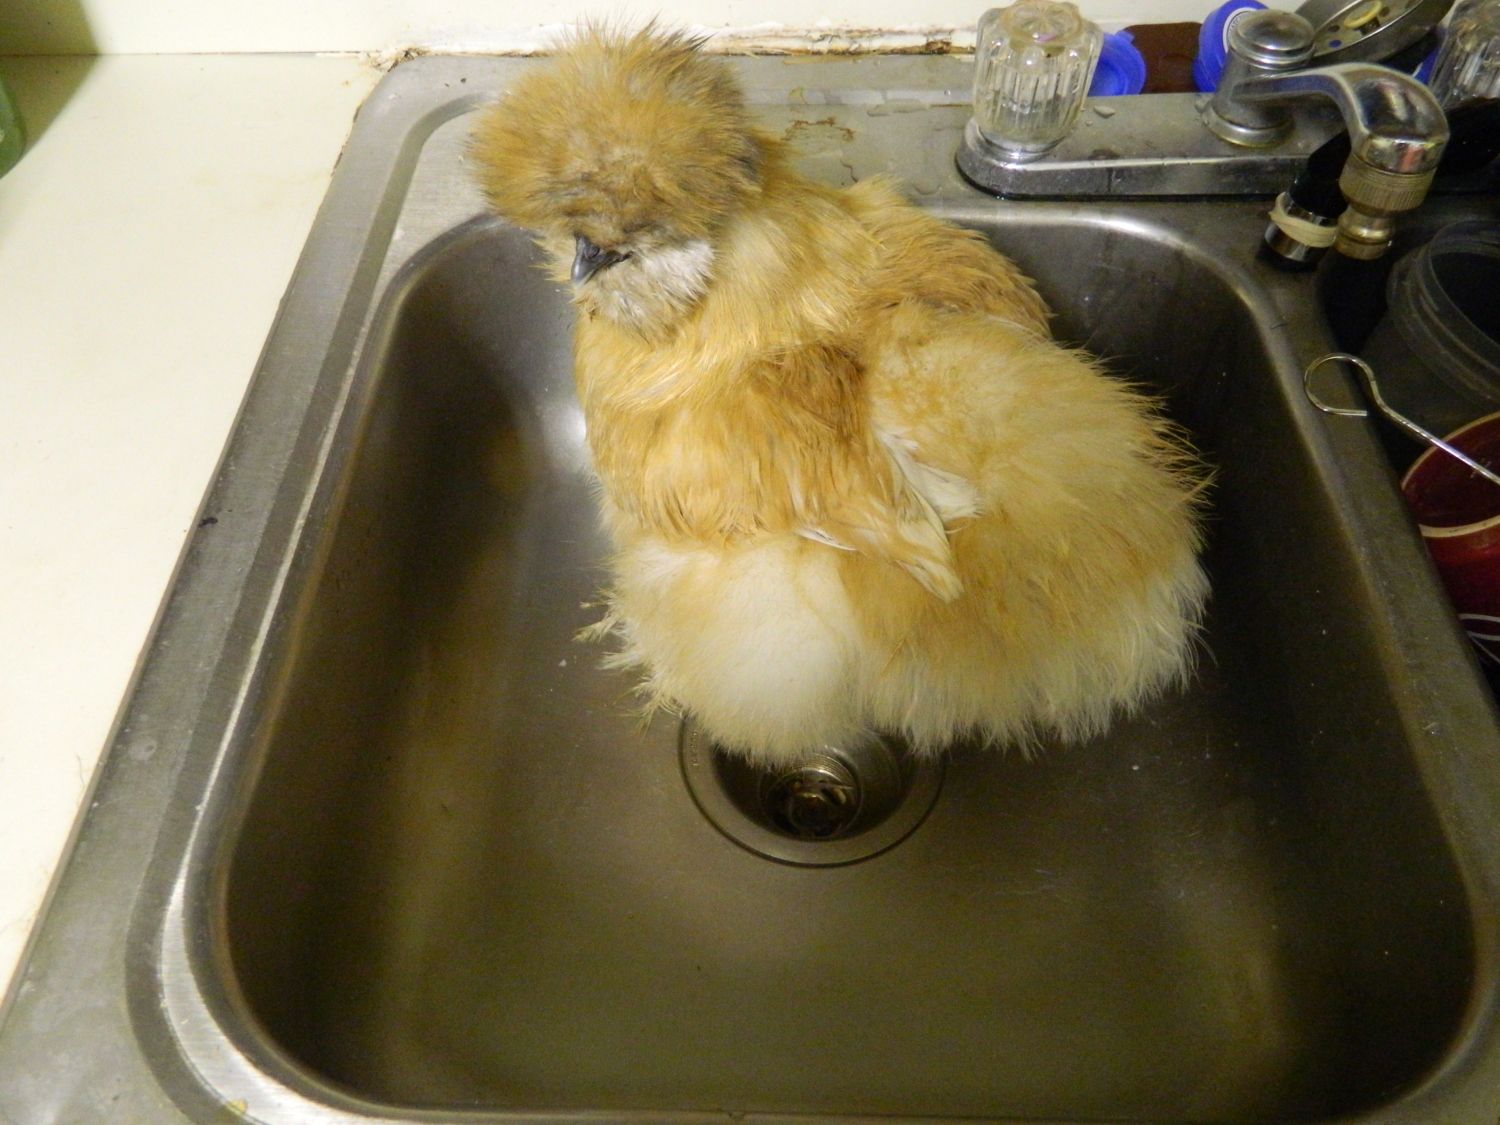
Step 1: Wet down your silkie.
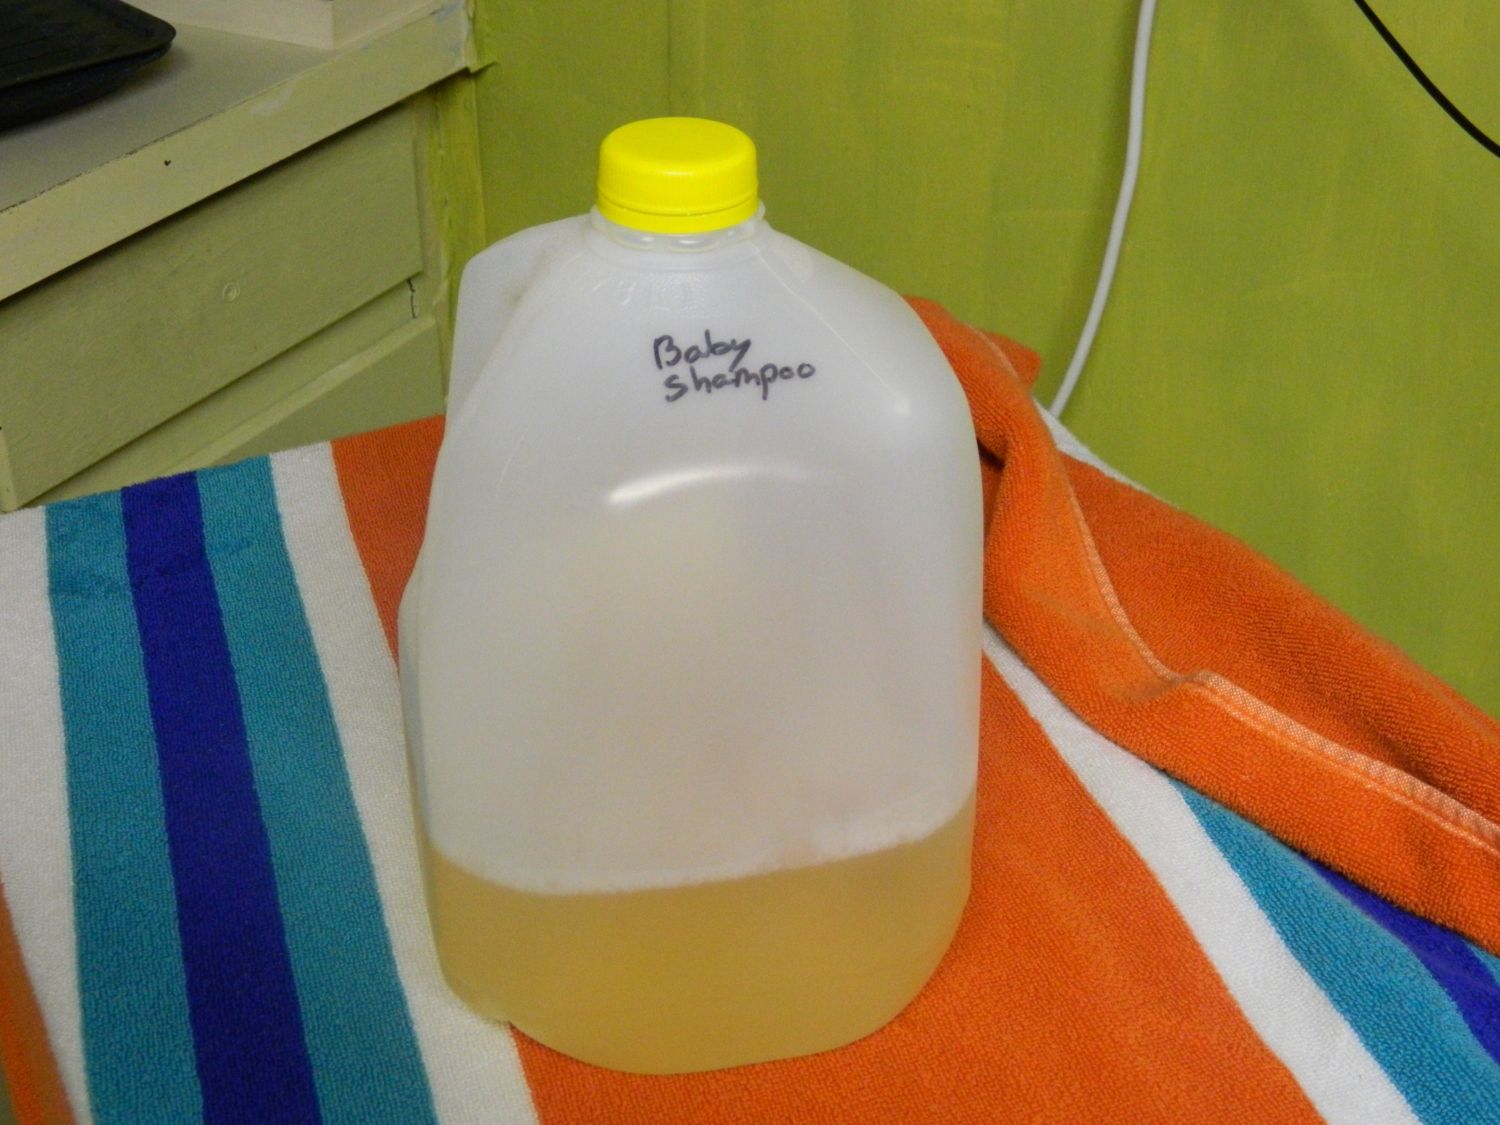
Step 2: I start with a baby shampoo, I like to mix the shampoo with water but still at a good concentration that it suds up nicely. This way it gets better coverage and is easier to work through the feathers. This is your first wash out of two (or 3 if you want).
Step 3: Scrub them up nicely, making sure to get all of the soiled areas, ESPECIALLY between the toes and in the foot and bum feathers.

Step 4: Rinse the first shampoo, doesn't have to be completely rinsed out just mostly.
Step 5: Next, use a specific shampoo for your silkies color. This is a good whitening shampoo, especially for lighter birds that aren't completely white since it has no dyes. Works great for white birds when left on for longer.

Step 6: Let the shampoo sit for about 5 minutes (with this shampoo on a colored bird you only want to leave it on for no more than 3 minutes or it will wash out their coloring), You can repeat the shampooing process with a strong scented shampoo if desired.

Step 7: Rinse out the shampoo as much as possible.
Step 8: Fill a pitcher with water and add a small amount of white vinegar, I add about 2 tablespoons.
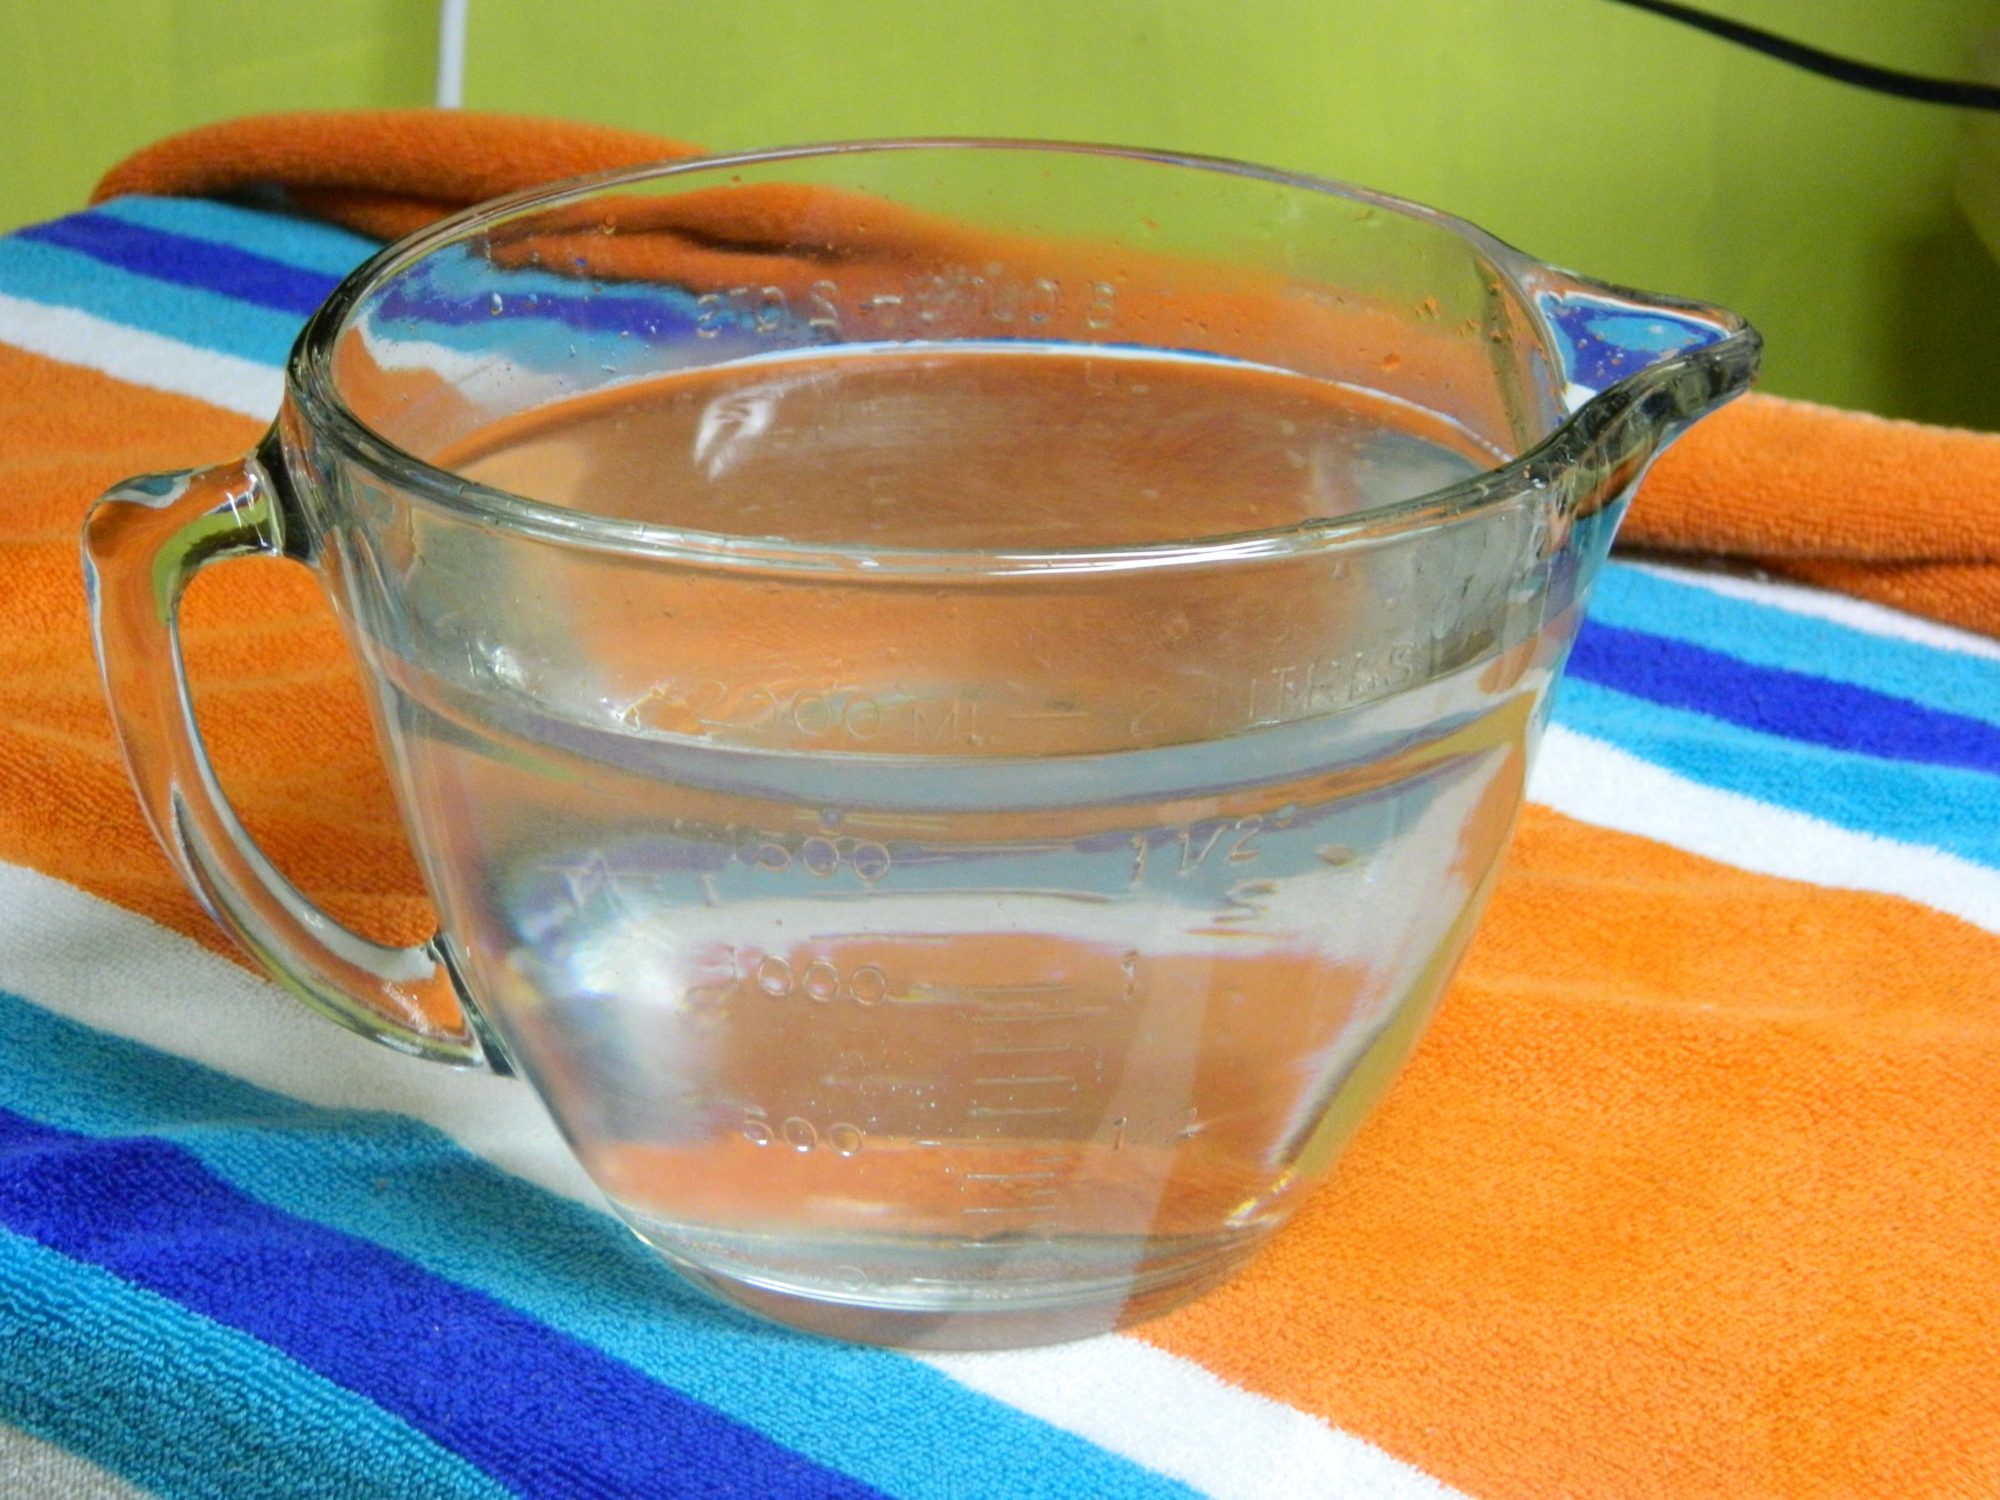
Step 9: Pour over your silkie while scrubbing to get it down to the skin, this cuts through any leftover soap. Rinse out the vinegar a little after.

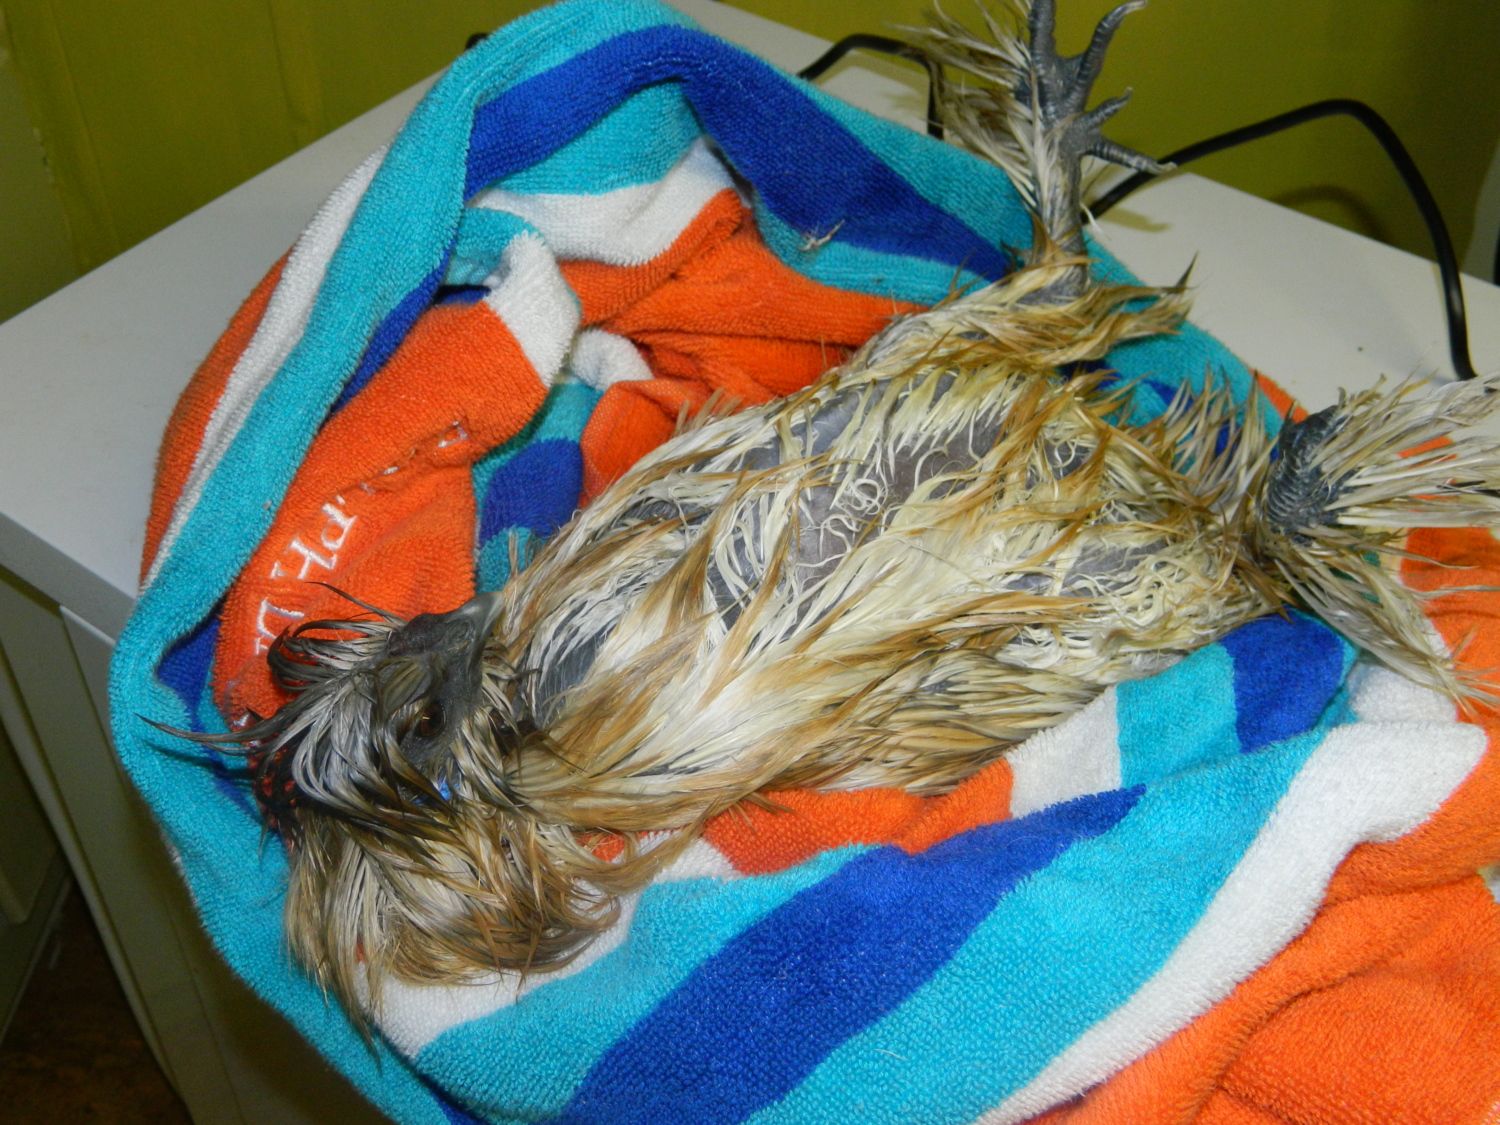
Step 10: "wring out" Your silkie and wrap it like a burrito in a towel, but not too tight.

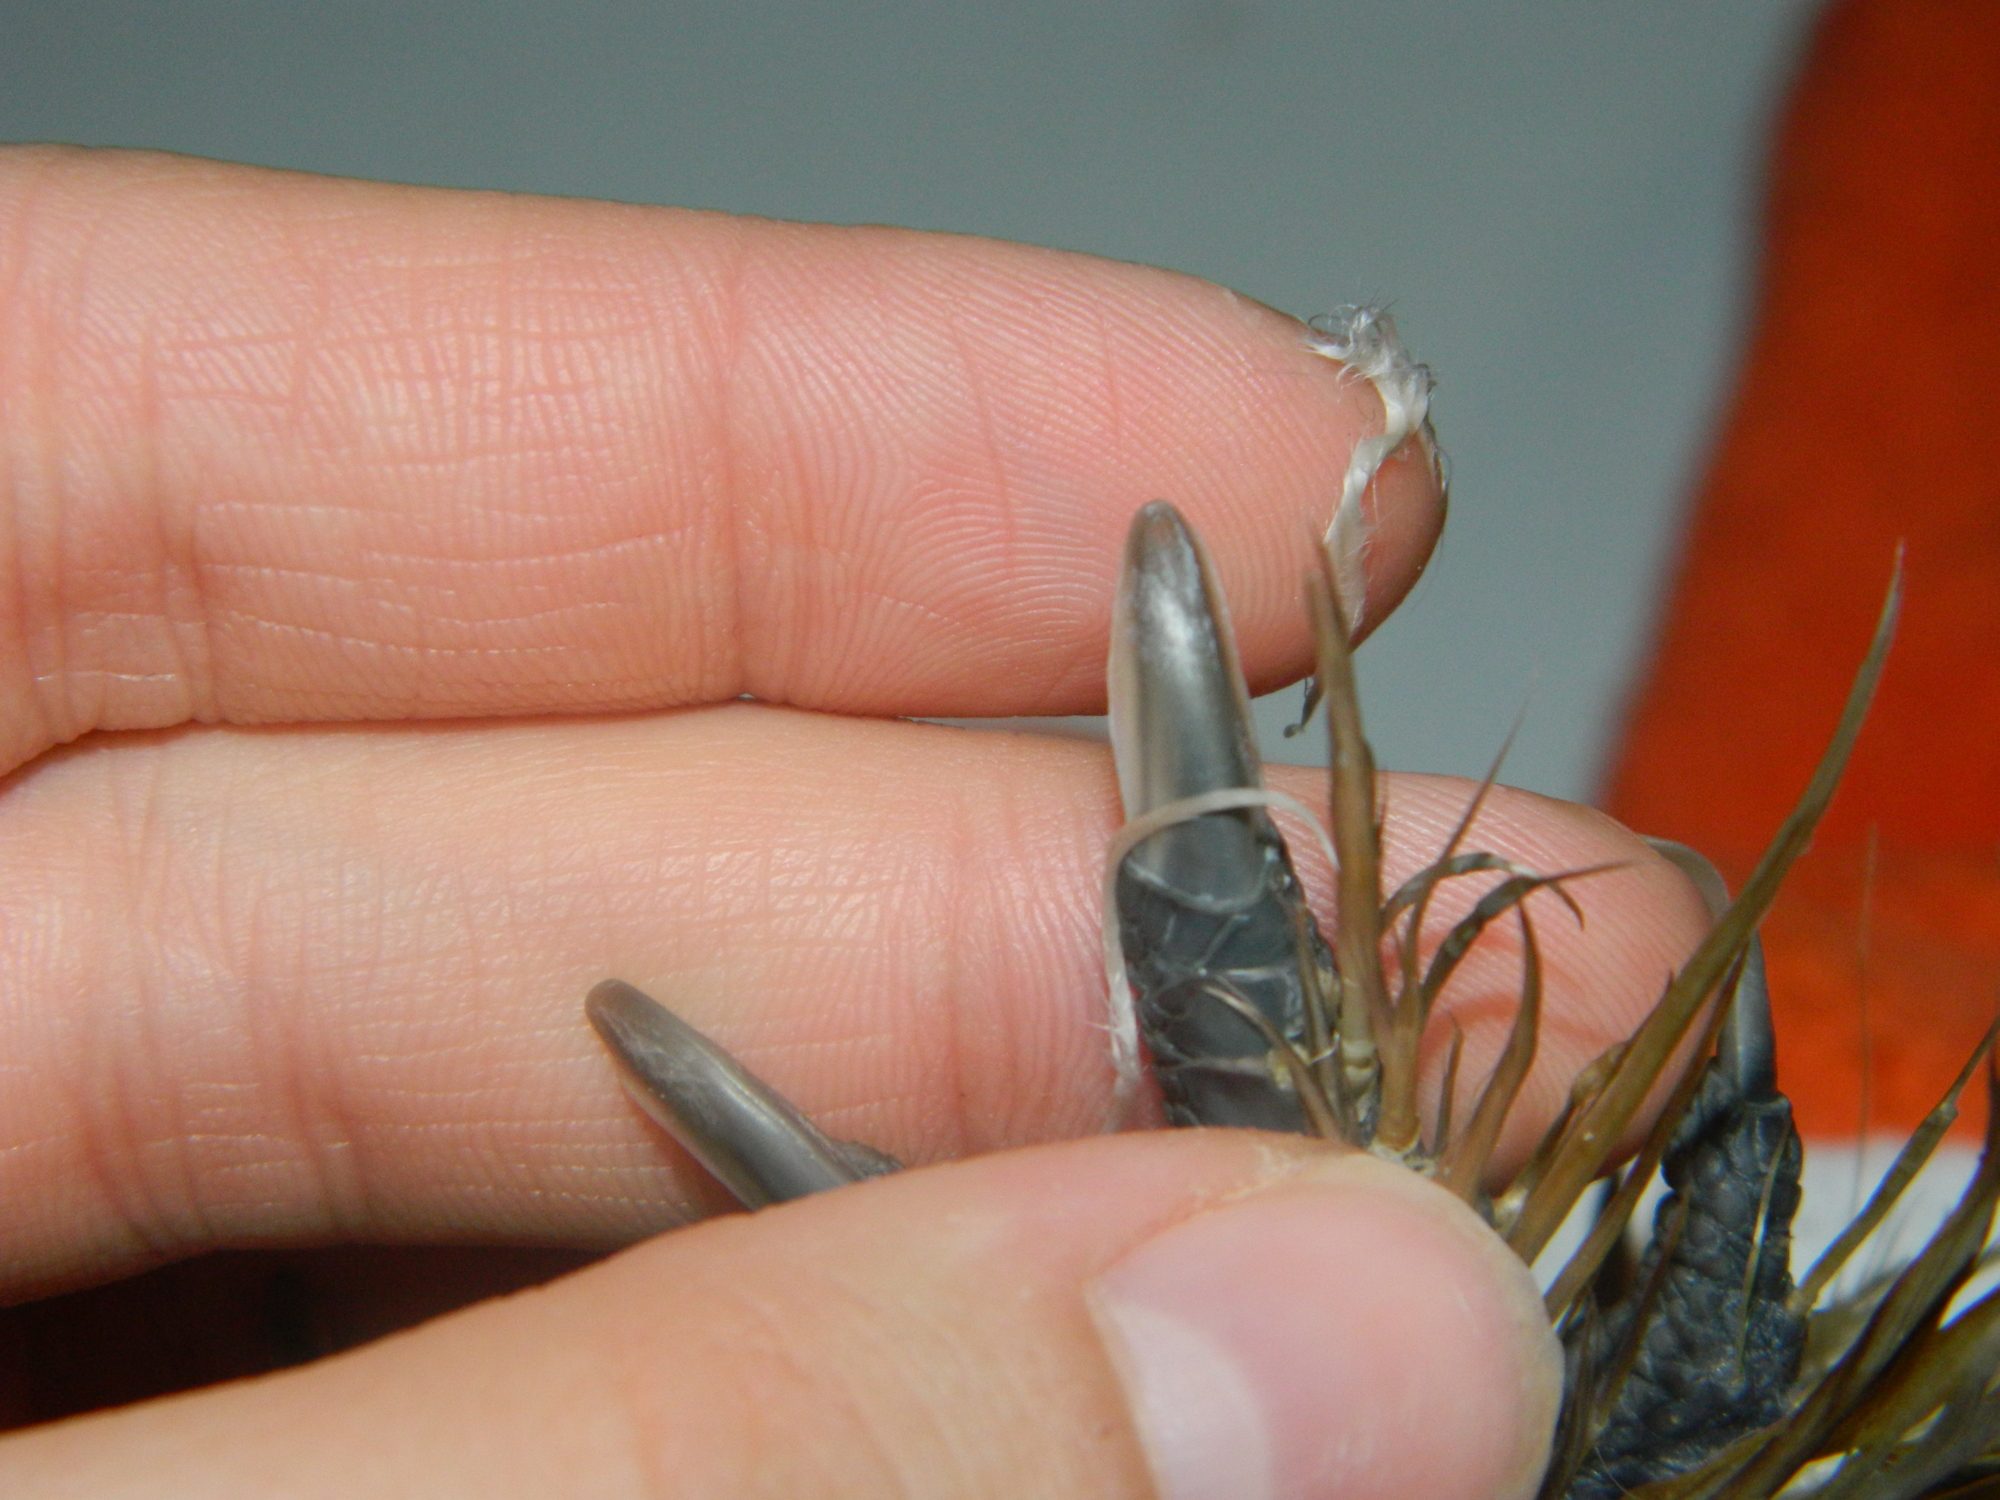
Step 11: This is when I file the beak and the toe nails, but if you are new and nervous about it it would be best to do it before the bath in case of any blood. This is her beak before filing. You can clearly see the translucent tip to the beak. This is what you want to remove.

Here is a picture after I filed down her beak, you can see where I stopped and how I rounded it off.

This is a picture of her nails before filing
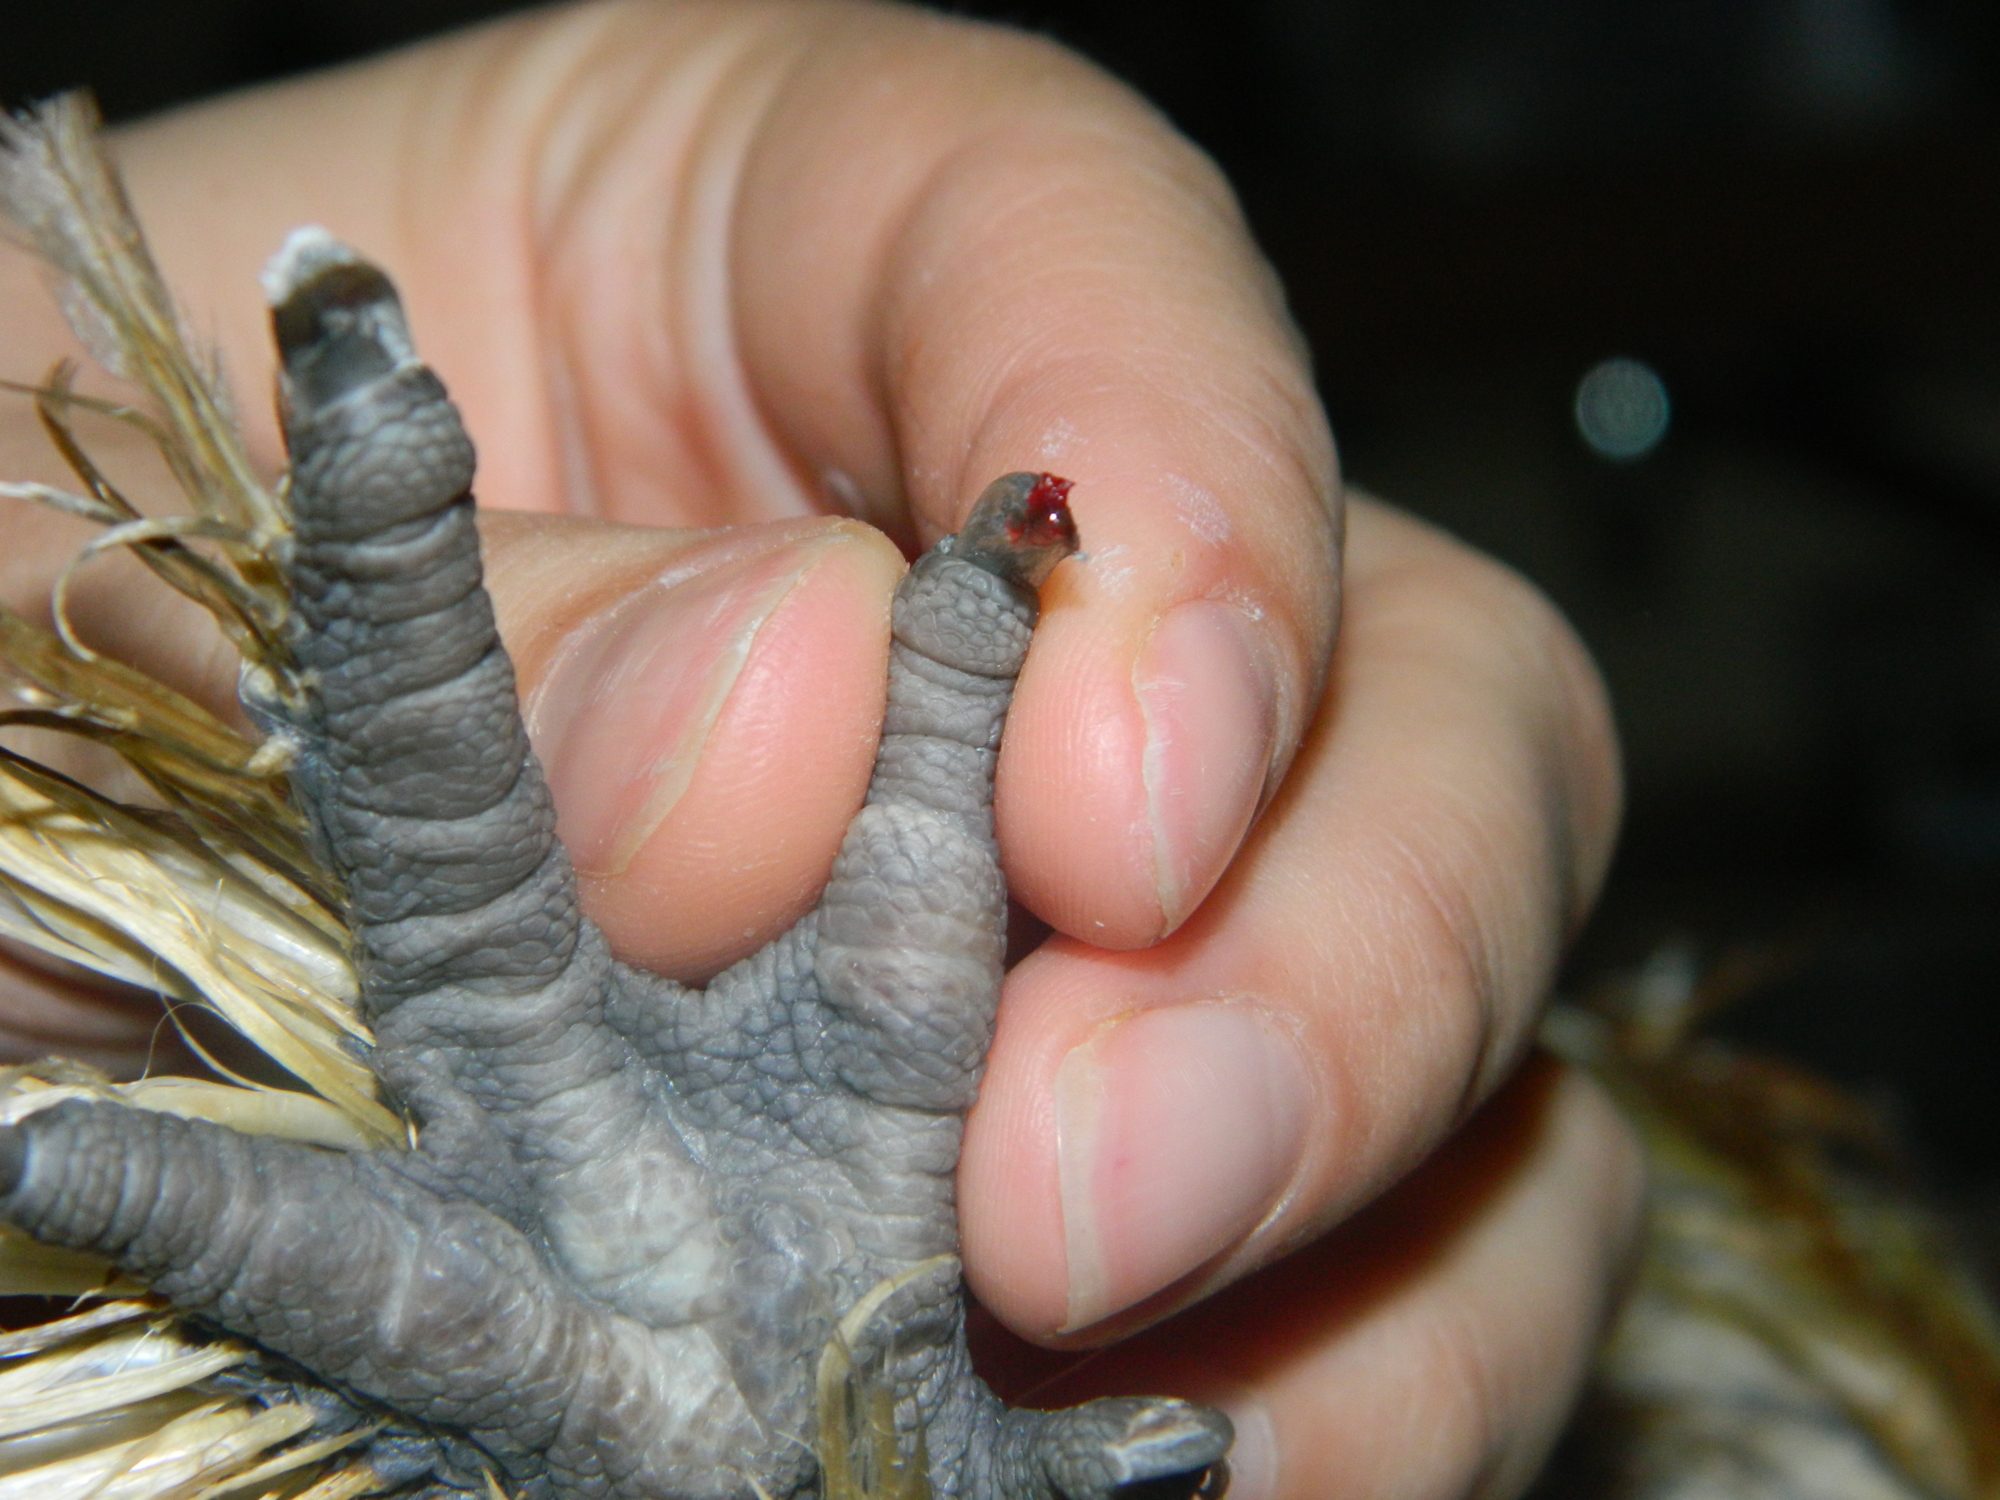
This is why some may want to do this before the bath, especially on light colored birds. If you don't know how to tell where the quick is it best to do it before you have a clean bird
 Don't freak out if this happens! It is fine and will normally stop with a little pressure. This is also why I like to file them, it is easier to judge how much to file and even if you get down to the quick it won't bleed a lot.
These are her nails after I filed them. This is what you want.

Seasoned pro

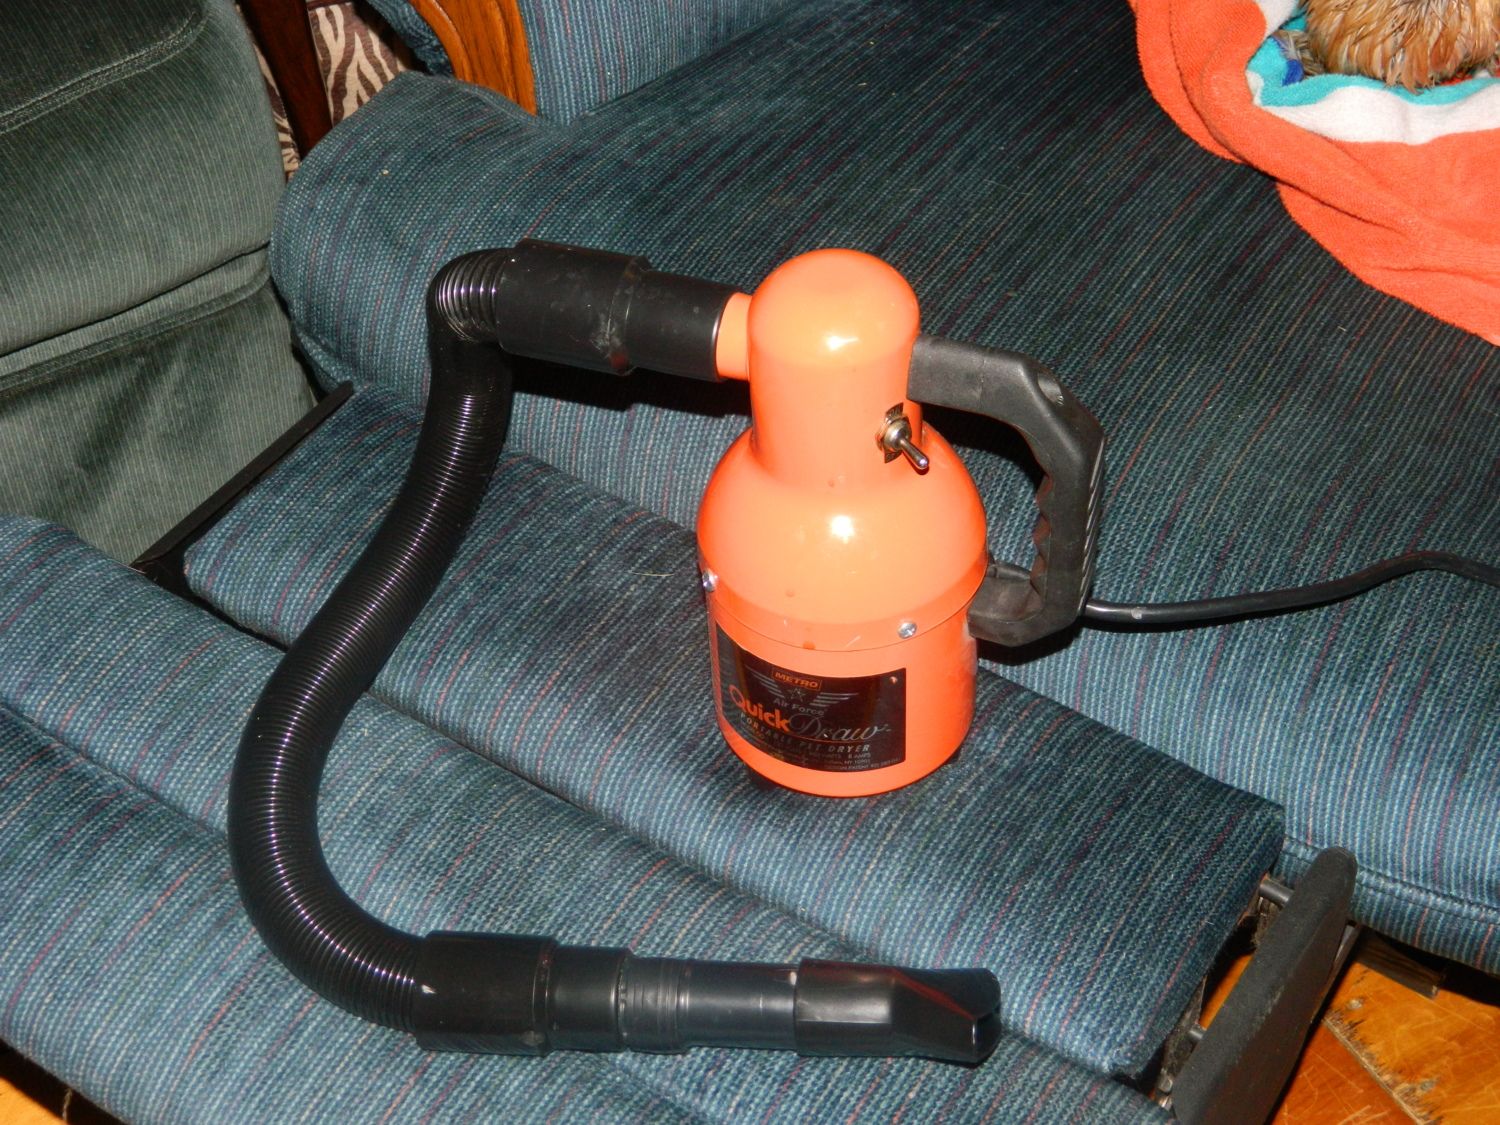
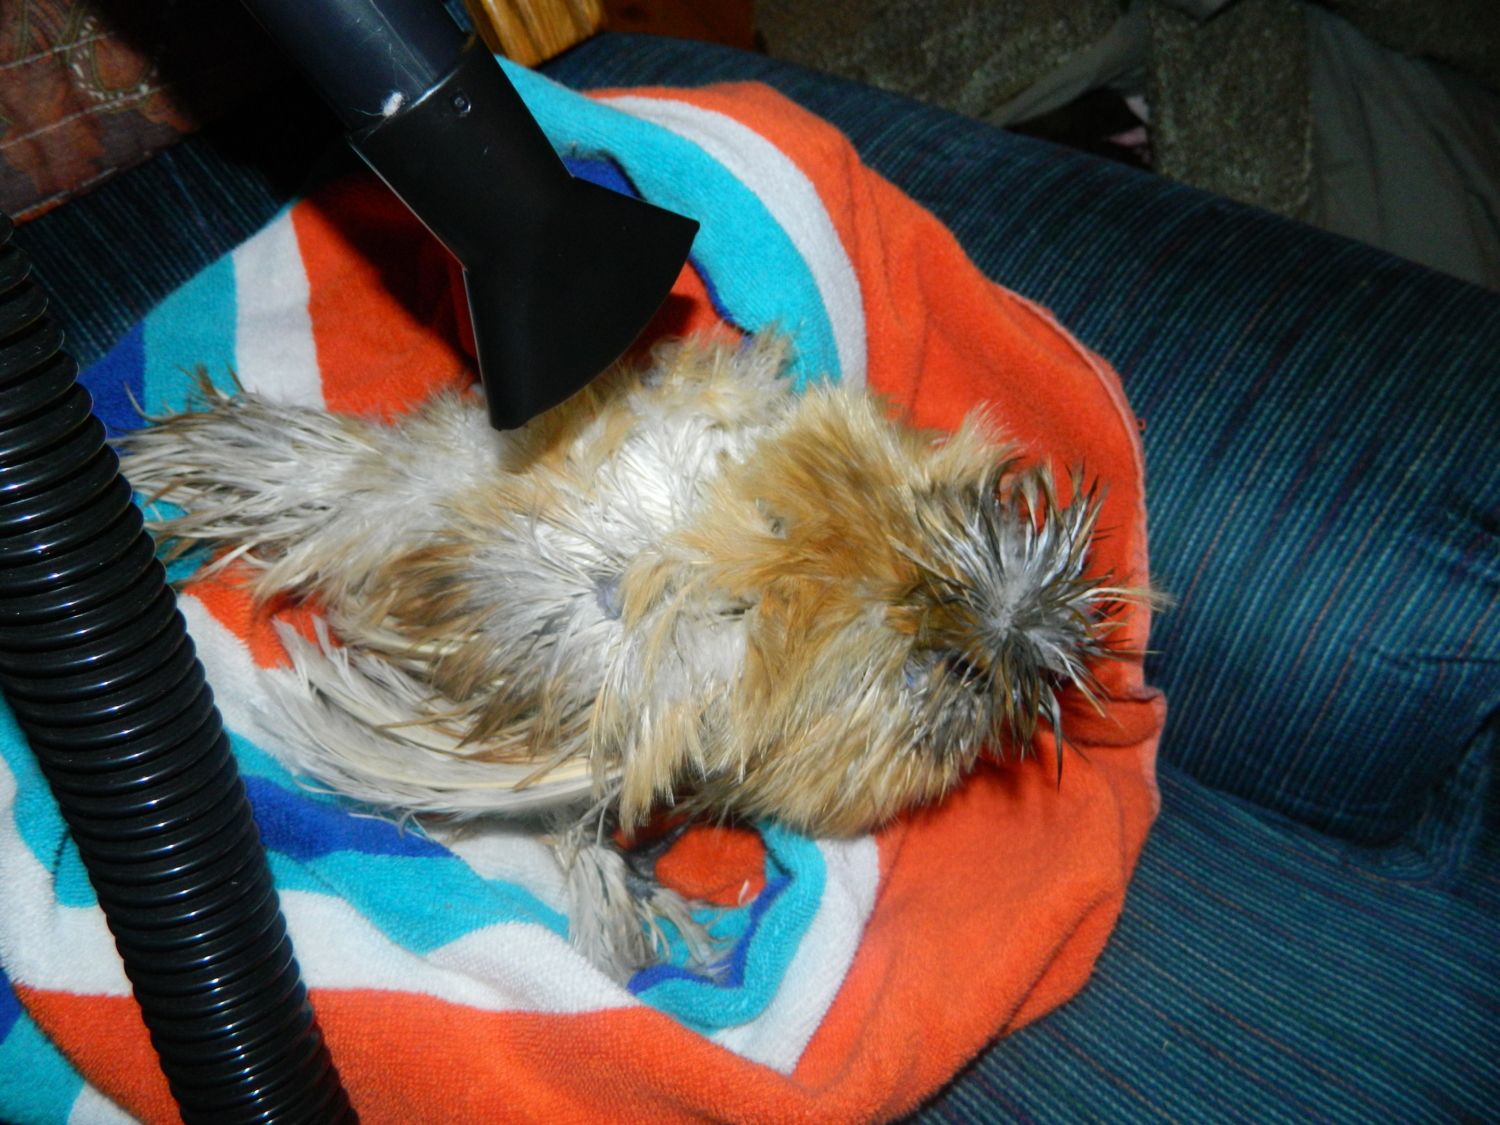
Step 12: This is what I use to dry my silkies, a grooming force dryer. It is a great investment! It cuts drying time in half and helps fluff them up. This is low power, which works great because it doesn't blow them away

Dry your silkie completely
Step 13(optional): I just bought this to use for my silkies, I haven't tried it yet. So we will try it together! I strayed this lightly on her feathers, lifting them up as I sprayed to get it down to the skin. Then re-blowdry.


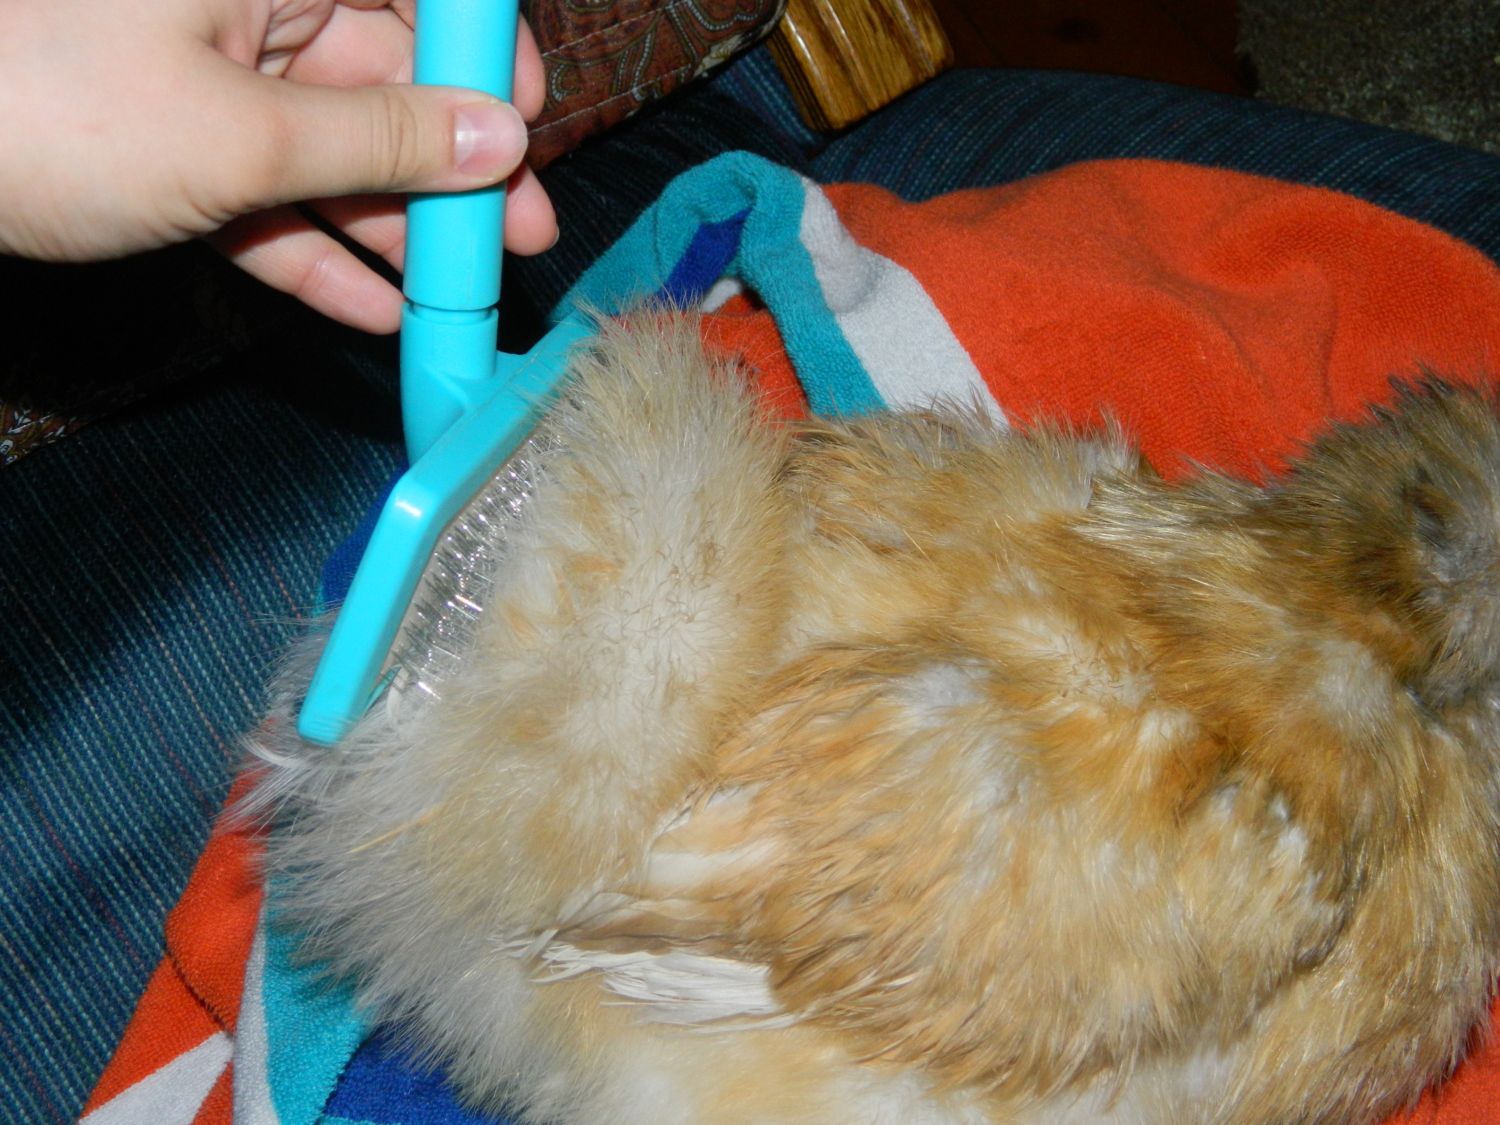
Step 14: After your bird is dry, brush the feathers gently with a slicker brush.
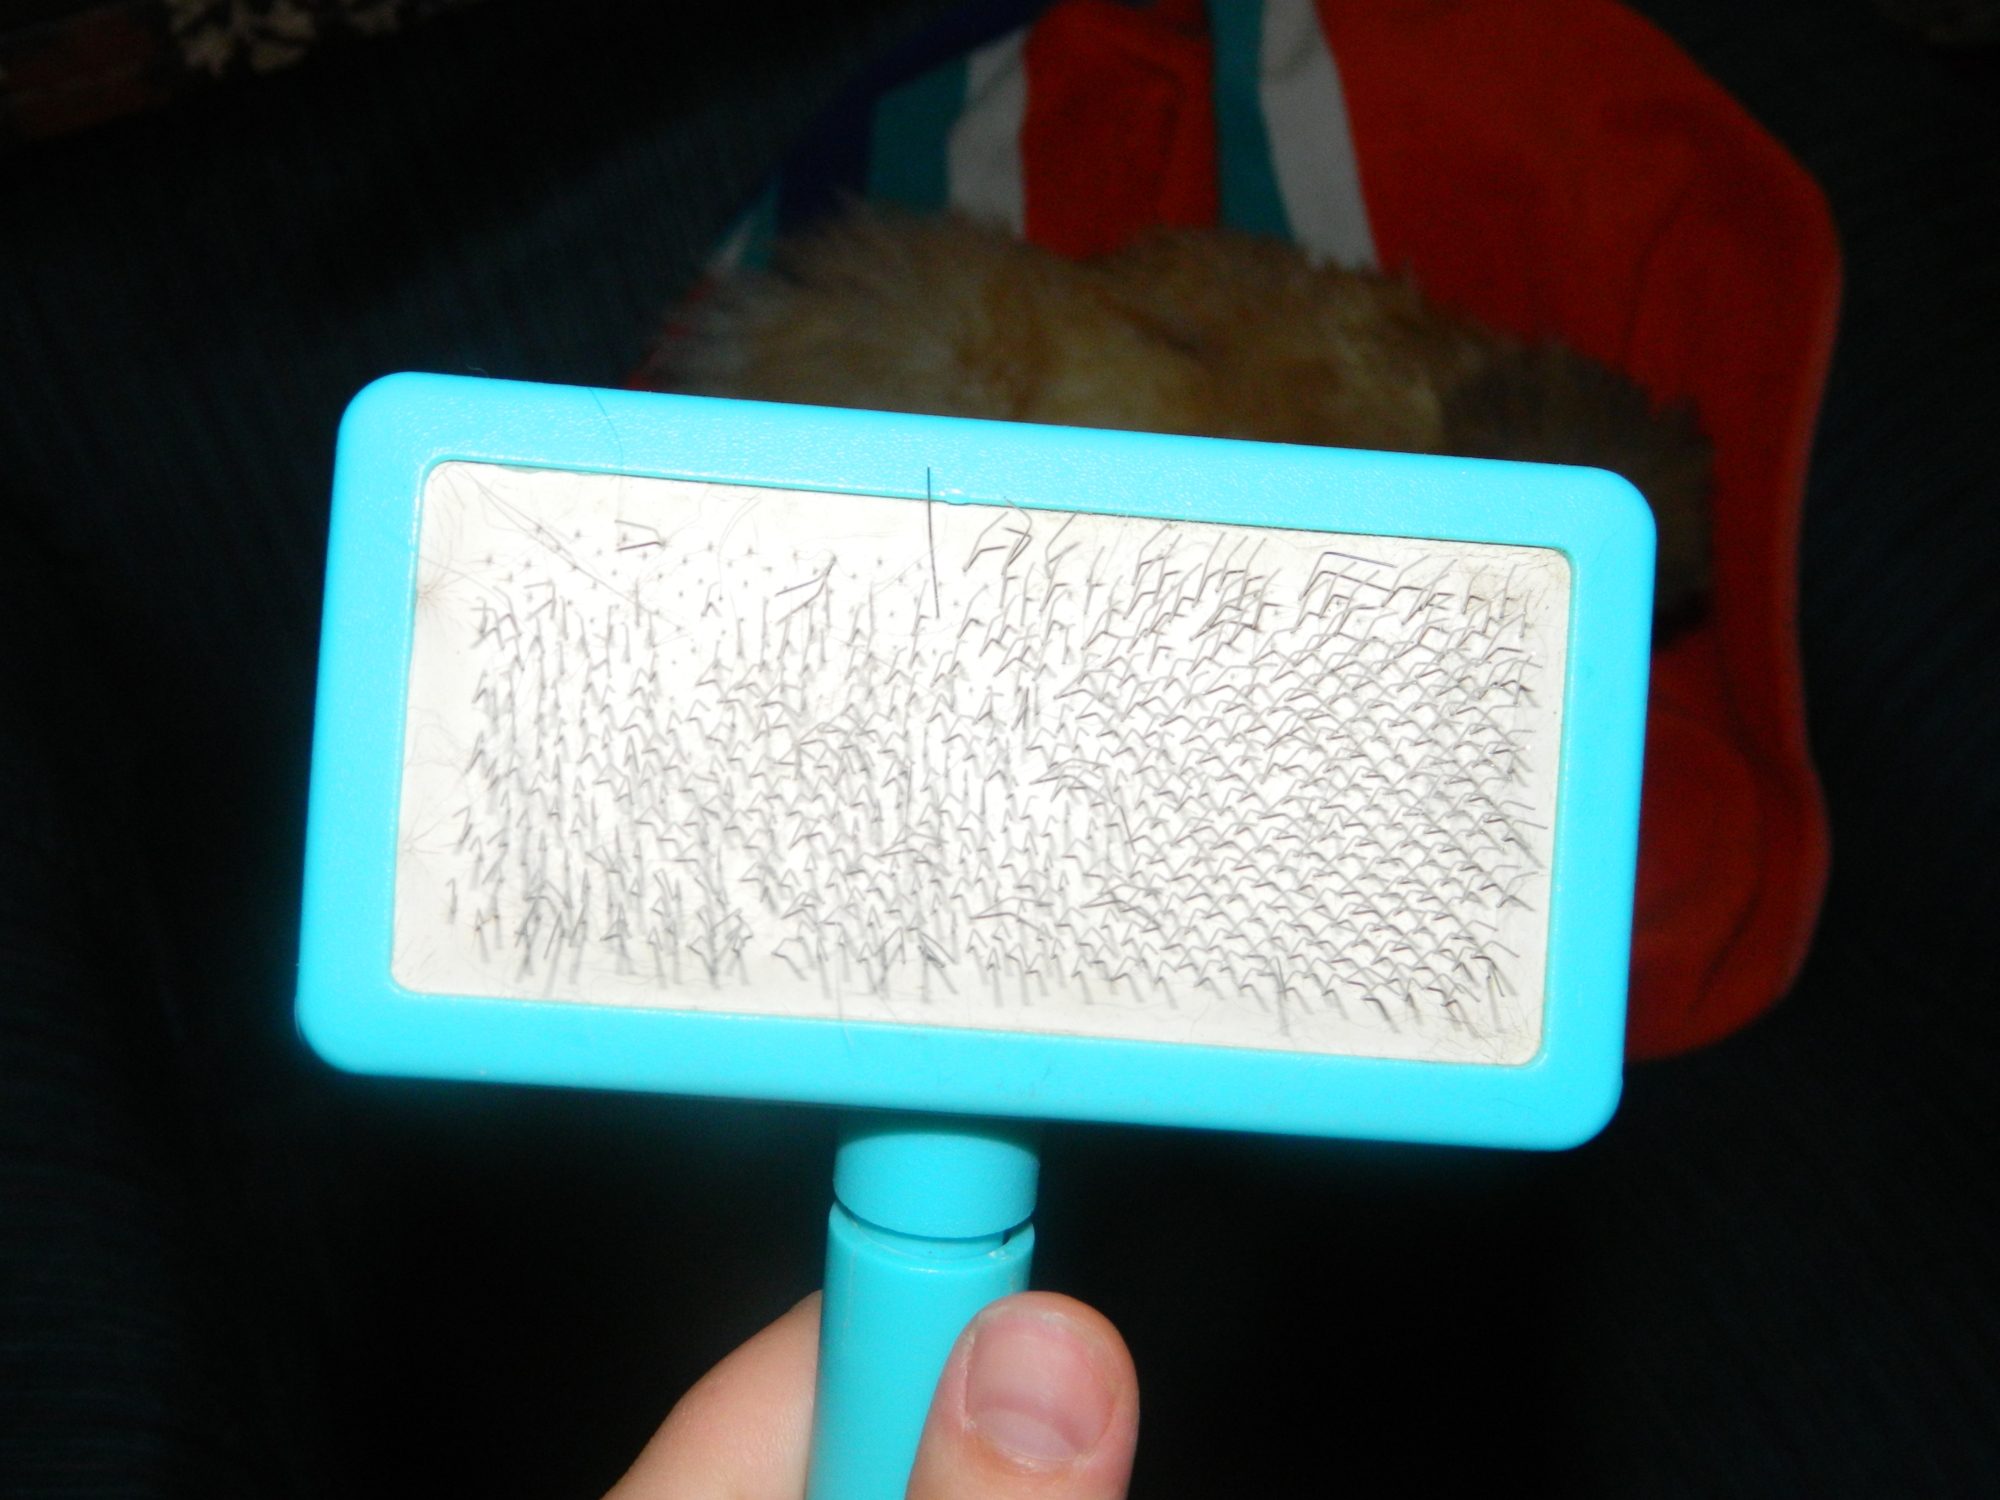
This will help remove any waxy feather coverings
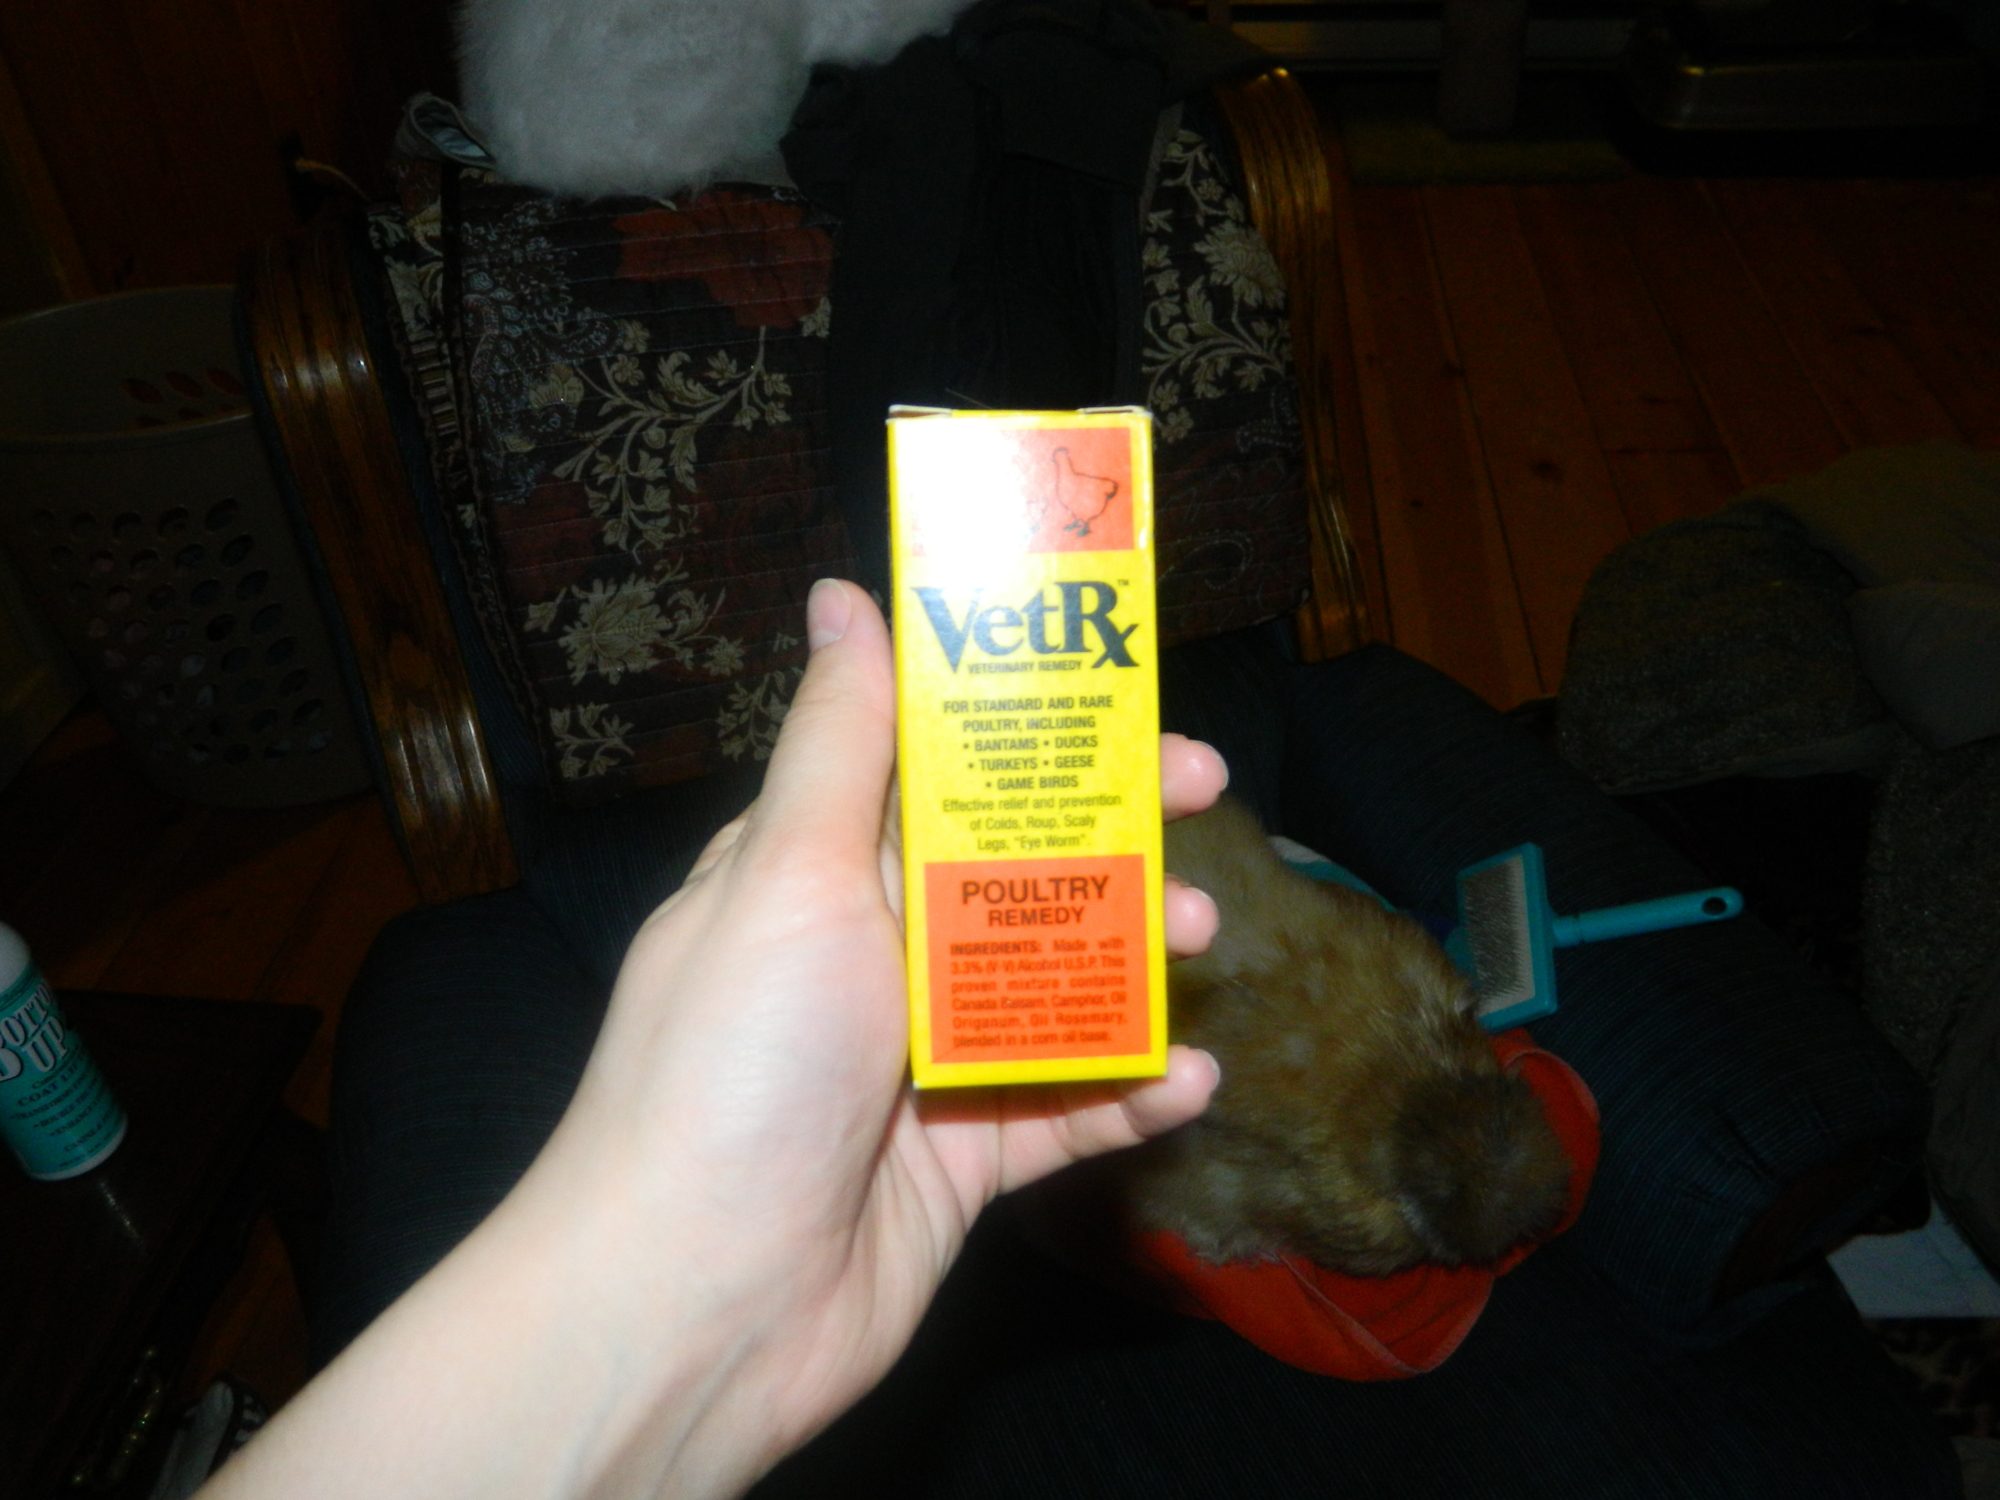
Step 15: I like to put VetRx on their combs and toes to add a nice shine
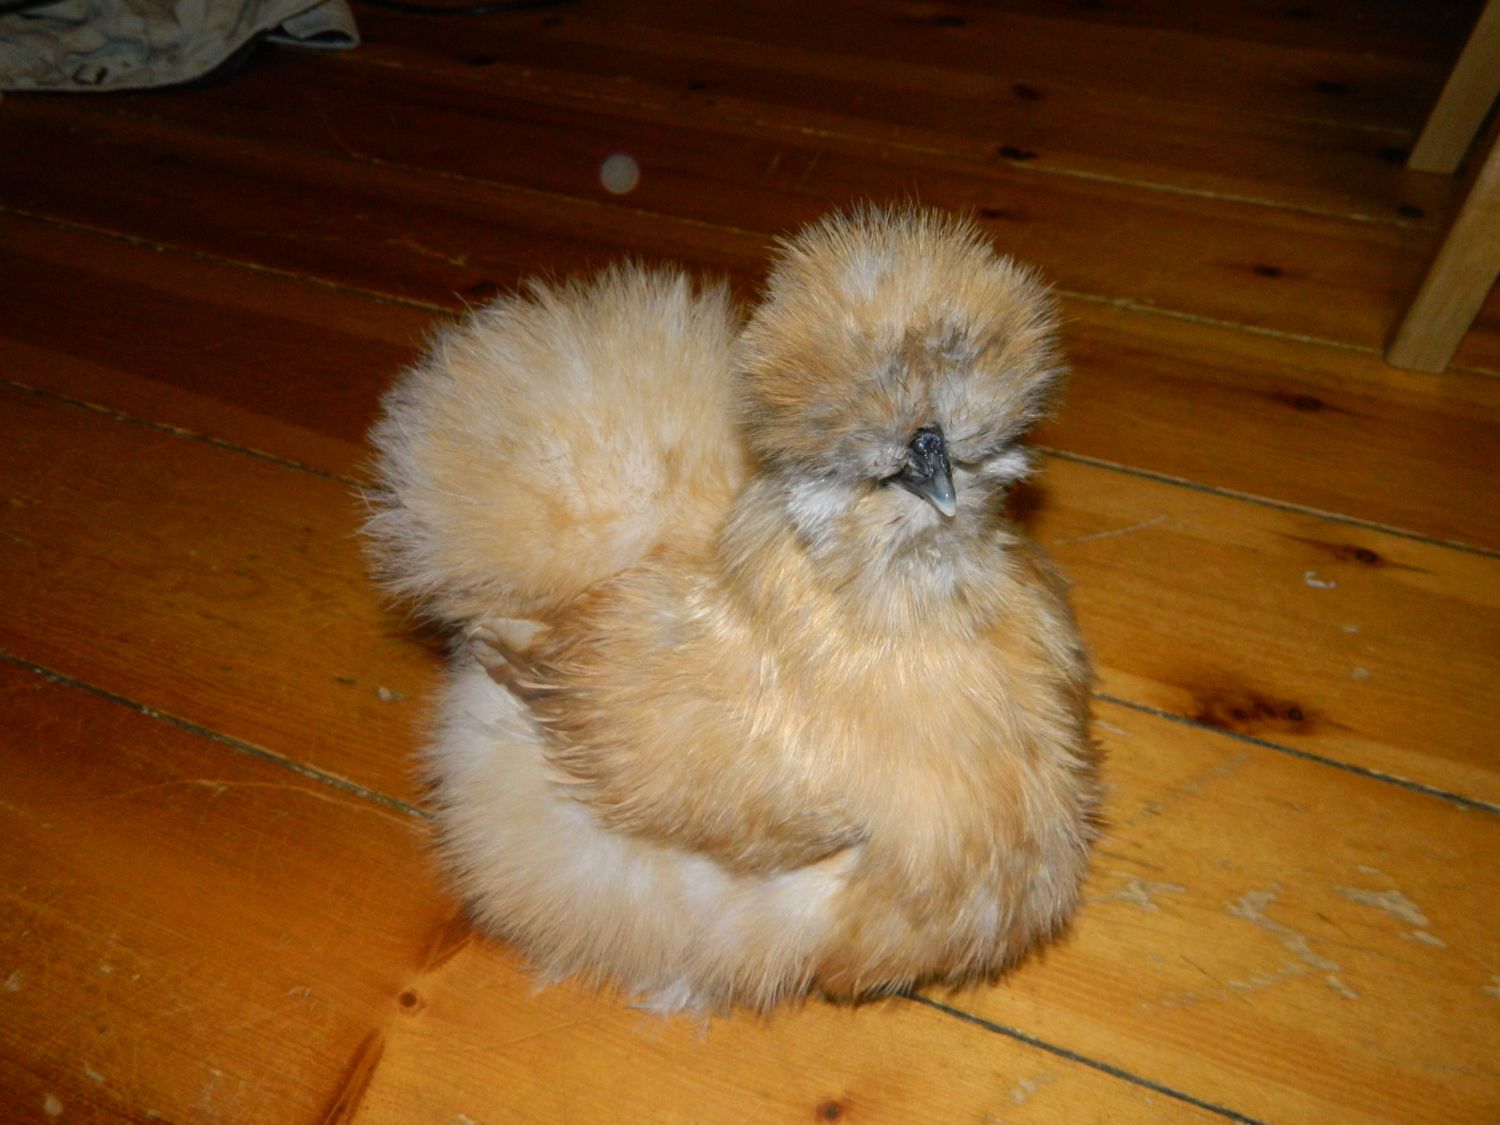
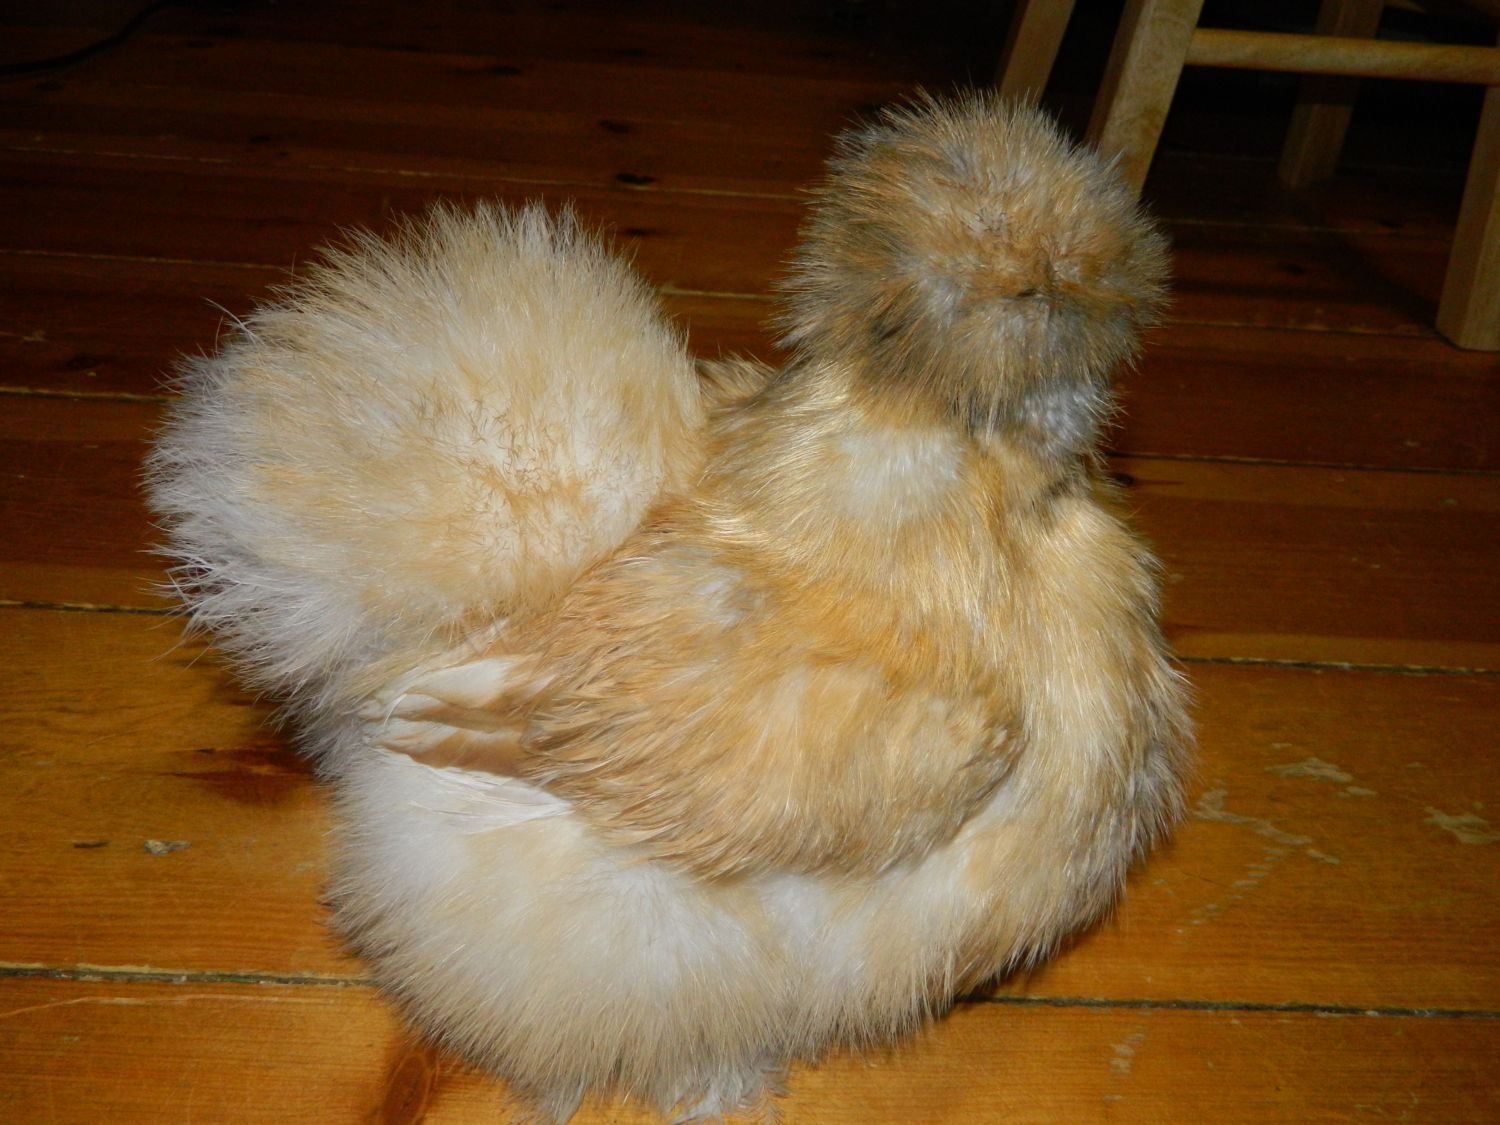
The finished product, what do you think?


I use my kitchen sink hose, I also don't fill the sink up, silkies tend to try their hardest to drown themselves
Step 1: Wet down your silkie.
Step 2: I start with a baby shampoo, I like to mix the shampoo with water but still at a good concentration that it suds up nicely. This way it gets better coverage and is easier to work through the feathers. This is your first wash out of two (or 3 if you want).
Step 3: Scrub them up nicely, making sure to get all of the soiled areas, ESPECIALLY between the toes and in the foot and bum feathers.
Step 4: Rinse the first shampoo, doesn't have to be completely rinsed out just mostly.
Step 5: Next, use a specific shampoo for your silkies color. This is a good whitening shampoo, especially for lighter birds that aren't completely white since it has no dyes. Works great for white birds when left on for longer.
Step 6: Let the shampoo sit for about 5 minutes (with this shampoo on a colored bird you only want to leave it on for no more than 3 minutes or it will wash out their coloring), You can repeat the shampooing process with a strong scented shampoo if desired.
Step 7: Rinse out the shampoo as much as possible.
Step 8: Fill a pitcher with water and add a small amount of white vinegar, I add about 2 tablespoons.
Step 9: Pour over your silkie while scrubbing to get it down to the skin, this cuts through any leftover soap. Rinse out the vinegar a little after.
Step 10: "wring out" Your silkie and wrap it like a burrito in a towel, but not too tight.
Step 11: This is when I file the beak and the toe nails, but if you are new and nervous about it it would be best to do it before the bath in case of any blood. This is her beak before filing. You can clearly see the translucent tip to the beak. This is what you want to remove.
Here is a picture after I filed down her beak, you can see where I stopped and how I rounded it off.
This is a picture of her nails before filing
This is why some may want to do this before the bath, especially on light colored birds. If you don't know how to tell where the quick is it best to do it before you have a clean bird
These are her nails after I filed them. This is what you want.
Seasoned pro
Step 12: This is what I use to dry my silkies, a grooming force dryer. It is a great investment! It cuts drying time in half and helps fluff them up. This is low power, which works great because it doesn't blow them away
Dry your silkie completely
Step 13(optional): I just bought this to use for my silkies, I haven't tried it yet. So we will try it together! I strayed this lightly on her feathers, lifting them up as I sprayed to get it down to the skin. Then re-blowdry.
Step 14: After your bird is dry, brush the feathers gently with a slicker brush.
This will help remove any waxy feather coverings
Step 15: I like to put VetRx on their combs and toes to add a nice shine
The finished product, what do you think?


")


