**************************************************
**************************************************
While contemplating building another coop, I looked over at the, "boat shed."
It is 33 ft long, and 13 ft wide. I was imagining the possibilities.

My dear husband agreed to let me use the building. It does have electricity, but no running water.
 The plan: 8 breeder pens, each one about 8' x 5' with a 3' center isle, using mostly salvaged materials. I got the front closed in, and buried hardware cloth all along the bottom of this side. Then I added a big ol barn door.

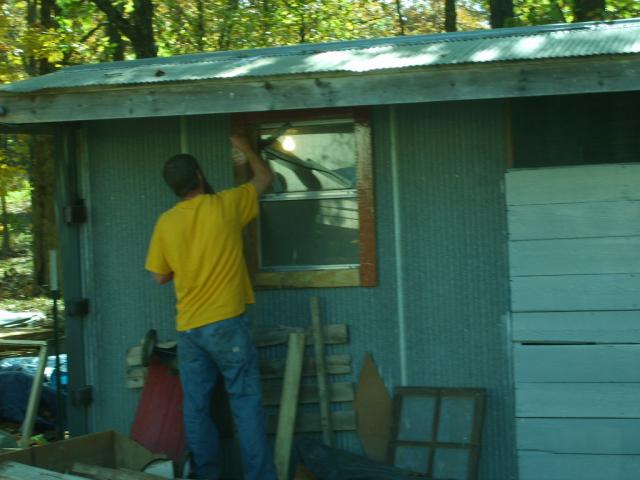
Ventilation about 2 feet length, the width of the building. All covered in hardware cloth. This is from the inside, not completed. I covered the window with hardware cloth from the inside. I took the window out and turned it around, so I can slide (the glass) open from the outside.

The drop down shutters were added with hinges. Painted with Primer-Sealer.

Some red paint for the trim and door.

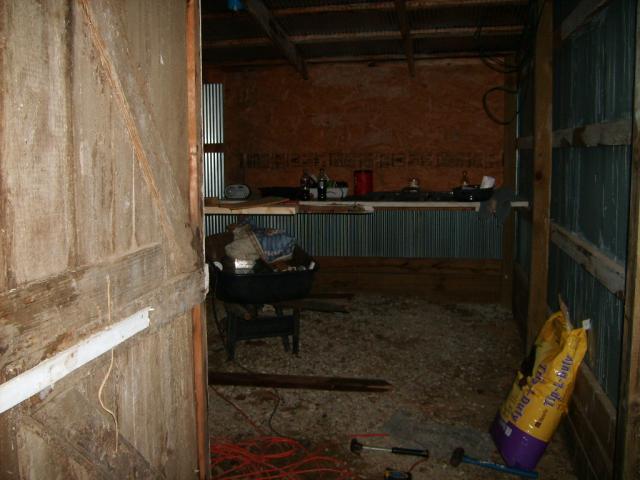
This is the view from the new old barn door. See that countertop there? I have plans for that.

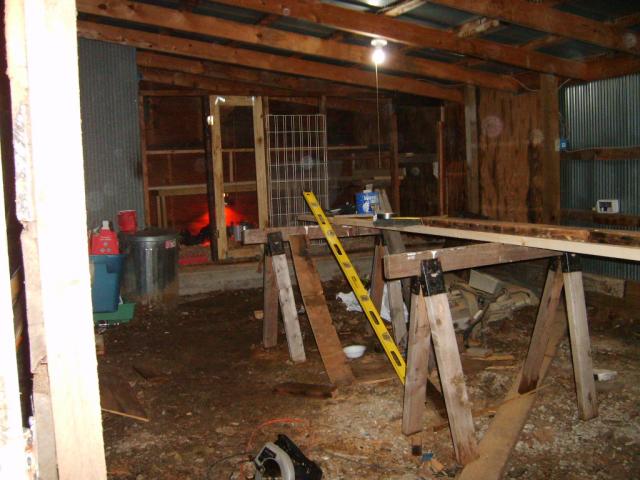
Looking from the front, on the left, there is a concrete pad (the area where the window is). I decided to start there. I made a couple doors out of salvaged materials. This will be 2 pens later. I put salvaged plywood over all the tin / metal walls. I figured it would help insulate a bit.

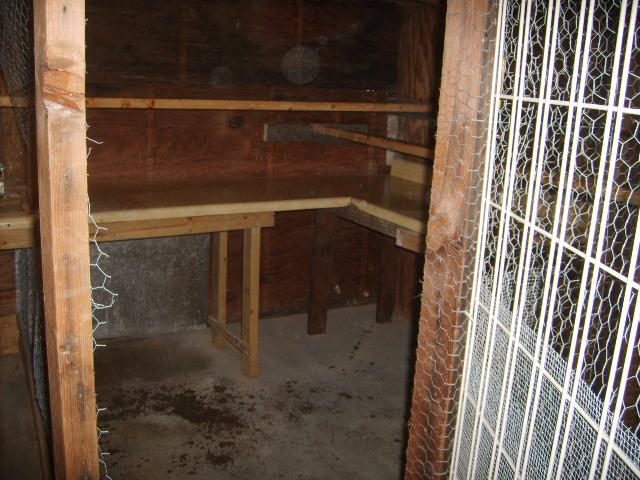
I found an L-shaped countertop at a garage sale. I thought that would make a great droppings board. I put it in, and added the roost.

Picture from a distance ...

I needed to use the area for some chicks growing out. It worked great for the heat light here, under the countertop.

Outside , going into take a look .... Note the Delawares in the little red coop.

Here you can see pen # 1, as you enter the building.

Pen # 1 as you step inside.

From the door looking straight in:


This has 2 levels. Remember, I said I had plans for that counter. Here it is, it is now a 3' x 8' brooder and the bottom is a full sized pen. This photo is before the roosts were put in.


The brooder has 2 doors, in case I need to make it into 2 seperate pens .

Here is the view walking down the center isle. I put some 8" x 16" pavers down, instead of just having the bare ground. I think it will be easier to clean up. Look at all the painting I have yet to do! The 2 pens at the far end are used as grow out pens. They are on a concrete slab. They do each have a pop door to the outside.

Another view.

A pen of White Faced Black Spanish.

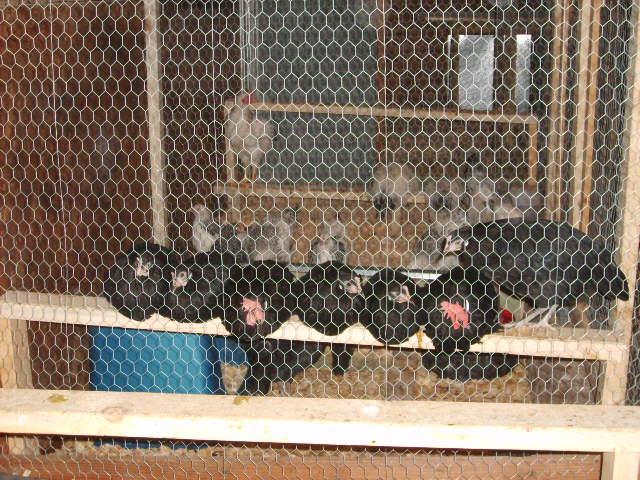
A pen of Delawares behind the roosting Spanish.

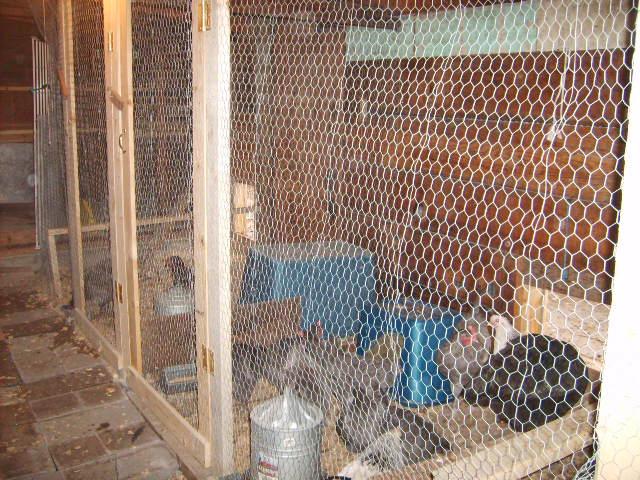
View on the other side.

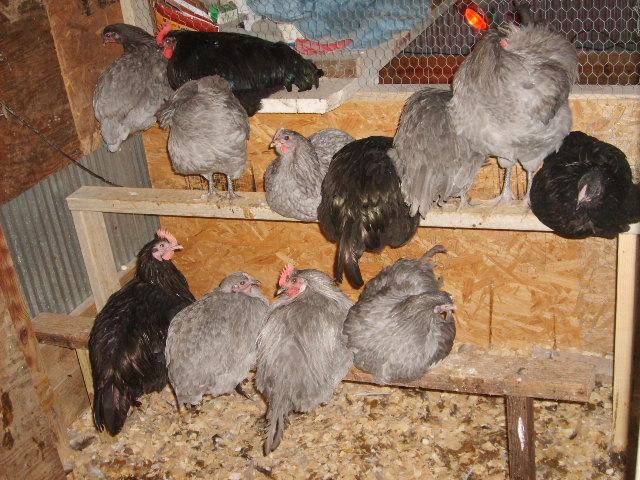
A pen of Lavender Orpington project birds. See the counter behind them. That is before it was turned into the double doored brooder.

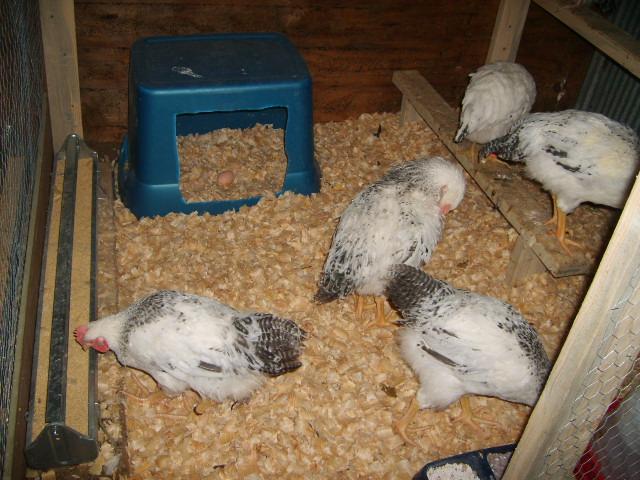
I am trying a new nest method. Totes (and fake eggs!) .... Which really doesn't work well in this pen of roosters! (Someone put it in the wrong pen!)

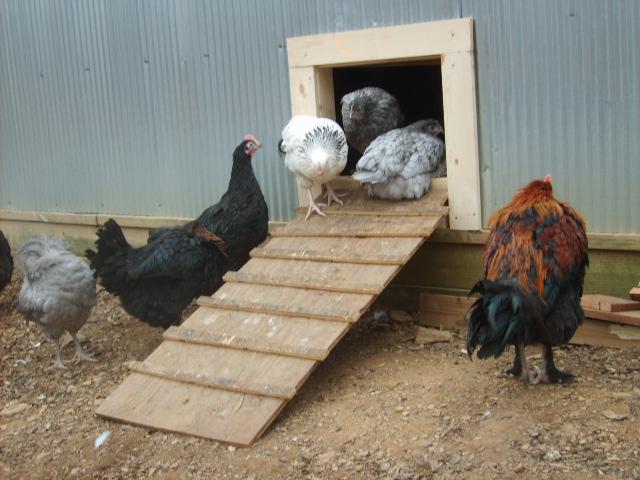
Each pen has a pop door and their own run.

Another pop door ...

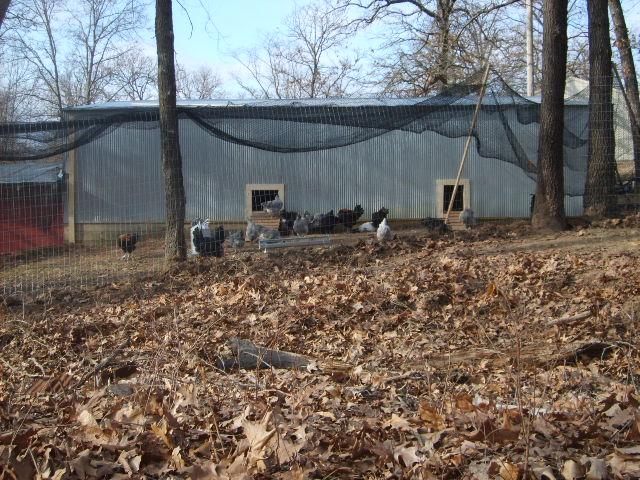
This is the back side of the building, before the fencing to seperate the runs was in.

There are 3 pop doors on each long side of the building, and 2 on one end. This picture is before the one on the far left was done. Another view, before the fencing to separate the pens was done. Netting is not yet permanent.

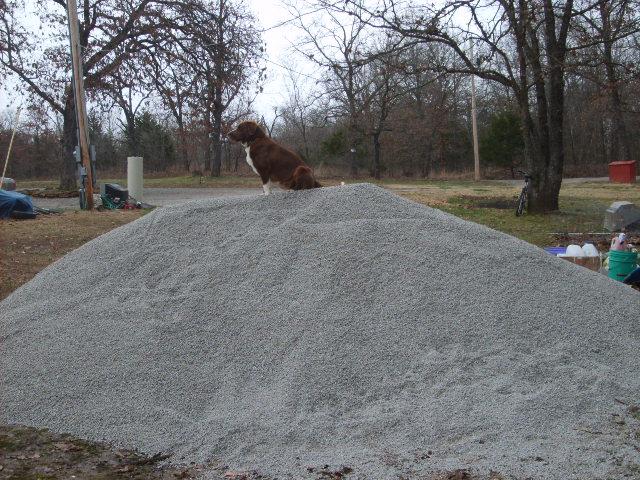
I did end up buying 2x4s and 1x4s for the project. The hardware was on the dollar table at the lumber yard .... handles and hinges. I still have alot of sealing/priming to do, and then painting. The individual runs for each pen will have pea gravel. I planned on sand, but the price of sand nearly doubled in a year. I got this load today .... and am quite happy with it.

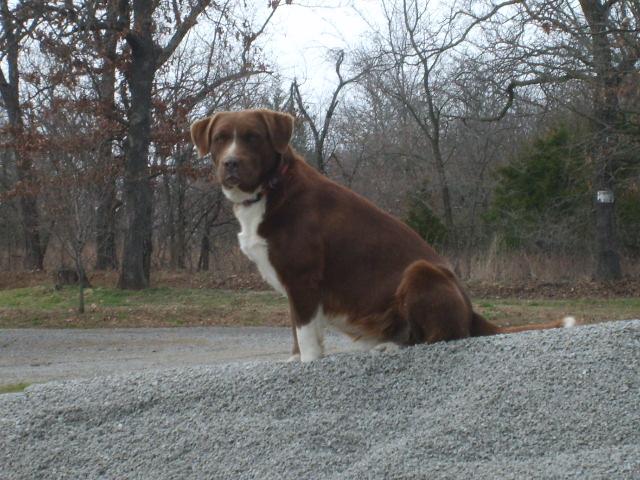
The Guardian of my flock .... Tyson! He so kindly shares his dogfood with the flock! They reward him by letting him eat some of their feed as well !

Stay tuned; next up will be the individual runs!
****************************************************************
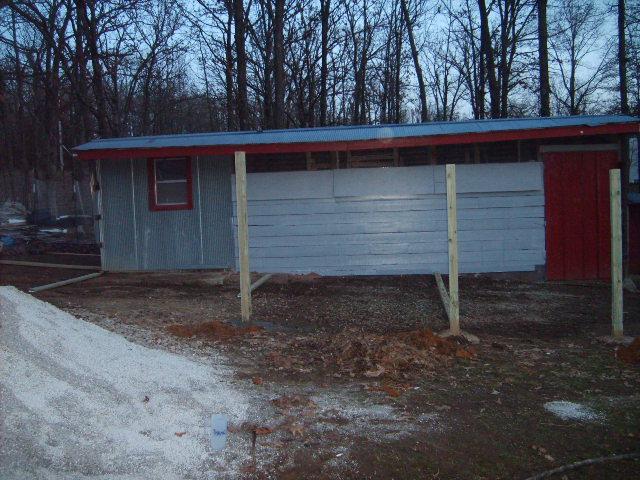
Friday, March 26, 2010 .... Posts are in !

Some fence framing done ....

3-29-10 More work done ....


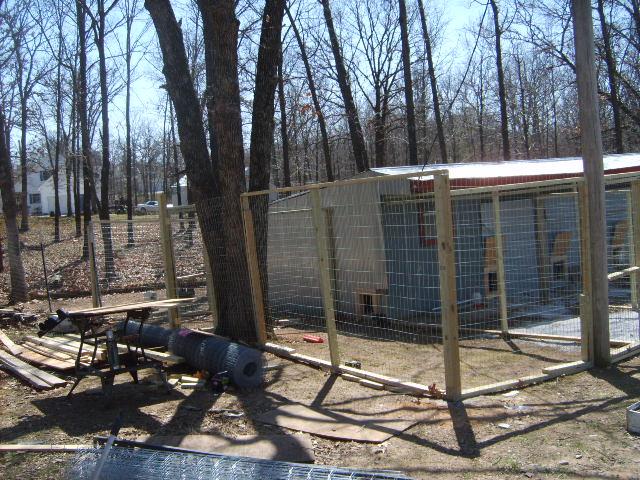
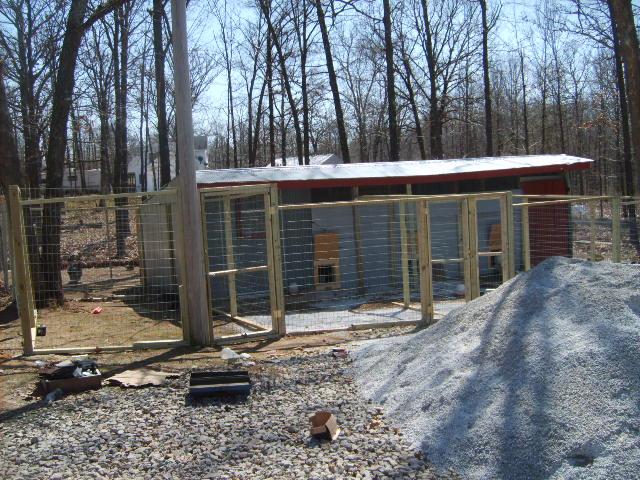
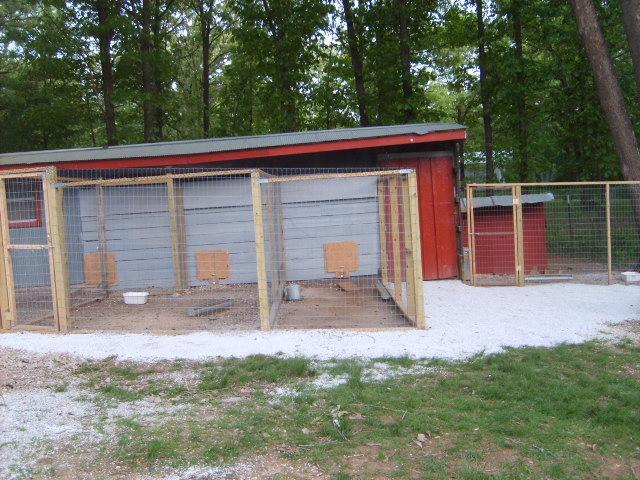
3-30-10 The runs are basically done, except for the aviary covering and fine tuning the bottom edges.
Each run has an access gate.

The side:

Another view:


It is a relief to have this done!
UPDATE: 4-10-10
I do not like the pea gravel, and am not going to use it.
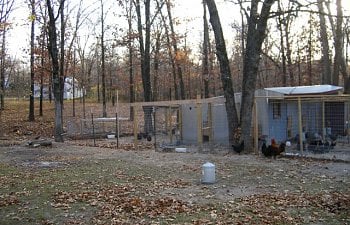
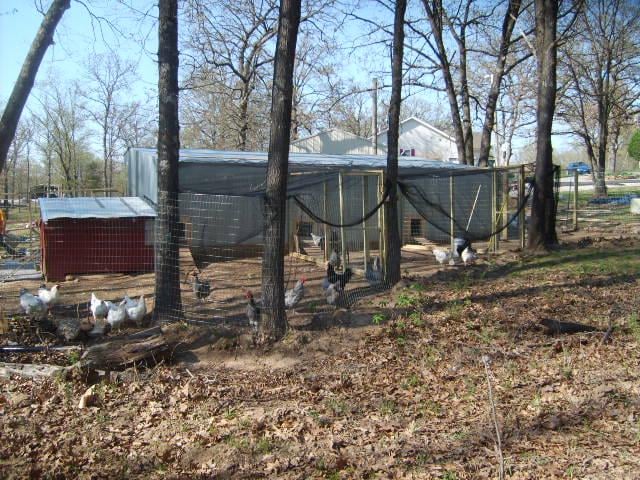
Here is the back of the building. The netting is still not permanently in yet. It will be cut to size and secured. We put the access gates between the runs on the back side, so we just go through one pen into the next. Still need to add an access gate between the red coop and the pen next to it, just for convenience.

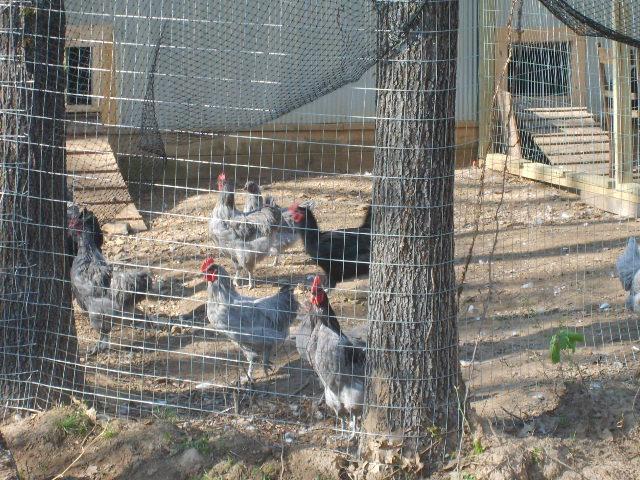
The pen next to them (Lavender project):

Fall 2010 ....


I'm happy with my pens and runs. However, I still have ALOT of priming and painting I want to do.
****************************************************************
****************************************************************
****************************************************************
**************************************************
While contemplating building another coop, I looked over at the, "boat shed."
It is 33 ft long, and 13 ft wide. I was imagining the possibilities.
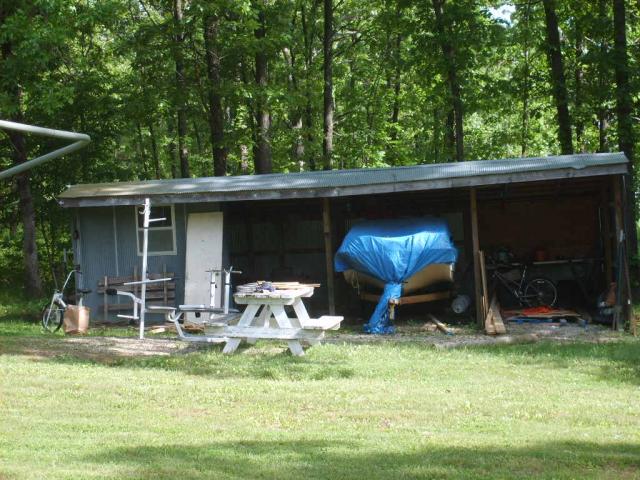
My dear husband agreed to let me use the building. It does have electricity, but no running water.


Ventilation about 2 feet length, the width of the building. All covered in hardware cloth. This is from the inside, not completed. I covered the window with hardware cloth from the inside. I took the window out and turned it around, so I can slide (the glass) open from the outside.
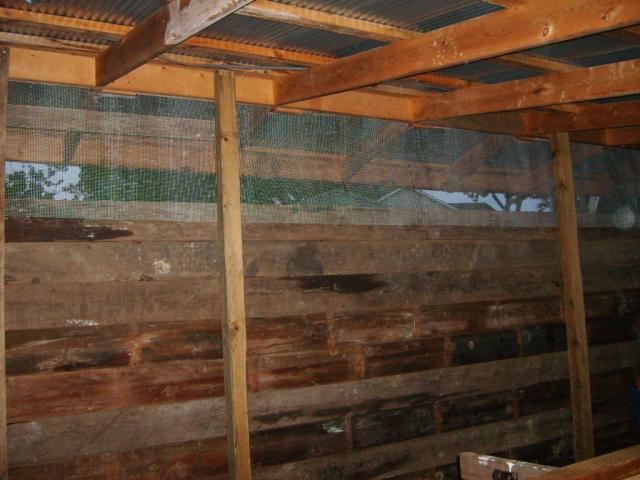
The drop down shutters were added with hinges. Painted with Primer-Sealer.
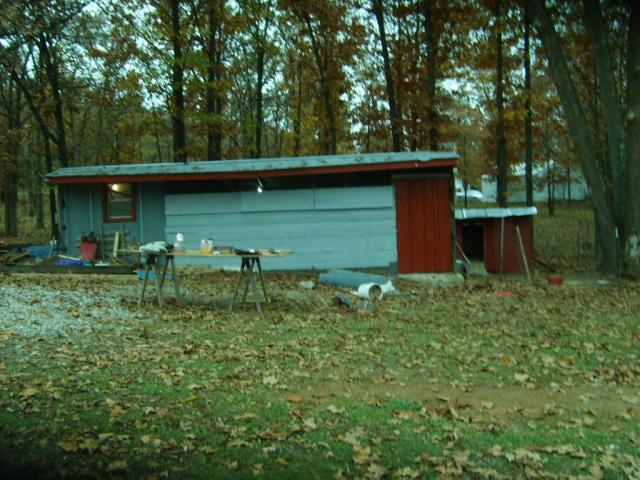
Some red paint for the trim and door.
This is the view from the new old barn door. See that countertop there? I have plans for that.
Looking from the front, on the left, there is a concrete pad (the area where the window is). I decided to start there. I made a couple doors out of salvaged materials. This will be 2 pens later. I put salvaged plywood over all the tin / metal walls. I figured it would help insulate a bit.
I found an L-shaped countertop at a garage sale. I thought that would make a great droppings board. I put it in, and added the roost.
Picture from a distance ...
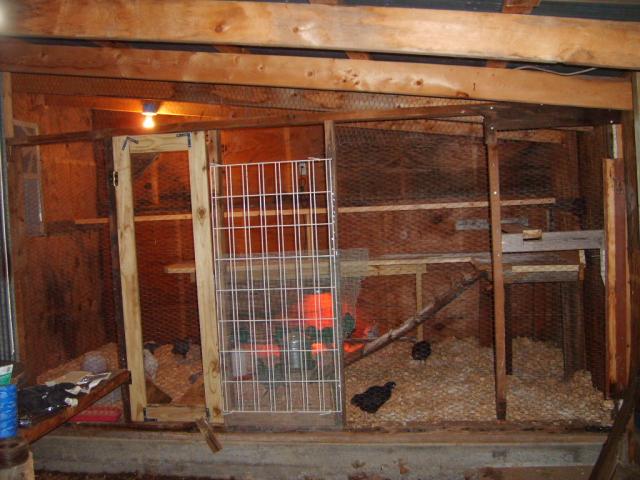
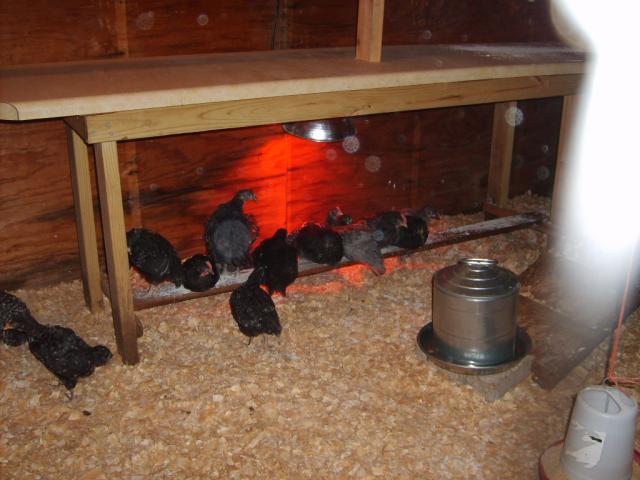
I needed to use the area for some chicks growing out. It worked great for the heat light here, under the countertop.
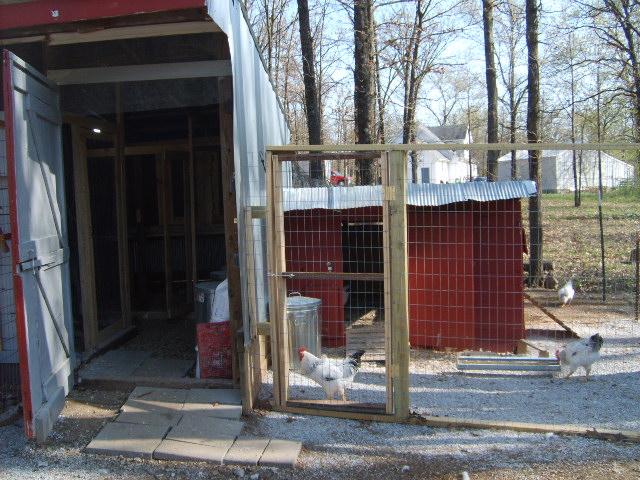
Outside , going into take a look .... Note the Delawares in the little red coop.
Here you can see pen # 1, as you enter the building.
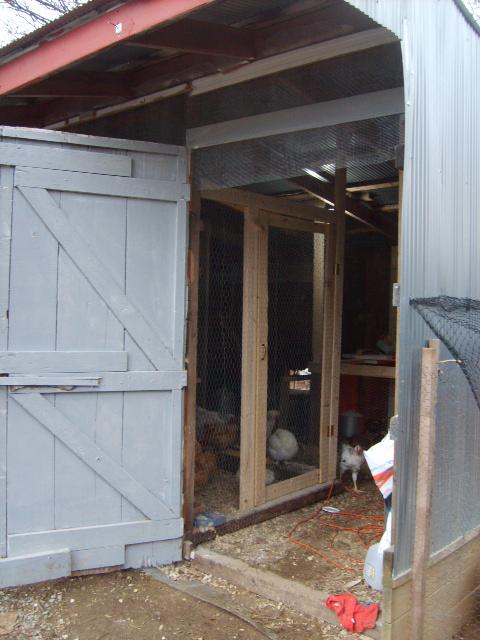
Pen # 1 as you step inside.
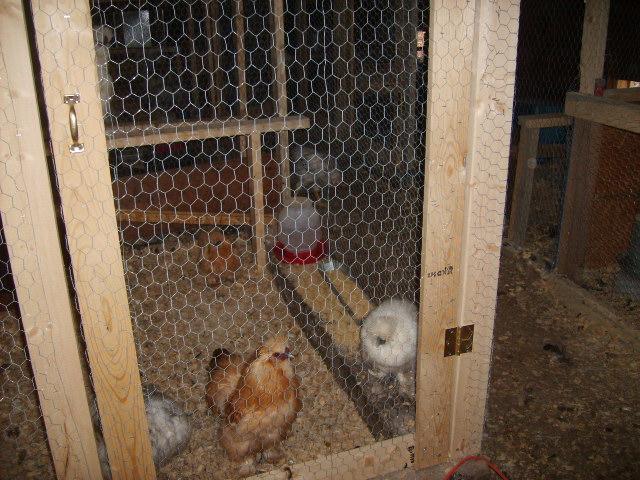
From the door looking straight in:
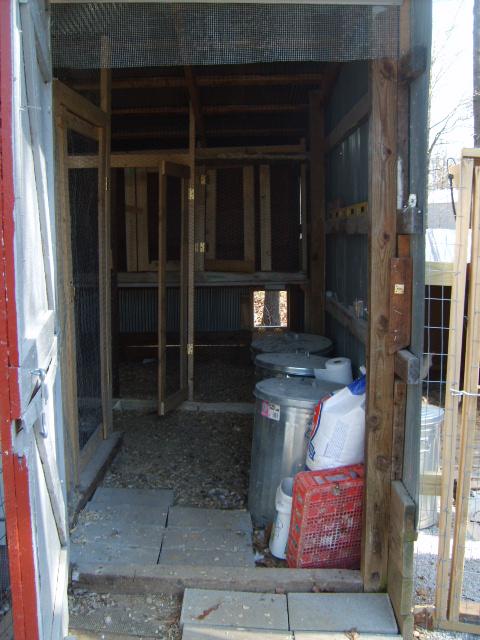
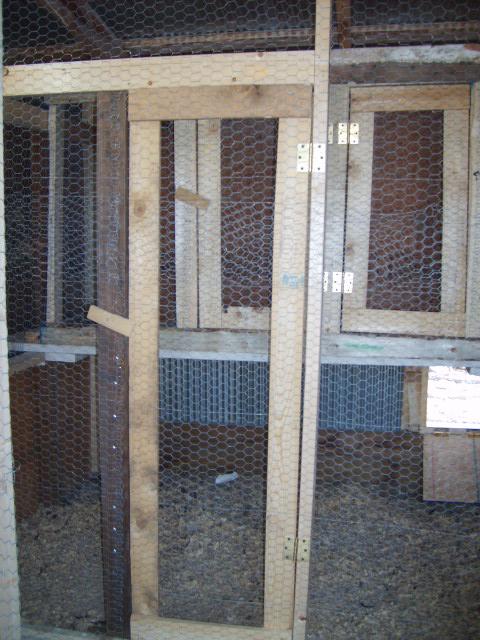
This has 2 levels. Remember, I said I had plans for that counter. Here it is, it is now a 3' x 8' brooder and the bottom is a full sized pen. This photo is before the roosts were put in.
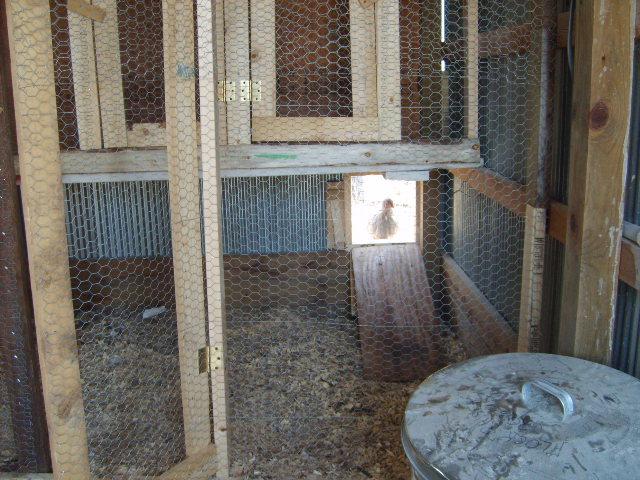
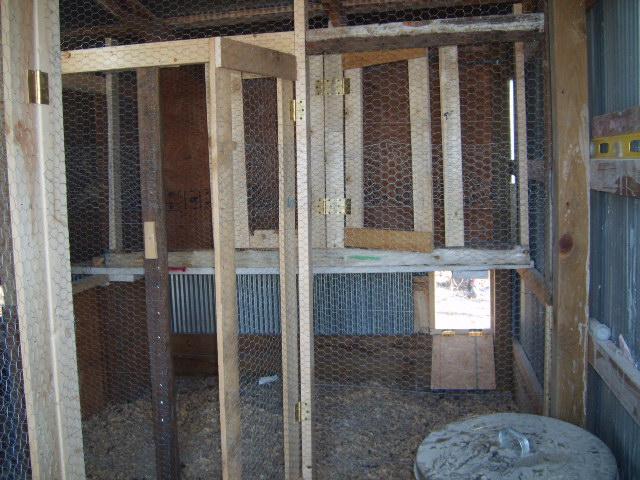
The brooder has 2 doors, in case I need to make it into 2 seperate pens .
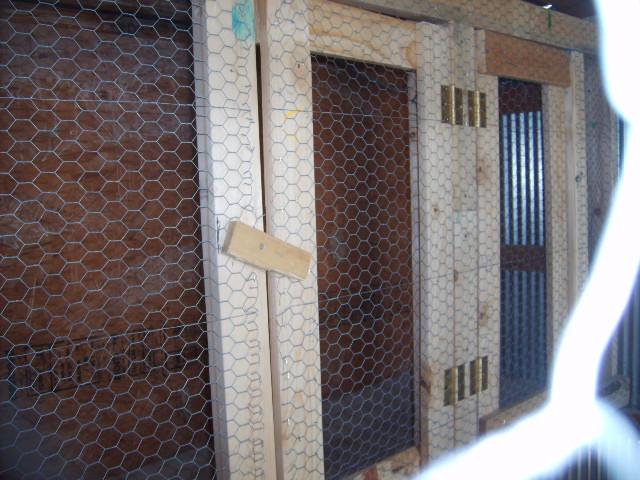
Here is the view walking down the center isle. I put some 8" x 16" pavers down, instead of just having the bare ground. I think it will be easier to clean up. Look at all the painting I have yet to do! The 2 pens at the far end are used as grow out pens. They are on a concrete slab. They do each have a pop door to the outside.
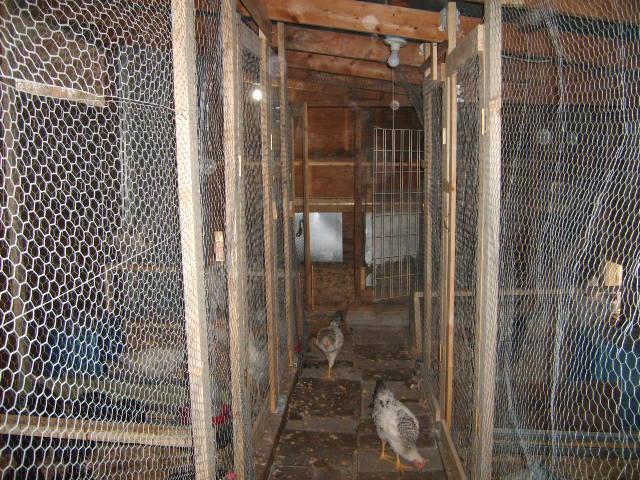
Another view.
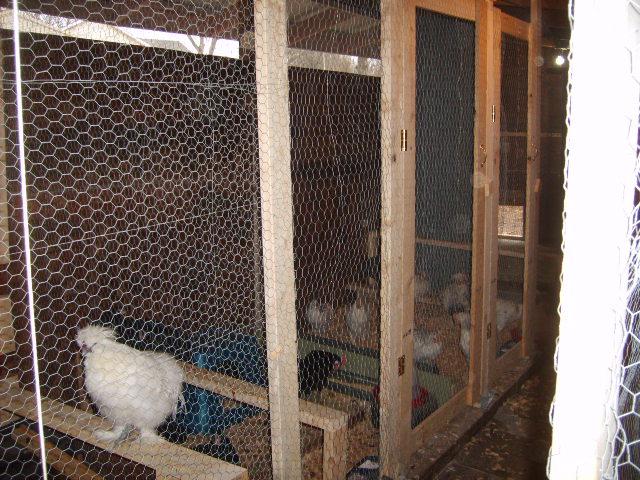
A pen of White Faced Black Spanish.
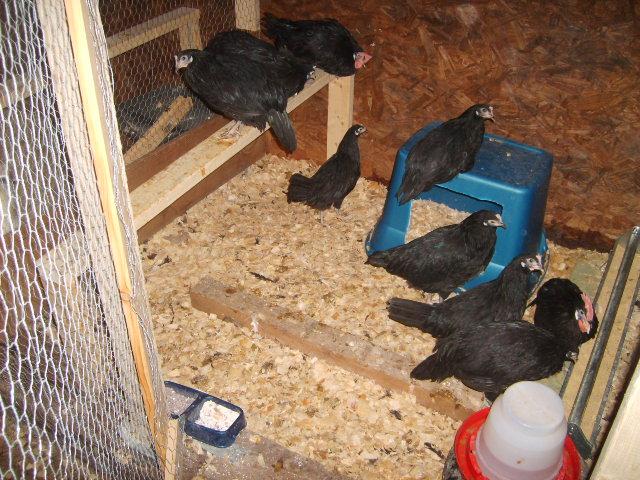
A pen of Delawares behind the roosting Spanish.
View on the other side.
A pen of Lavender Orpington project birds. See the counter behind them. That is before it was turned into the double doored brooder.
I am trying a new nest method. Totes (and fake eggs!) .... Which really doesn't work well in this pen of roosters!
 (Someone put it in the wrong pen!)
Each pen has a pop door and their own run.
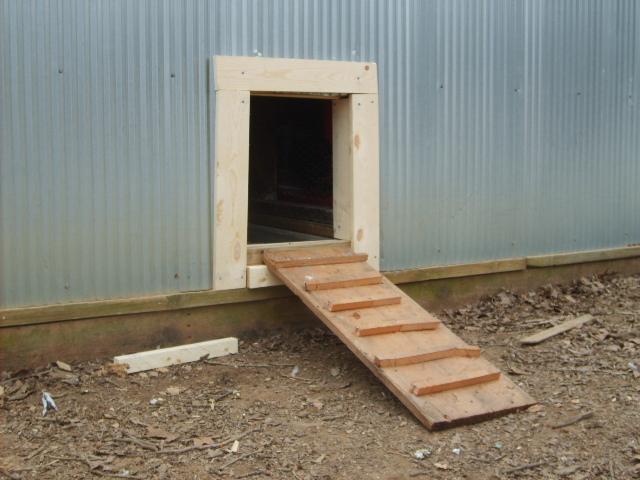
Another pop door ...
This is the back side of the building, before the fencing to seperate the runs was in.
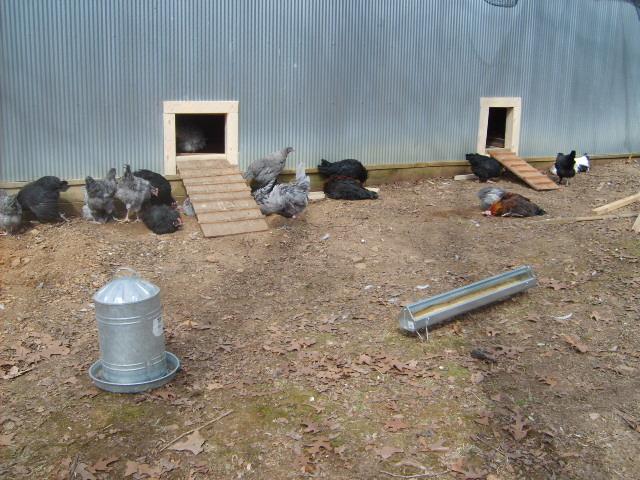
There are 3 pop doors on each long side of the building, and 2 on one end. This picture is before the one on the far left was done. Another view, before the fencing to separate the pens was done. Netting is not yet permanent.
I did end up buying 2x4s and 1x4s for the project. The hardware was on the dollar table at the lumber yard .... handles and hinges. I still have alot of sealing/priming to do, and then painting. The individual runs for each pen will have pea gravel. I planned on sand, but the price of sand nearly doubled in a year. I got this load today .... and am quite happy with it.
The Guardian of my flock .... Tyson! He so kindly shares his dogfood with the flock! They reward him by letting him eat some of their feed as well !

Stay tuned; next up will be the individual runs!

****************************************************************
Friday, March 26, 2010 .... Posts are in !
Some fence framing done ....
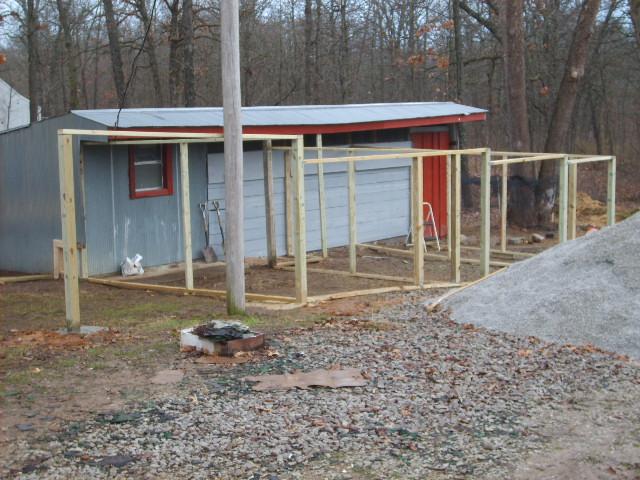
3-29-10 More work done ....
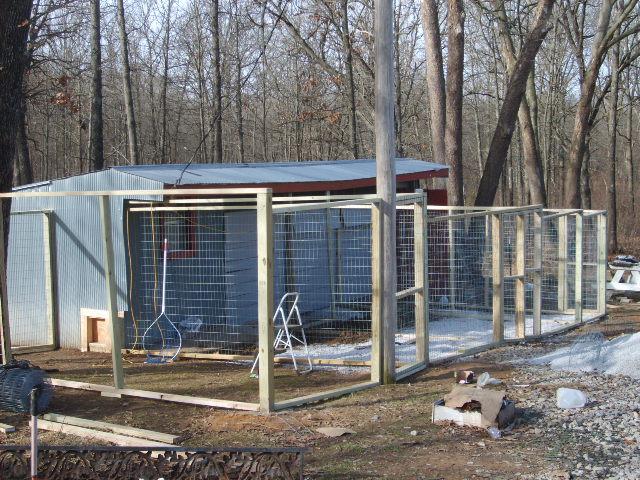
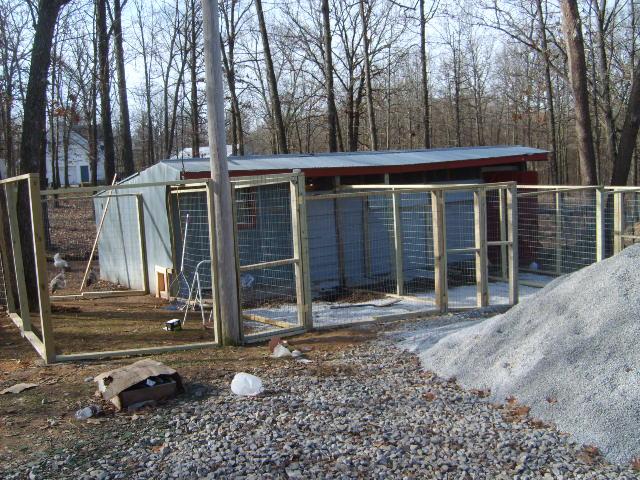
3-30-10 The runs are basically done, except for the aviary covering and fine tuning the bottom edges.
Each run has an access gate.
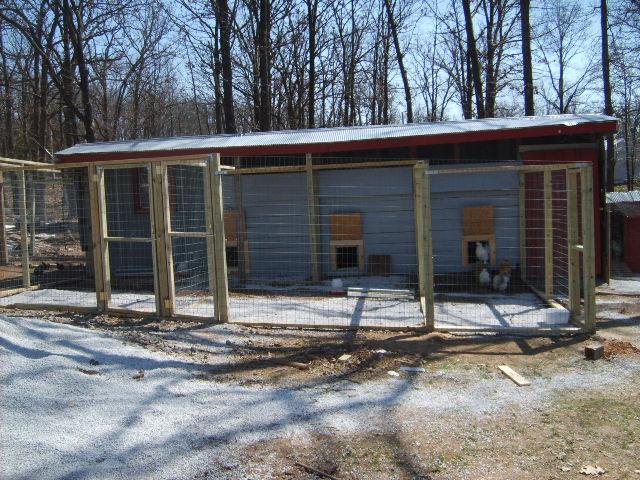
The side:
Another view:
It is a relief to have this done!
UPDATE: 4-10-10
I do not like the pea gravel, and am not going to use it.
Here is the back of the building. The netting is still not permanently in yet. It will be cut to size and secured. We put the access gates between the runs on the back side, so we just go through one pen into the next. Still need to add an access gate between the red coop and the pen next to it, just for convenience.
The pen next to them (Lavender project):
Fall 2010 ....
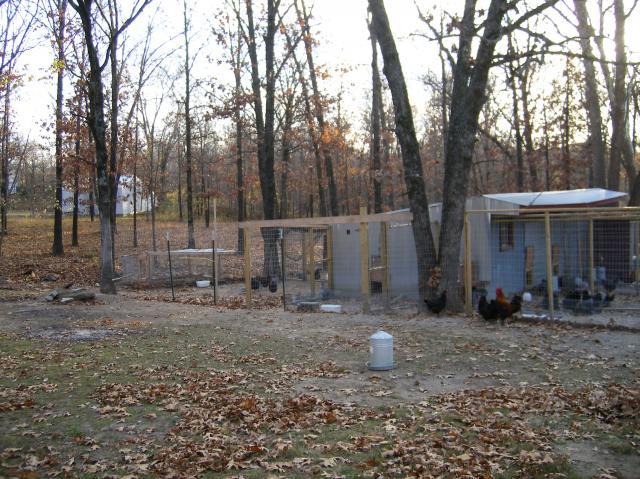

I'm happy with my pens and runs. However, I still have ALOT of priming and painting I want to do.
****************************************************************
****************************************************************
****************************************************************

