Chicken Coop Design 

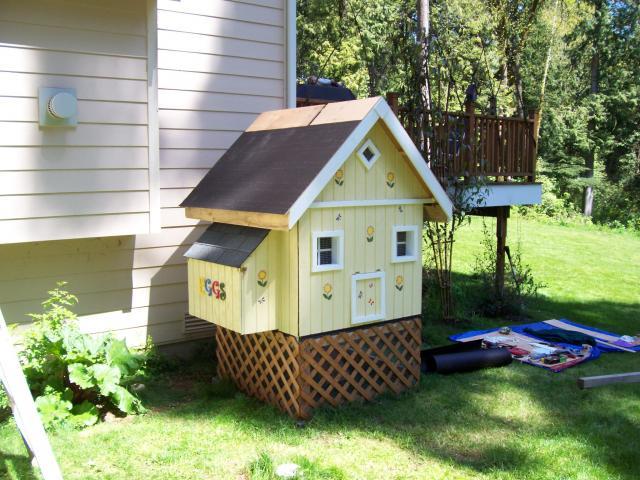
Our design was inspired by a couple of existing coop designs on this website. Aesthetics were important, so we gravitated towards the cute end of the scale as the coop would be in a visible part of our yard. 
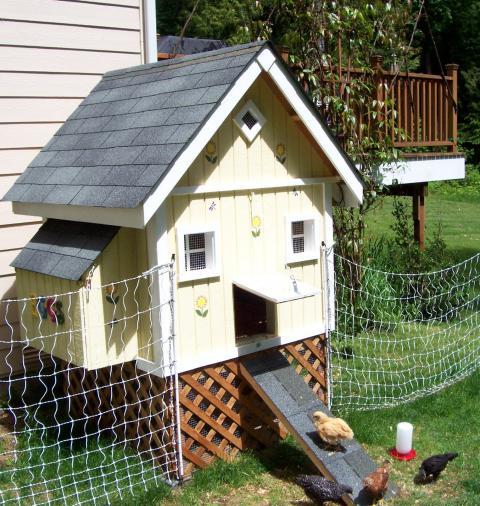
It cost about $500 in materials and took 3 weekends and a few evenings in between to build. We are in the Pacific Northwest, so wanted a coop off the ground and with a steep pitch roof with overhangs to provide protection from our liquid sunshine! We decided not to insulate, but oriented it in a south facing location with windows and doors getting plenty of light.
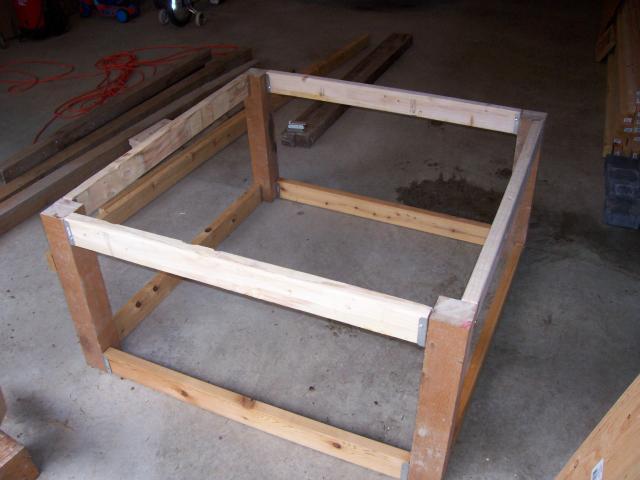
Like others on this site, we opted for 4'x4' design to optimize use of standard material sizes that come in 4'x'8' sheets and 8' lumber lengths. The 'basement' was of pressure treated 4"x4" posts and completely enclosed with wire mesh with a ramp from the 'main floor' and an exerior door for clean-out and access. The main floor was built of 2"x3" framing with T1-11 siding. We lined the floor with a marmoleum type product in hopes of easing clean-out, and included a large full width door just above wheel barrow height to facilitate ease of raking out litter with no threshold to catch. Roof framing was 2"x3" trusses with 3/8" plywood, tar paper & 3 tab comp. shingle.
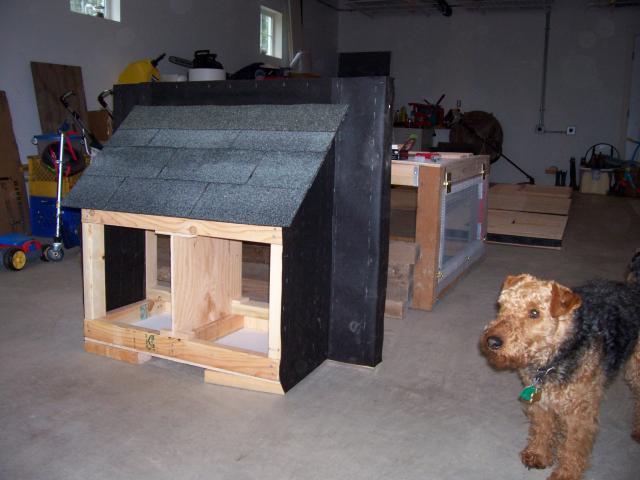
The entire structure was wrapped in tar paper and built in modular form in the garage, so all we had to do one weekend was carry all the parts out and assemble (except for the roof which we built on to the assembled structure). This avoided any heavy lifting as there was no way we could have moved the completed coop. The nesting boxes and main roof both had a 45 degree pitch. Inside we built a small ladder, and two perches of 2" dowling, with the option for north-south or east-west roosting depending on chicken feng shui etc
 ..... then we started getting carried away with lots of painted trim and hand stenciled flowers, dragon flies & butterflies courtesy of my wife and children, who also handled the buttercup yellow paint job.
It was a fun family project. The chicks have been in a couple of weeks now and are completely at home. We enclosed the coop with an electric poultry net, which has done an excellent job of keeping our pet terrier, racoons and other trouble makers at bay so far - although hawks are still a concern, and some overhead netting is next, once we get the cable TV & microwave installed.... anyway - hope you enjoy the pictures.
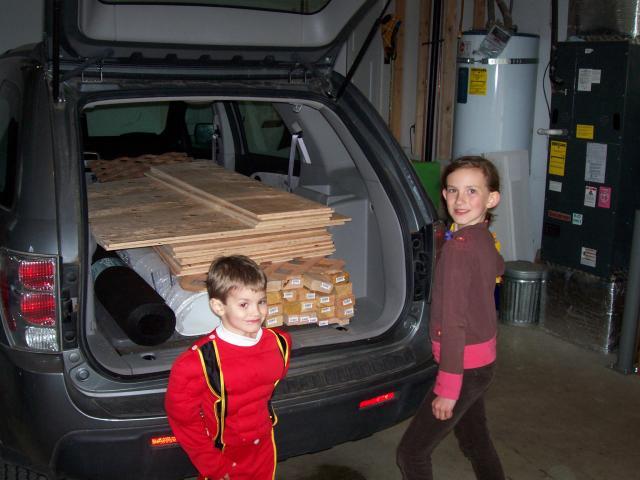
The Raw materials & 2 very eager kids...
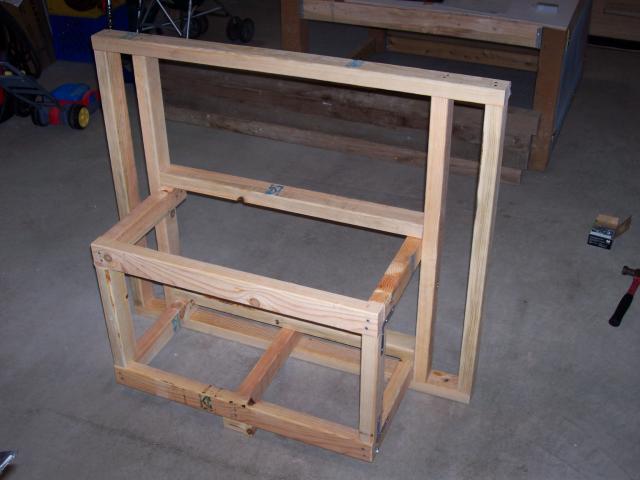
The Base....
Framing for the Nesting Boxes
Wrapping the Nesting Box in Tar paper (Welsh Terrier on quality control...)
Pre-assembly in the garage
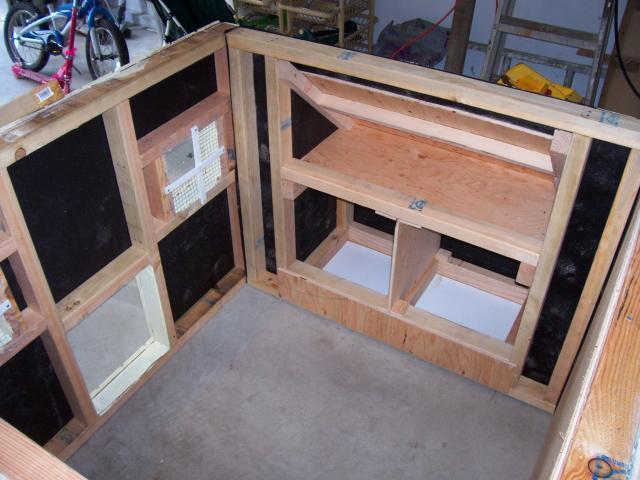
Pre-assembly of walls - pre-painted inside garage to avoid rain
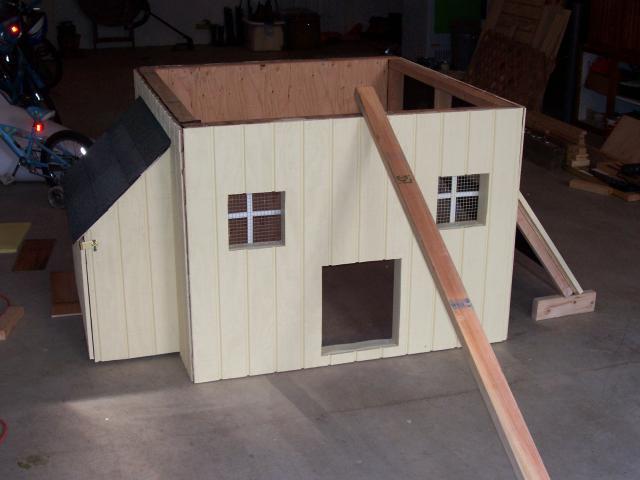
Assembling on-site (more terrier quality control...!)
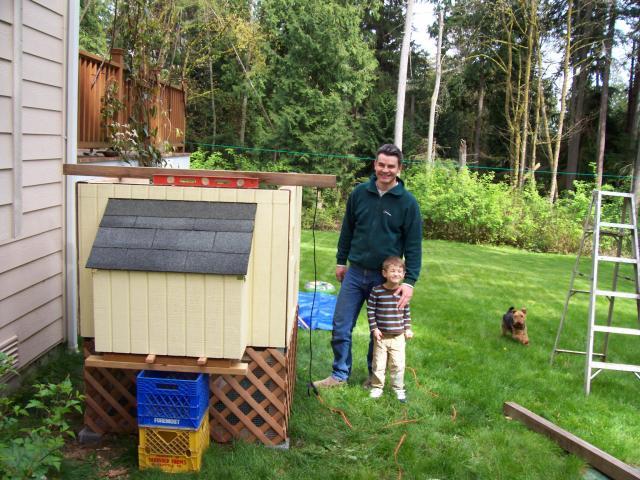
Framing in Roof - 45 degree pitch
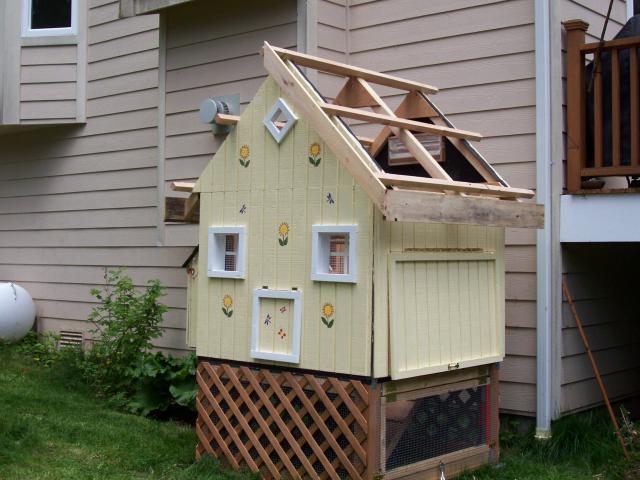
Almost Finished
