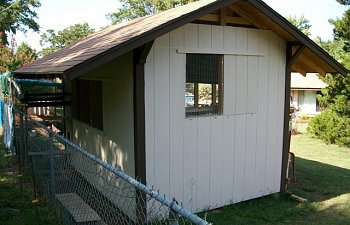
We built an 8' x12' walk-in coop. I used large, 36" overhangs to keep the sun off the coop walls. They also keep rain, even wind driven rain, out of the coop and away from the windows on the sides.

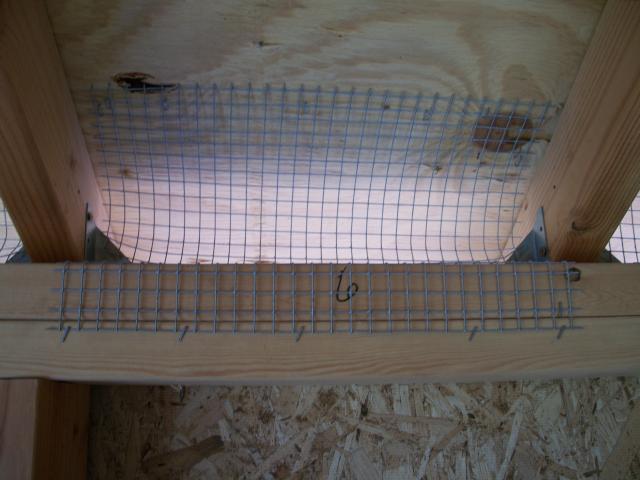
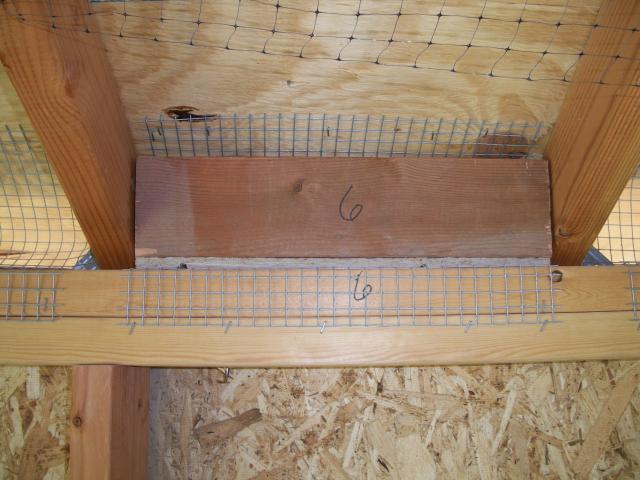
Below, I left the tops of the walls open between the roof trusses. Cut hardware cloth to length and shaped using a 2 x 4. The excellent air flow keeps the coop cool throughout the summer with no temperature increase in the coop from outside temperatures. Air exchange or air quality is excellent.
In the winter, I want to reduce the airflow. I have a 2 x 4 cut to fit in the opening, fitting as tightly as needed.
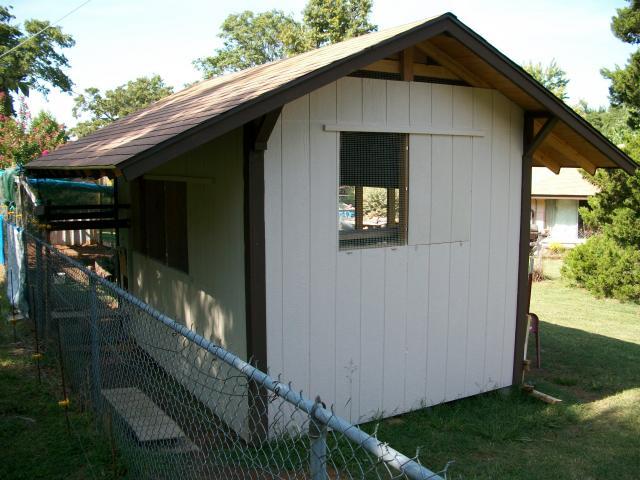
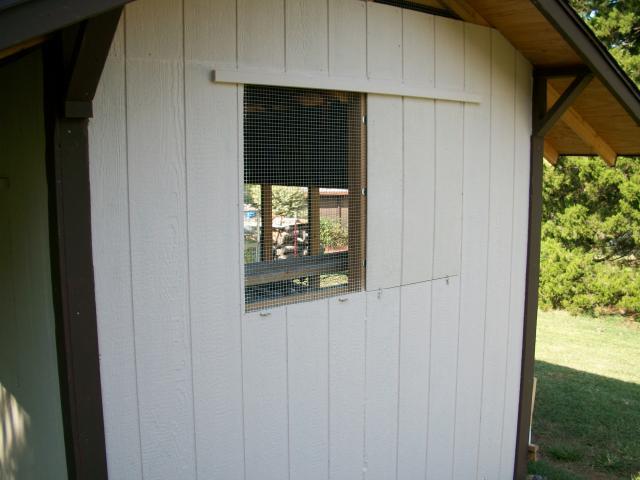
Instead of regular windows, I used a 1 x 2 across the top to create a groove (into which the tops of panels are inserted) and turn buttons to hold the bottom of the panel in place. I have one siding panel in place as shown below.
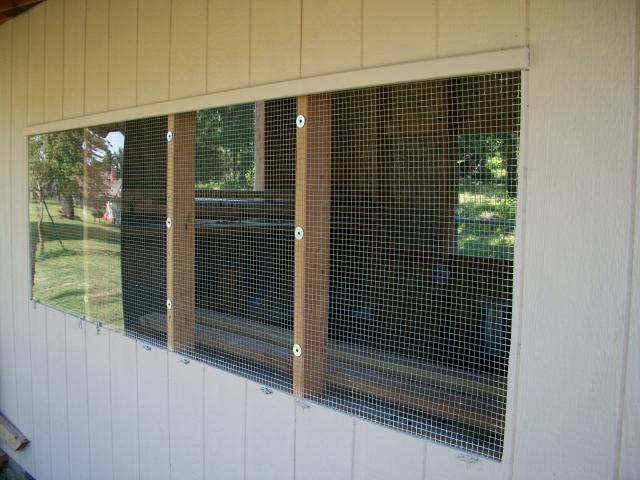
The next picture shows a plexiglass panel in place in part of a window opening. I use these in the winter on the two sides beneath the large roof overhang.
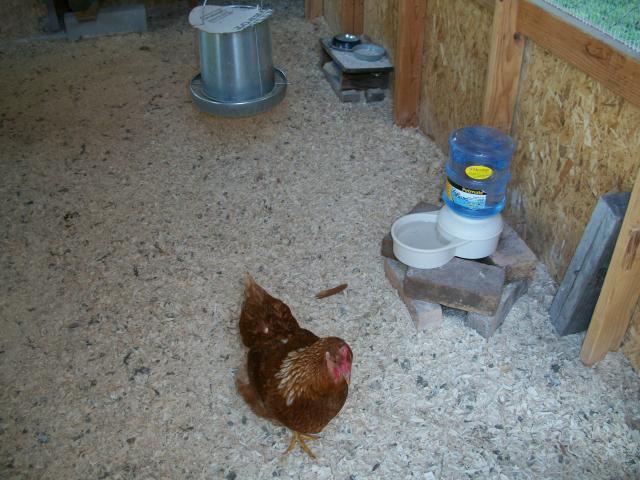
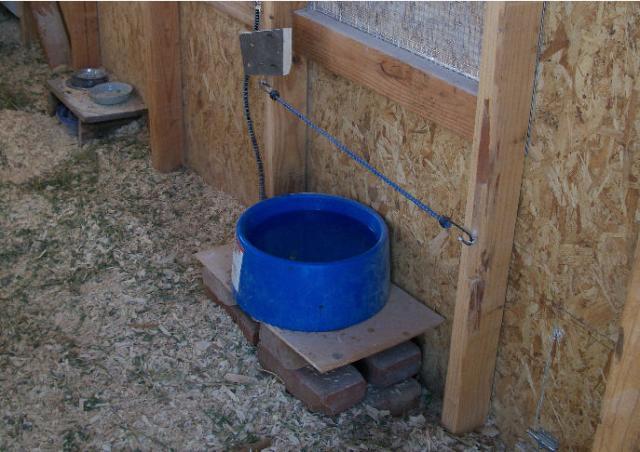
Inside the coop, I use a hanging feeder. Two small bowls of grit and oyster shell are nearby and always kept full. A simple waterer by PetMate for nonfreezing weather conditions.
For an extended cold snap, I use a heated dog waterer. The electric outlet is up high, the cord runs right to it. The bunge cord keeps the girls from standing on the bowl edge as shown below.
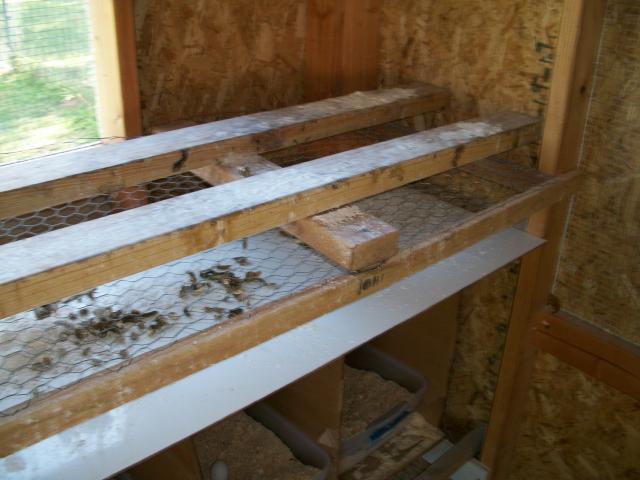
Roosts are simple 2 x 4's. The poop boards are white board from Lowe's ($11/4x8 sheet) easily cut with a skill saw. Boards clean in just a minute or so each day. The wire caught the eggs laid at night initially. I have since removed the wire as not needed.
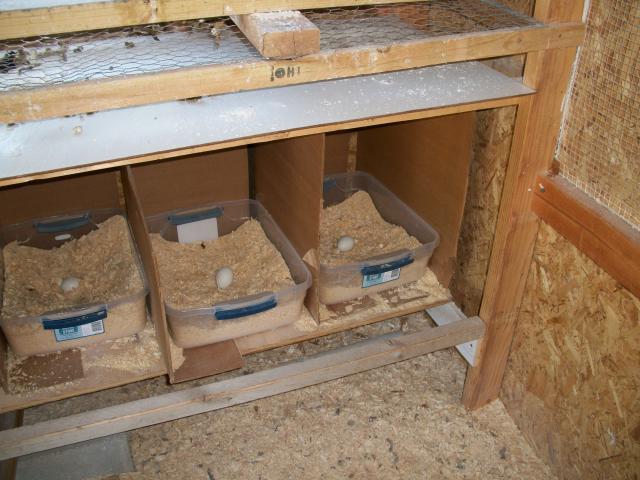
The nests are simple containers from Wal-Mart (15 qt Rubbermaid; 17.5"x13.5"x5.5"). I cut cardboard boxes to provide partitions and backs. A ceramic egg to help train them initially is shown.
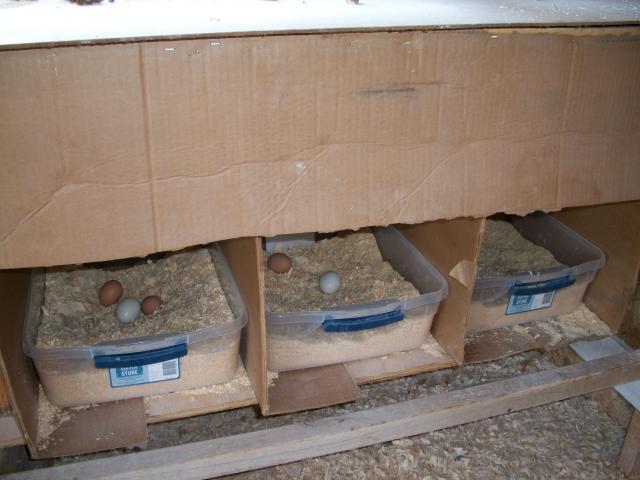
After awhile, it became apparent that a little more privacy was desired by some. A cardboard front was cut and stapled in place. Those girls are now happy campers.
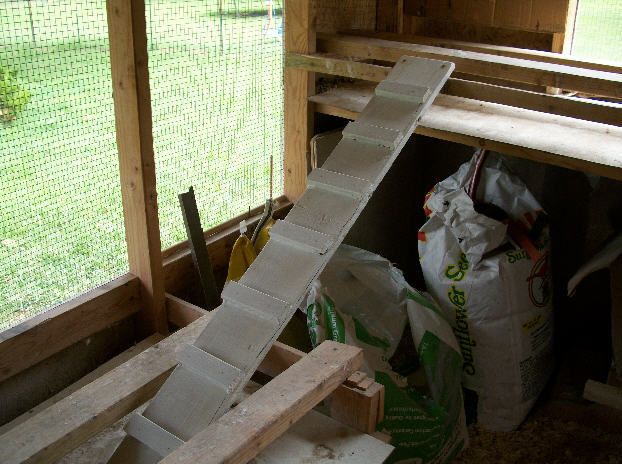
Extra materials are stored in bins below the lower roosts and poop boards.
My mini ramp from the lower roosts to the upper roosts is the preferred mode of travel between the two. The angle is not as steep as it appears in the picture below.
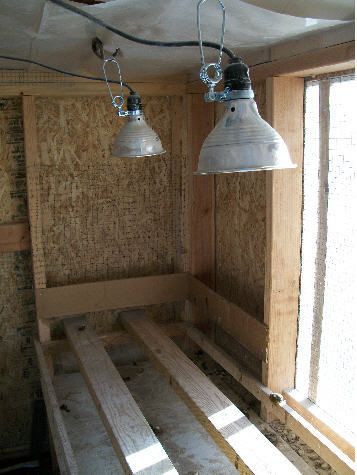
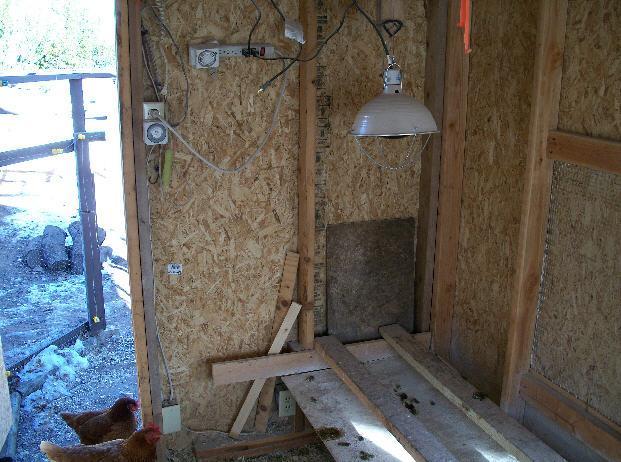
In the winter, I use two sets of heat lamps for the "wide and rapid temperature swings" we get here. I do not use them just because the temperature drops. Two 50w infrared lamps with the reflector lip 23 inches above the upper roost boards. On my lower roosts, a 250w red infrared lamp, 33 inches above the roost boards. The girls choose which they get under according to their needs. An example is they are seriously moulting. I find the 50w are good at 20-15 degrees F; below 15 degrees F, the 250w gets turned on. The lamps are secured with screws and wire, not just clamped in place. Use these lamps with caution as they are a fire hazard. We only use these lamps a few times a year.
Note the plastic sheeting I attach to the rafters above these roosts. This eliminates any possible draft from the gable opening.
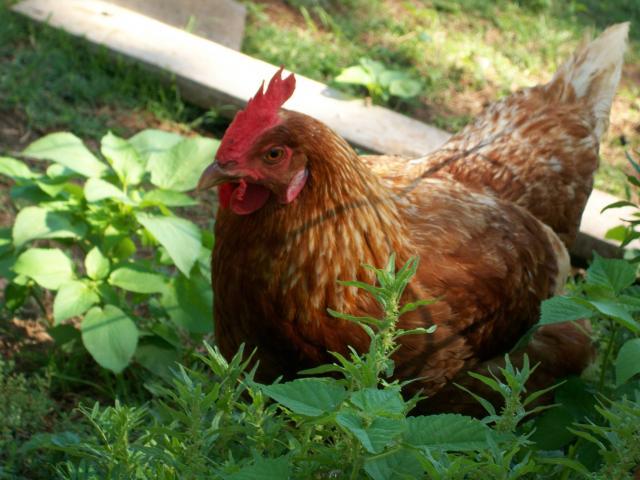
Great layers starting at about 17 weeks...Golden Comets and RIRs.
Below, I left the tops of the walls open between the roof trusses. Cut hardware cloth to length and shaped using a 2 x 4. The excellent air flow keeps the coop cool throughout the summer with no temperature increase in the coop from outside temperatures. Air exchange or air quality is excellent.
In the winter, I want to reduce the airflow. I have a 2 x 4 cut to fit in the opening, fitting as tightly as needed.
Instead of regular windows, I used a 1 x 2 across the top to create a groove (into which the tops of panels are inserted) and turn buttons to hold the bottom of the panel in place. I have one siding panel in place as shown below.
The next picture shows a plexiglass panel in place in part of a window opening. I use these in the winter on the two sides beneath the large roof overhang.
Inside the coop, I use a hanging feeder. Two small bowls of grit and oyster shell are nearby and always kept full. A simple waterer by PetMate for nonfreezing weather conditions.
For an extended cold snap, I use a heated dog waterer. The electric outlet is up high, the cord runs right to it. The bunge cord keeps the girls from standing on the bowl edge as shown below.
Roosts are simple 2 x 4's. The poop boards are white board from Lowe's ($11/4x8 sheet) easily cut with a skill saw. Boards clean in just a minute or so each day. The wire caught the eggs laid at night initially. I have since removed the wire as not needed.
The nests are simple containers from Wal-Mart (15 qt Rubbermaid; 17.5"x13.5"x5.5"). I cut cardboard boxes to provide partitions and backs. A ceramic egg to help train them initially is shown.
After awhile, it became apparent that a little more privacy was desired by some. A cardboard front was cut and stapled in place. Those girls are now happy campers.
Extra materials are stored in bins below the lower roosts and poop boards.

My mini ramp from the lower roosts to the upper roosts is the preferred mode of travel between the two. The angle is not as steep as it appears in the picture below.
In the winter, I use two sets of heat lamps for the "wide and rapid temperature swings" we get here. I do not use them just because the temperature drops. Two 50w infrared lamps with the reflector lip 23 inches above the upper roost boards. On my lower roosts, a 250w red infrared lamp, 33 inches above the roost boards. The girls choose which they get under according to their needs. An example is they are seriously moulting. I find the 50w are good at 20-15 degrees F; below 15 degrees F, the 250w gets turned on. The lamps are secured with screws and wire, not just clamped in place. Use these lamps with caution as they are a fire hazard. We only use these lamps a few times a year.
Note the plastic sheeting I attach to the rafters above these roosts. This eliminates any possible draft from the gable opening.
Great layers starting at about 17 weeks...Golden Comets and RIRs.