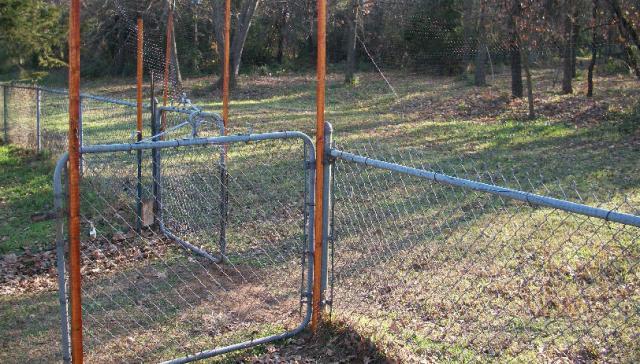
We wanted a fence to keep chickens in (7' high), not trying to keep predators out. The arrangement is visually pleasing as the fence is basically not seen once you are about 15 feet away from it. It is easy to put together and relocate as necessary. The basics are 2' high chicken wire at ground, deer netting above. The deer netting (7'x100' from Lowe's @ $12/roll) is suspended by looping it over electric fence wire (not hooked up to electricity). I ran mason line using a needle made of a clothes hanger to secure or thread the top. It has been in place for two years now. Summer heat and sun, winter snow and ice, winds in excess of 60 mph. Everything is still as originally put in place...no wear and tear requiring repair/replacement yet. Captions above pictures.
Corners are an 2"x4"x8' held in place with two T fence posts. No post hole digging, easy to move at a later date if desired. Deer netting seen here and a glimpse of the top of the chicken wire. Same arrangement for a sharp change in terrain slope shown here.

Ground level with chicken wire shown. Use a simple tie wire to tighten the arrangement. Chicken wire at ground level makes weed eating/mowing easy with no damage. It also controls the chicken pecking that would destroy the lightweight deer netting. Deer netting all the way to the ground would not stand up to necessary grounds maintenance.

Here is a corner or end of fence and a gate behind it.

Here is the ground level picture of end of the fence. Chicken wire and deer netting attached.

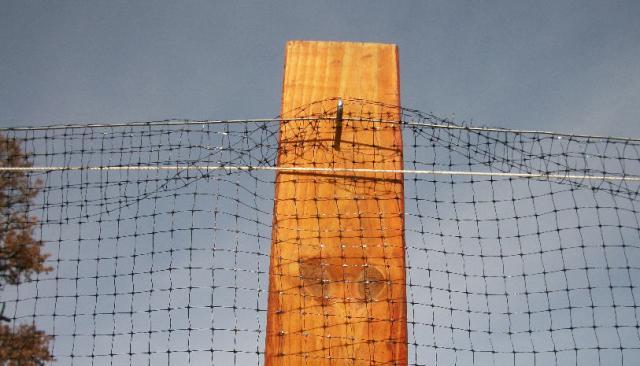
The top of the 2" x 4" with an eye screw that supports the wire. The white mason line shows the joining of the overlap. The mason line does not need to be really tight. Fish line works in place of the mason line.

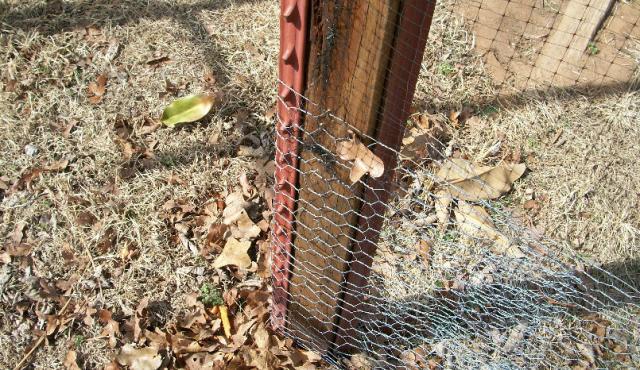
About every 20 feet along the fence, I support it with a 1"x2"x8' strip attached to a "U" post. Chicken wire is attached to the posts.

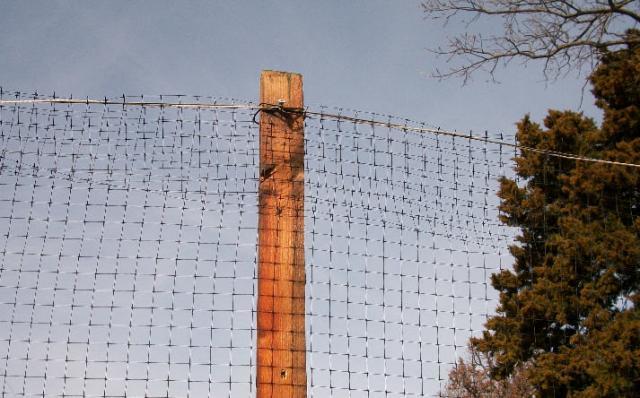
Top of 1"x2", I used a screw to support the wire as I had run out of eye screws. Notice that I do not attach the netting to the posts.

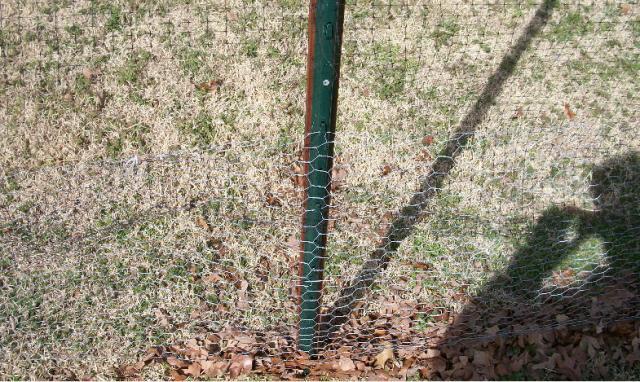
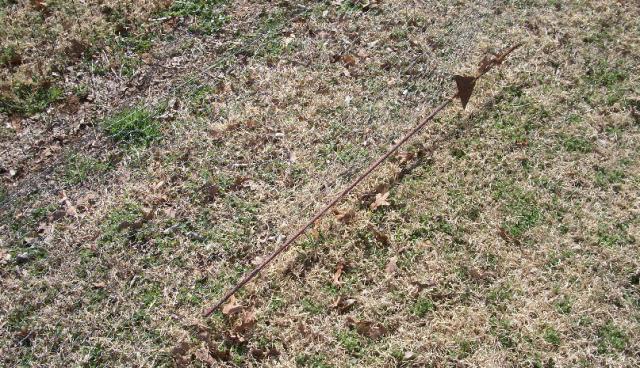
I use electric fence posts run through the chicken wire at ground level to keep the base low and discourage any thinking chicken from scooting beneath it. Rebar or anything would work.

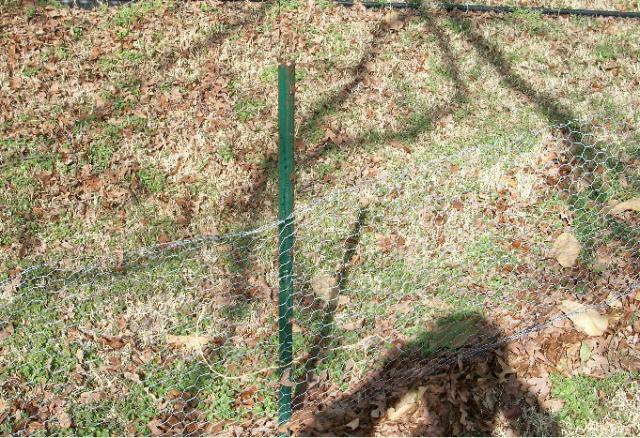
At a couple of spots, I used only the "U" post. I would generally discourage this as the deer netting will catch and tear over time in winds. It is not worth saving the cost of a 1"x2"wood strip. What 'not to do' is important also. This is a windless location.

These next two pictures show a corner of my earliest version. This is the one time that the ice and snow collected on the deer netting. I was motivated to follow aviary instructions and support the tops of the netting with wire and a securing line after this storm. However, it illustrates well, the"invisible " nature of the fence arrangement.
Now you see it....

Now you don't....

Corners are an 2"x4"x8' held in place with two T fence posts. No post hole digging, easy to move at a later date if desired. Deer netting seen here and a glimpse of the top of the chicken wire. Same arrangement for a sharp change in terrain slope shown here.
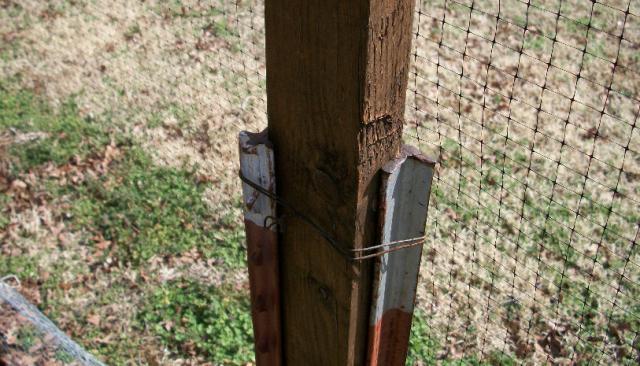
Ground level with chicken wire shown. Use a simple tie wire to tighten the arrangement. Chicken wire at ground level makes weed eating/mowing easy with no damage. It also controls the chicken pecking that would destroy the lightweight deer netting. Deer netting all the way to the ground would not stand up to necessary grounds maintenance.
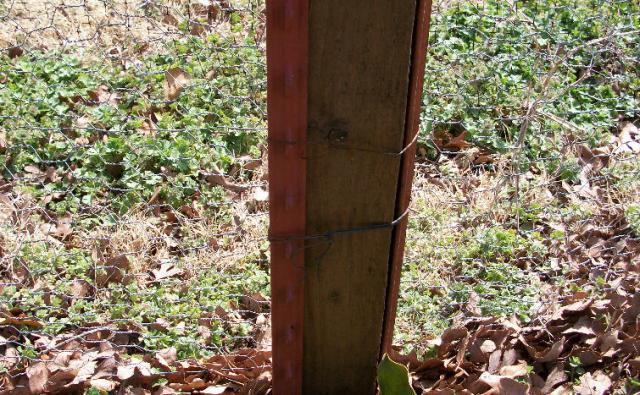
Here is a corner or end of fence and a gate behind it.
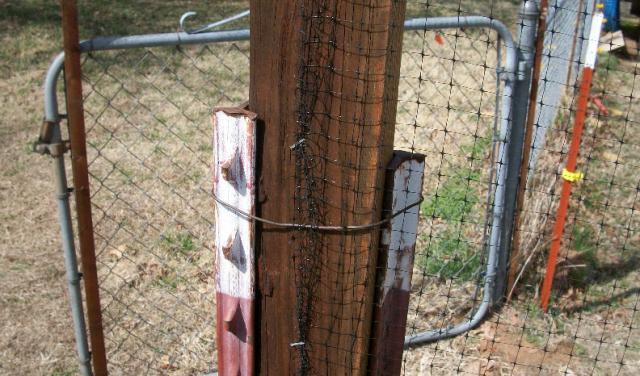
Here is the ground level picture of end of the fence. Chicken wire and deer netting attached.
The top of the 2" x 4" with an eye screw that supports the wire. The white mason line shows the joining of the overlap. The mason line does not need to be really tight. Fish line works in place of the mason line.
About every 20 feet along the fence, I support it with a 1"x2"x8' strip attached to a "U" post. Chicken wire is attached to the posts.
Top of 1"x2", I used a screw to support the wire as I had run out of eye screws. Notice that I do not attach the netting to the posts.
I use electric fence posts run through the chicken wire at ground level to keep the base low and discourage any thinking chicken from scooting beneath it. Rebar or anything would work.
At a couple of spots, I used only the "U" post. I would generally discourage this as the deer netting will catch and tear over time in winds. It is not worth saving the cost of a 1"x2"wood strip. What 'not to do' is important also. This is a windless location.
These next two pictures show a corner of my earliest version. This is the one time that the ice and snow collected on the deer netting. I was motivated to follow aviary instructions and support the tops of the netting with wire and a securing line after this storm. However, it illustrates well, the"invisible " nature of the fence arrangement.
Now you see it....
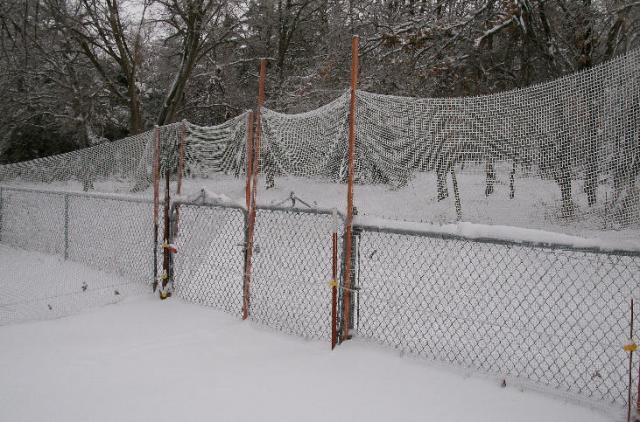
Now you don't....
