My Mid-Life Crisis Coop
My wife says that most men going through a mid-life crisis get themselves either a new car or a mistress -- but lucky for her I got into chickens instead! Here is my story . . .
It was Easter 2010 and my wife insisted on getting our 10 year old daughter an incubator. I was originally against the whole idea, but she felt it would be a great family project. The idea was to get eggs, hatch them out and raise them just long enough until they were ready for auction. Done!

What happened next, however, is --- I got involved! And, after hours, days and weeks of research on the internet, I came to find what wonderful pets chickens make and how their owners just love them and their vibrant personalities. Soon, I stumbled upon the BYC website, where I found a photo of a chicken coop which become the inspiration for my project/crisis . . . It was then, that my quest for "Chicken Ranching" began . . . From bonafide "City Slicker" to "Country Cowboy" . . . It only took me 41 years to realize my life's true calling!
So, the saga begins . . .
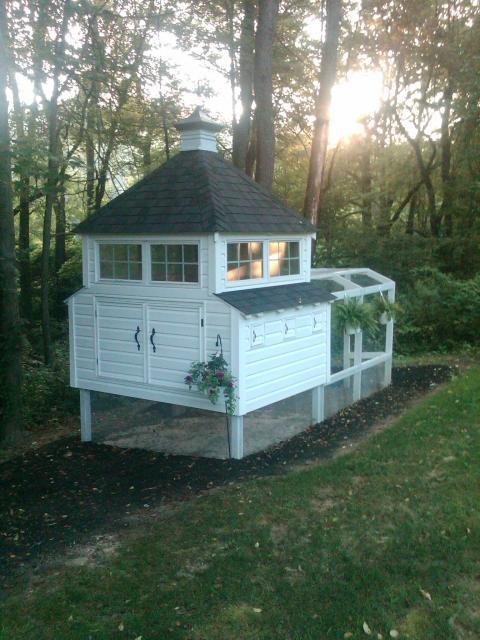
It was a cold April day in Pennsylvania when I began to construct what has, in our circle of friends, become known as the "The Taj-Mahal" of chicken coops.
First, I had to figure out what type and how many chickens we would be keeping. We decided that we wanted to keep all bantam breeds (Silkie) and roughly 8-12 birds. Using the calculation of 2 sq ft per bird for inside the coop and 10 sq ft per bird for the outside run area, the blueprints in my head began to take shape . . .
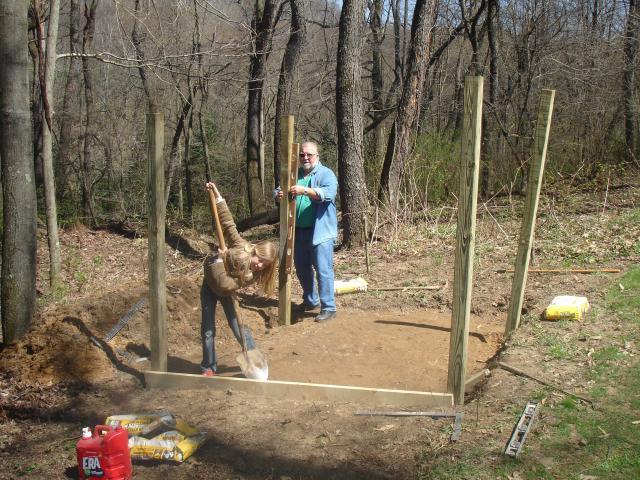
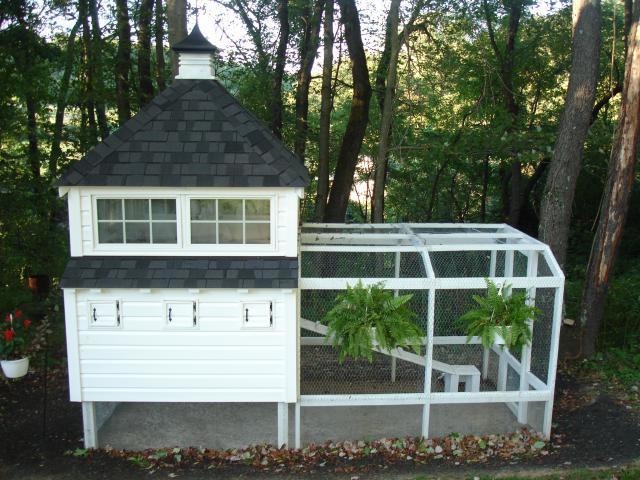
Once I had the outside dimensions figured out, I proceeded to construct! No plans, just a picture of a similar, but smaller-scale design. I made some revisions to the original based on preference. It was my goal to build a "house" that was fully functioning without ever having to set foot inside the building --- I have two nesting boxes with outside access doors, another door with a viewing window, two large doors opening on the front for ease of cleaning/feeding and a side door for tool/feed storage.
The perimeter of the actual coop is 6' X 8'. I decided to raise it off the ground 32". I did this to deter the entry of rodents, predators and to provide some cover over the run on hot or weathery days.
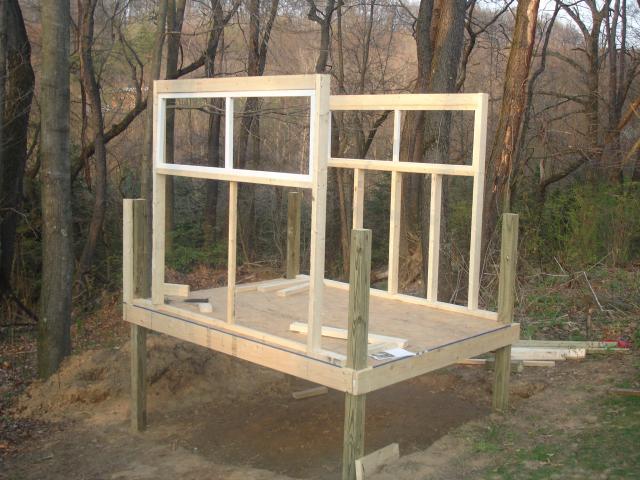
The height of the peek of the roof towers over 14' off the ground.
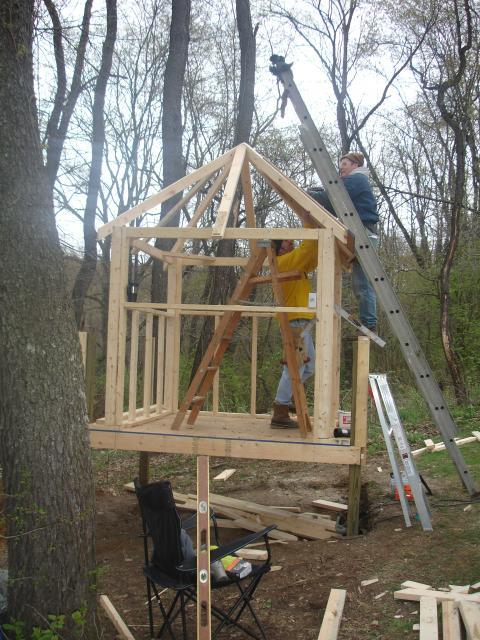
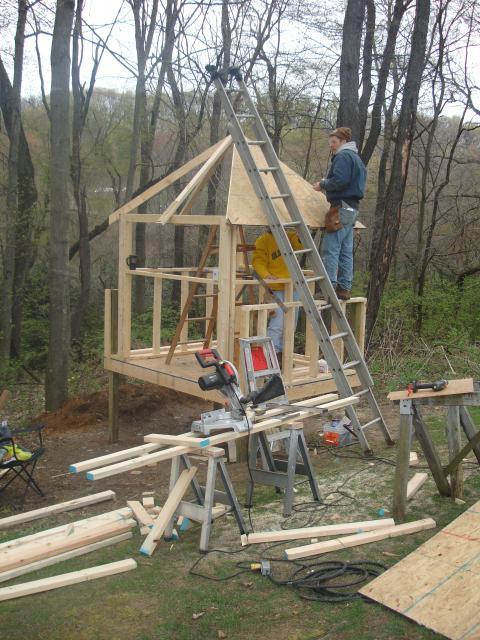
I used left over shingles from our house for the roof. Once the roof was complete, I began installing the 7/16" OSB siding using 8 penny nails.
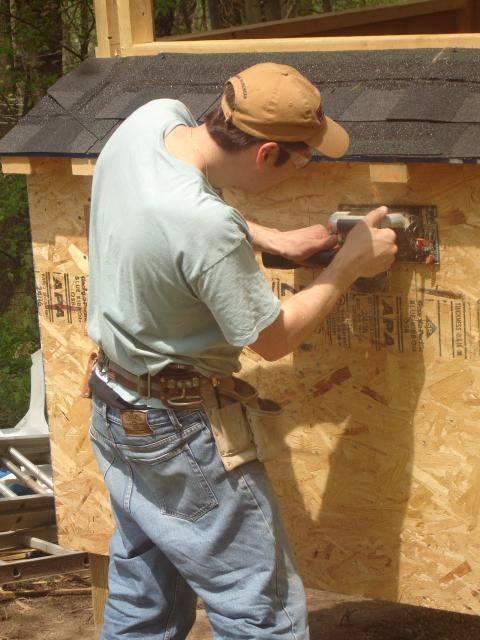
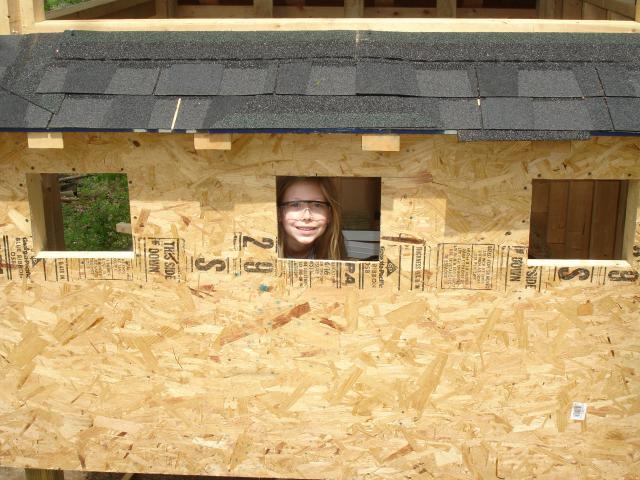
When the OSB siding was complete, I trimmed the overhangs with OSB board.
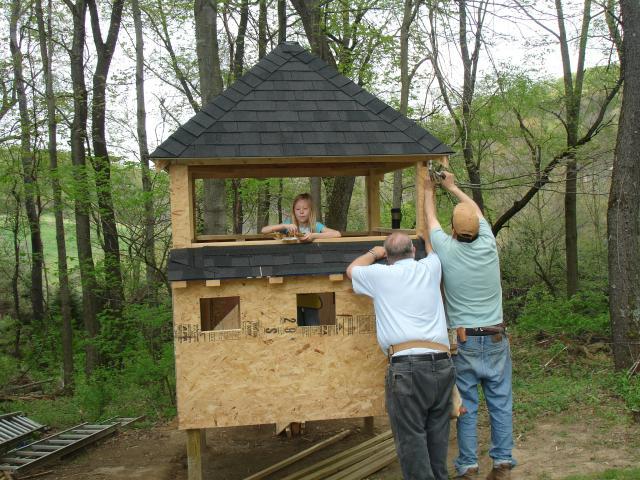
Now, the dreaded task --- painting! UGH!!!
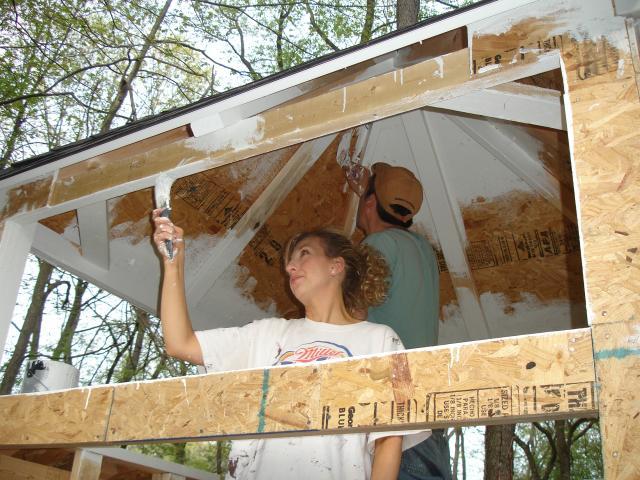
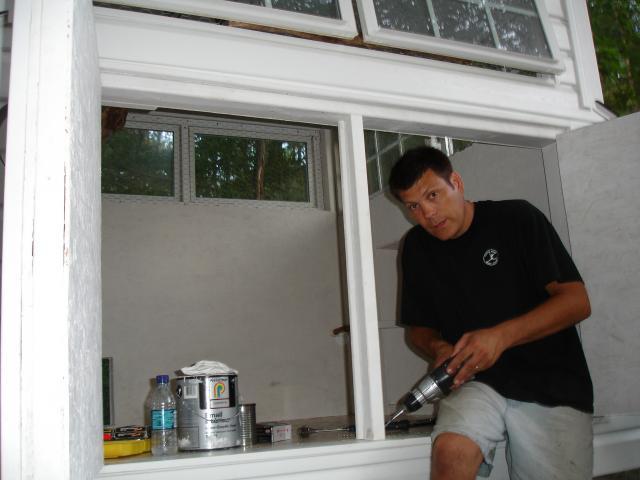
Once the painting was complete, I installed the windows. I was very lucky to find a used window dealer who was going to throw these ones away because they were fogging up. They were only sashes, but I was able to build wooden frames for them. The windows are able to open by tilting them out from the bottom. The sashes measure 18" X 32". I aligned two, side by side, for the walls.
My next step was to install the vinyl siding, which was leftover from our home. I attached it using 1" roofing nails.
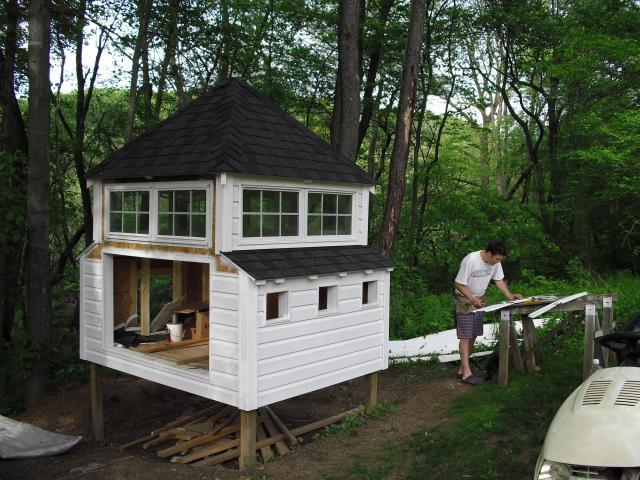
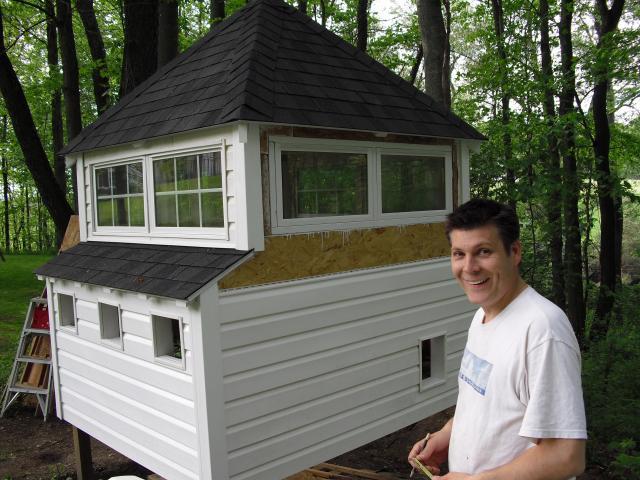
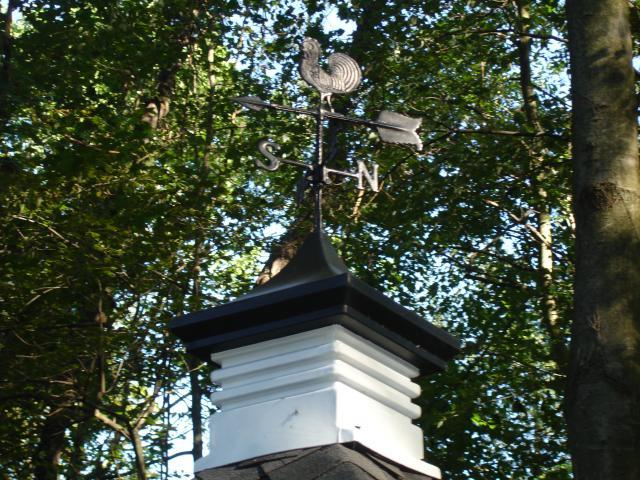
After the siding was complete, I added a cupala with a rooster weathervane.
I began on the inside of the coop. I insulated the walls with R16 and used 1/4" OSB for the interior walls.
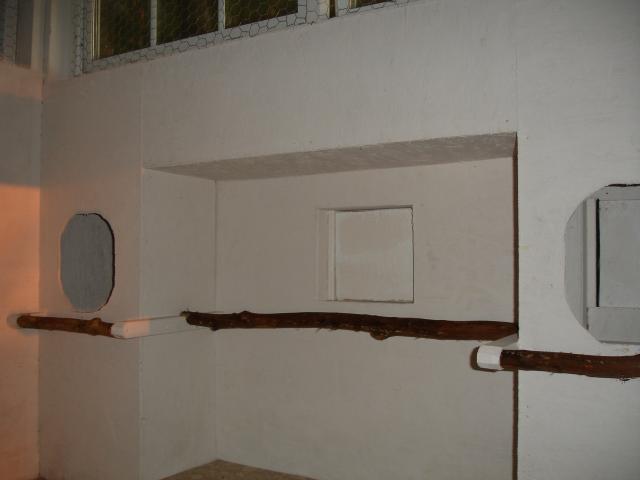
Now, the hanging of roosting poles and the building of the nest boxes. The box openings are circular in shape measuring 9" X 12", the actual nest boxes inside measure 12" X 12". I determined that only two would be required for the amount of birds I was planning on raising (one nest per 4-5 birds). The two roosting rods are of natural timber found in our woods out back. The highest roost is 32" off ground and the low roost is 18" off the ground. I calculated the space required at 5"-10" of space per bird.
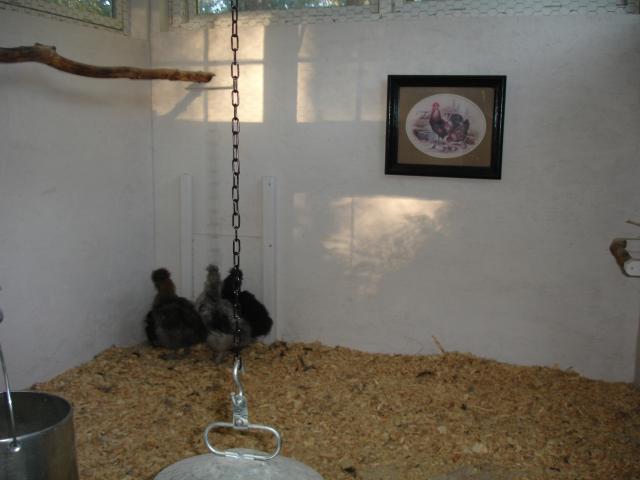
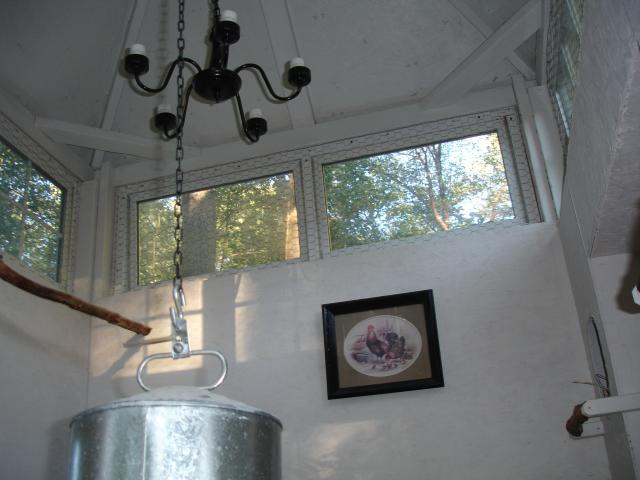
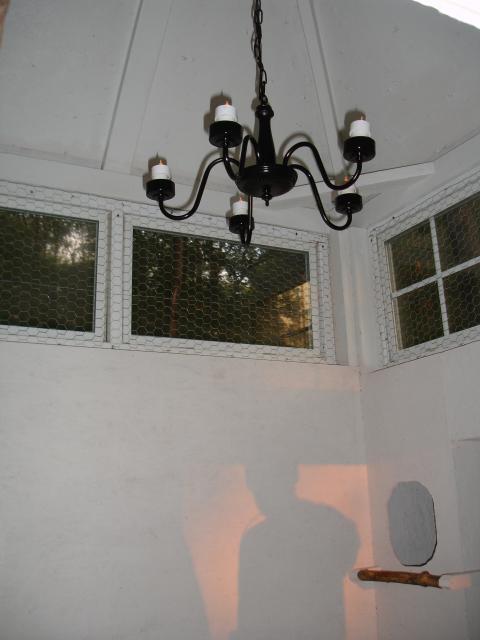
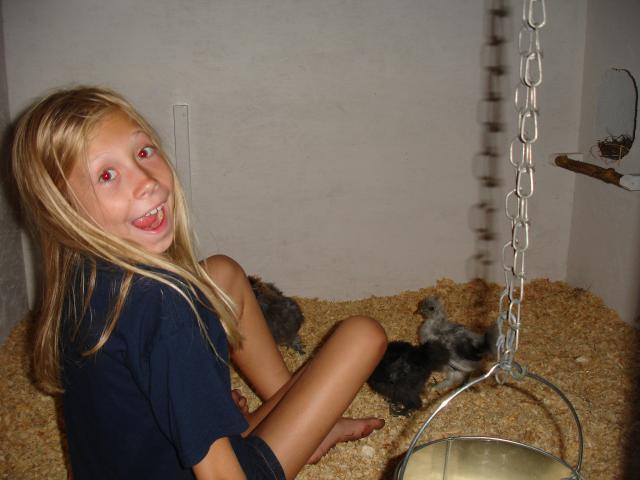
If you didn't notice -- that is a family photo in the coop! I thought it needed some ambiance to make the girls feel right at home. I also hung the water and food canisters from a chain, as this really helps in keeping them free of pine shavings. Since my girls are getting spoiled, why not add some lighting for them??? Thus, my wife found a chandelier to put in the coop --- and YES, it works!
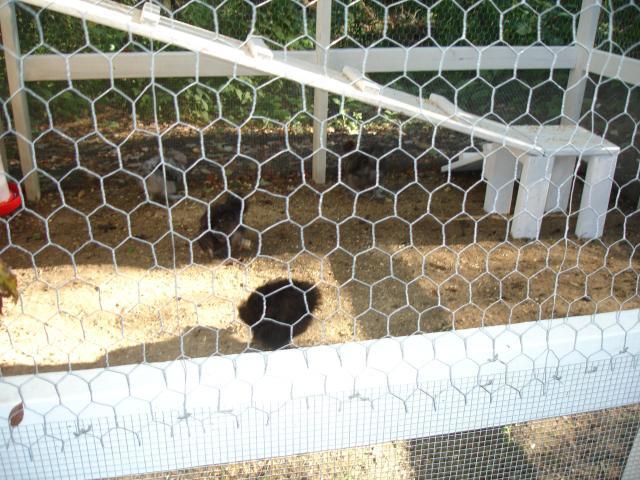
The next stage was to begin the construction of the attached run. The run measures 8'W X 14'L X 7'H. I decided to cover it all with 1" chicken wire to protect the girls from predators above. I used 1/4" chicken wire all around the bottom 2' high. Not shown, but done, is the fact that I dug out the whole run area 4" deep and buried 1" chicken wire to stop skunks, coons and foxes from digging in. GOTCHA!
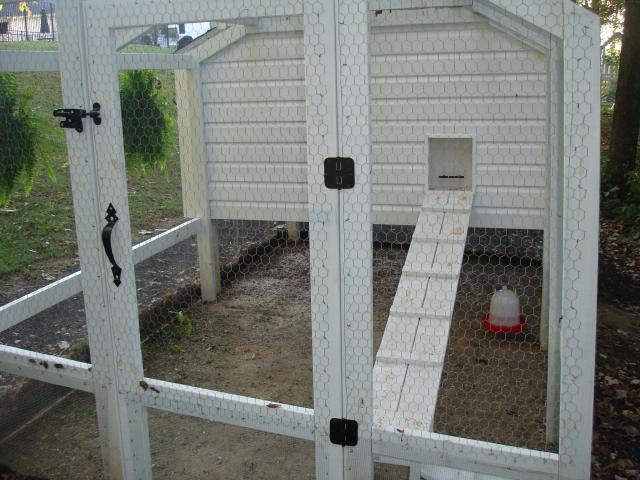
Food storage was a concern of mine. I had planned all along to to add a space on the back side of the coop with one large door for access. I store the feed in 5 gallon plastic buckets to control rodents and moisture.
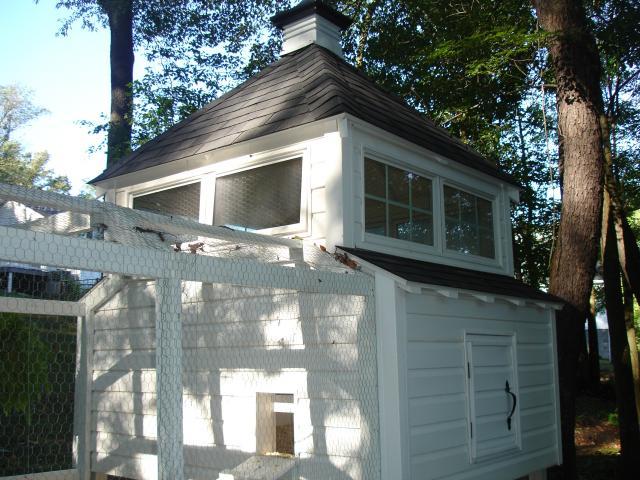
All of this, not just for my lady chickens, but also to keep my main girl happy!
So . . . Even at this point, my wife claims that she would have rather I have taken up with a mistress versus getting into chickens, as she states, "At least the MISTRESS wouldn't be living in her back yard!"
Hope you all enjoyed my story, I am really enjoying my CHICKENS!!!
Lessons learned:
- Plan on spending way more time than the wife allotted..ouch!
-- Started April 10, 2010
-- Finished Sept 4, 2010 (well there are still a few odds and ends)
- Hidden cost were everywhere . . .
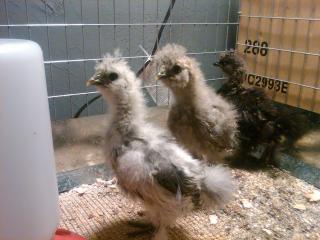
- Before building an off-the-ground coop, check to see if the bird breed you are raising can navigate a ramp! I found out a little too late that my Silkies don't! UGH!

Total Construction Cost Breakdown:
-- Estimated Material / $550
- 34 (2x4x8)
- 12 (treated 2X4x8)
- 4 (treated 4x4x8)
- 8 (2X6X8)
- 8 (7/16 OSB)
- 6 (1/4 OSB)
- 14 (2x2x8)
- 40' Drip Edge
- 40' Vinyl Starter Strip
- 100'/ 1"x4' Chicken wire
- 45' / 1/4" x 2' Chicken wire
- 2 gallon white paint
- Hardware (handles/hinges/screws)
-- Misc Items
- Cupala (Purchased through EBAY for $ .99 plus shipping)- WOW!
- Weathervane (Purchased through EBAY for $19.99) - WOW!
- Chandelier (Purchased at Thrift shop $2.00) -- WOW!
- Artwork (Purchased at flea market $2.00) -- WOW!
- Water and Feed Buckets (Purchased at Tractor Supply $30.00)
- Vinyl flooring (Purchased at Lowe's, bartered it down for only $5.00) - WOW!
-- Free Items
- Four bundles of shingles (left over from house)
- Vinyl siding (left over from house)
- One roll of R16 insulation (left over from house)
- Windows (savage from local dealer trash) -- LUCKY!
- Misc nails, screws.
-- Labor ..... PRICELESS!!!
With all this, I think you will agree with me that a $600 chicken coop is much less expensive than a new car and MUCH more reasonable than a MISTRESS!
Sincerely,
Todd Bowser
aka: Todtrac
Link to BYC


