This is my babies home of homes!
In 2010 when I came home with 12 fluffy chicks my husband almost fell over. I told him we have 10 weeks to get a new chicken coop built!
And so in June of 2010 he and I started to build the new Tajmahal I call the Fluffy Butt Hut, and he calls the Time Machine. (Because I loose all track of time when I am down with my girls.)
We started looking at prebuilt sheds and plans. Hubby was sure that we could build one from scratch a lot cheaper than what they wanted for a prebuilt one. He wanted to build it a lot stronger and better as well.
So, to the lumber store we went. We had no plans to follow, no schedule, just a little bit of experience and a lot of thought. I ended up with an 8 X 12 shed that we sided, shingled, guttered, insulated, and so on. My girls have the nicest coop in the area!~ (or I think so anyway.)
We started by auguring holes and cementing 4x4 treated posts in to make the foundation frame. Built the floor frame out of treated lumber and put down the plywood floor. Our ground is on a slope, so we had 6 inches of air space below one end and 24 inches open on the other end. This worked out really well, as the girls and 'Bird have an extra area they can get under for shade or to dust.
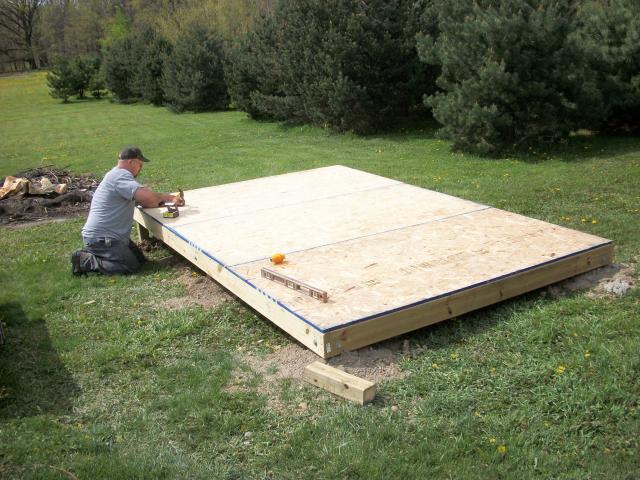
We then started framing with 2 X 4s 16 on center and plywood. I am really surprised at how good we did! No plans at all. We knew what size to go with to end up with the least amount of waste. I knew I wanted a separate section for my feed, medications, etc.
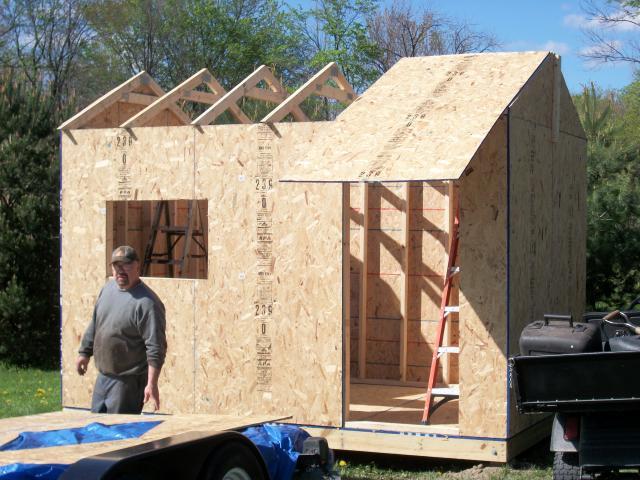
We were able to find a really good triple pane window at a wholesale builders supply place for $20!~!!! The girls have a better window in their coop than what's in my house!!! Looking back, I WISH I would have put in more windows. I also found a solid insulated door for $15 at the same place. I should have wired it for electric at this time, but I didnt. So now a year later I am trenching for electric and will have to drill a hole in my floor or siding to do it. My advice? If you even think you will need something do it while you are building it, not later.
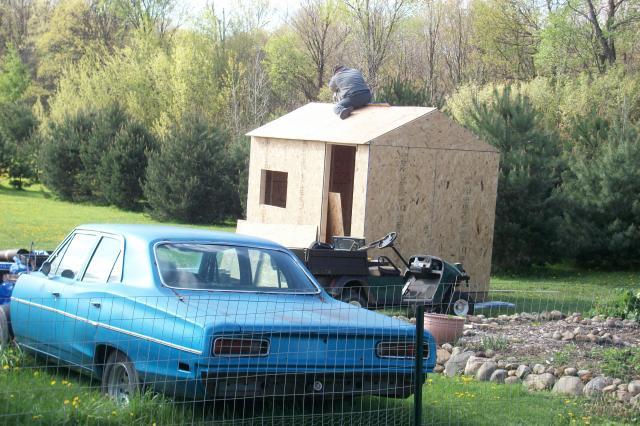
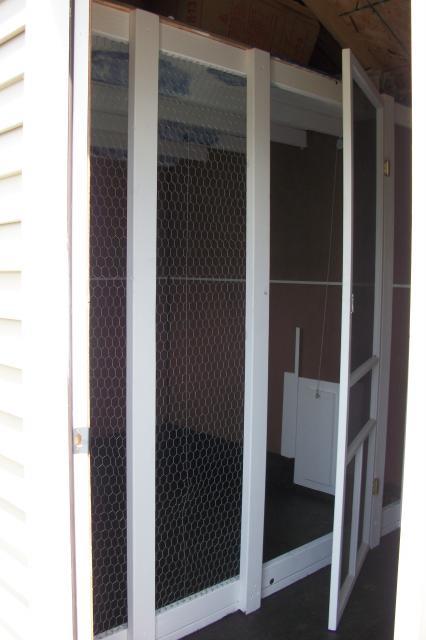
After we sided it with vinly siding to match the house, and shingled it, I started on the inside. I built a 'wall' using 2 X 4's and chicken wire inside to make my small storage section separate from the girls. I used a screen door to be able to go into their side. This works really well as the screen door is removable. I usually take it off the hinges and store it now unless I have to separate someone or have chicks growing out. I get the extra room for them all in the winter by taking it off .
I used Rhino Liner truck bed liner on the floor of the coop to cover the plywood. It has worked REALLY well. It's been 3 years and I can just hose the floor down with no rot issues from the underside or top. It does not hold moisture, mold, mildew, and I can spray it down if needed with insecticide. you can see a little bit of it above in black. I went up the walls about 12 inches with it as well. I was not sure how good this was going to work, trial and error. I can not say enough good about doing it. It was a little costly, but worth it to me.
The screen door that is removable is really a blessing! I can put it on to keep babies separate from my main flock until they grow out a little more. Then take the door off and let them all have a commom area.
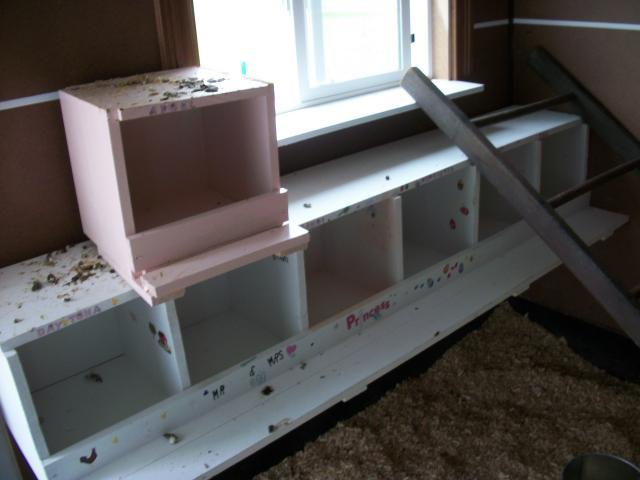
When I first built the coop, the nest boxes I painted white and pink. How cute right????? They didnt last long. Next spring I painted them with an oil base brown. It is a lot easier to clean with an oil base paint. The main roost now is mounted paralled to the boxes, so the top of the egg box here is their poop board. It makes it so nice and easy for daily cleaning.
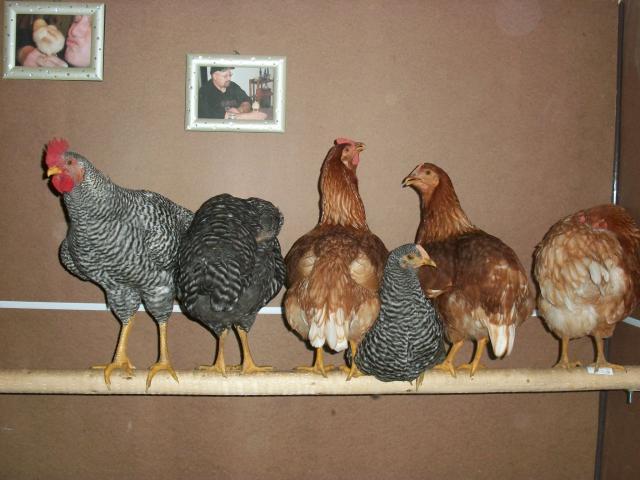
Yup, didn't want the girls and 'Bird to forget us, so I put up pictures of Hubby and I on their wall. LOLOLOL
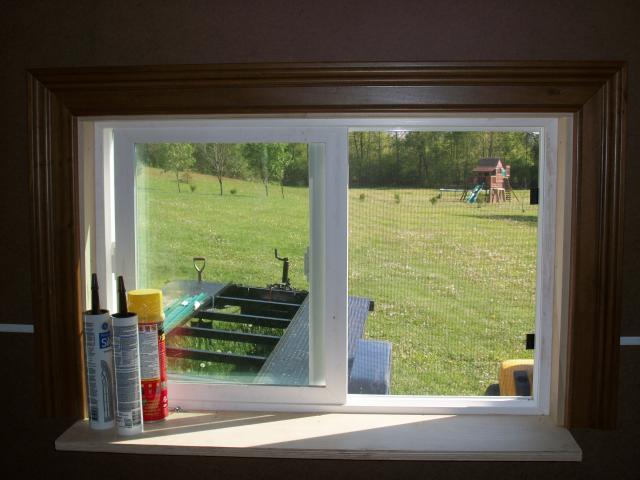
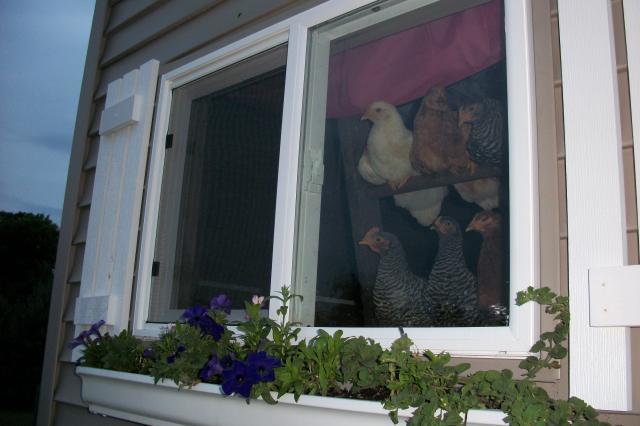
I caulked around the windows to make sure there were no drafts. I was really lucky, my Mom and Dad were building a new house at the same time we were doing the coop. Check out that nice oak moulding around the window! lol
Here is how the inside ended up. I did insulate the walls and ceiling with standard pink insulation rolls. This being said, I had to cover the insulation so they wouldnt pick at it. I used 4 X 8 sheets of panel board from Lowes or Home Depot and nailed it up. This year I am going to replace it if I can with the bathroom 4 X 8 sheets. They are a lot easier to wipe down and clean. I found carpet remenants from our local carpet place and wrapped the 2 X 4 roosts with it. I had been having issues with Bumblefoot over the last year and could not for the life of me figure out why. This seems to have put a stop to it. The roosts are padded now so when they jump from one down to another it is not so hard on their feet. I change it out about once a year. I am really suprised how clean it stays.
Like I said, I wish I would have wired it for electric when we built it, but we didnt ('it's only a chicken coop). At the time I didnt think I would need it. Now I am using a heavy industrial gague extension cord (50 foot) to run electric for a heat lamp. You can see the heat lamp above. I will be trenching electric to it this year.
Love the rhino liner floor still in tact and has been awesome! I know there are a lot of knock off types of liner that would probably work as good.
Yes, I painted their ceiling white wtih clouds on it. Yes, I used a pink feed sack to make a curtain out of over thier window. Why not? It's my play house too. lol
So when I finished the inside and the outside was sided and shingled and I had some time finally, I started with the little things out there. I did not have gutters on it the first year. We did not built the roof trusses big enough and didnt leave enough overhang and found out that water could and did leak in a little. Fixed that with the gutters and some kind of roof overhand stuff.
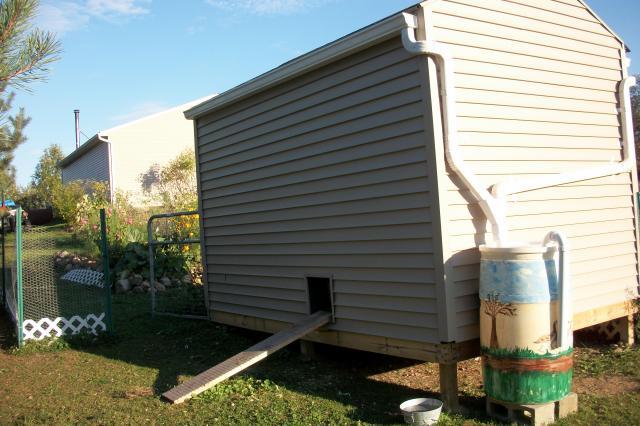
This is what the outside looked like when we first finished it. I found scrap plastic fencing and made the two cute shutters for free!
The back pop door and ramp. I used a 2 X 12 with cuts every 3 inches for texture for them.
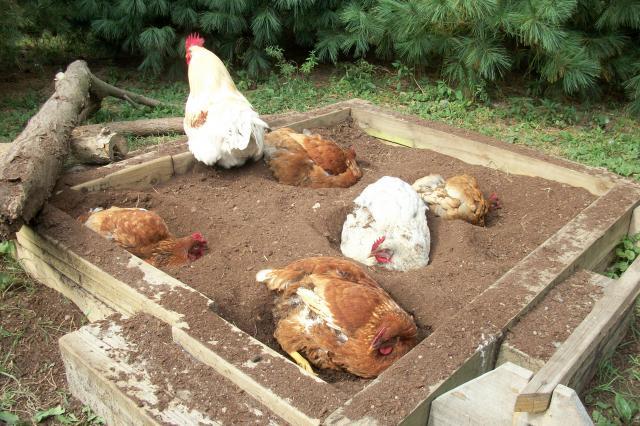
I made them a dust box with left over 4 X 4's and a bag of peat moss. They love it.
We put a vent window in the top of one side when we built it. I put in some brick steps and a gate on the pen. I attached the gate to the side of the coop/shed. I started to landscape around it with whatever I had extra of.
A friend of ours owed us a favor and he ownes a gutter company. Guess what I did? added gutters and a I made a rainbarrel. I love the fresh water I have available right there at the coop most of the year.
I broke down and bought 4 X 8 sheets of plastic lattice for their run. I cut it into 12 inch wide strips and zip tied it to the chicken wire at the bottom of the fence. At the time, I really didn't think about safety and predator protection with it. 3 years later it is still as good as new. It also has made the bottom of the wire ridged and predator proof for me. (That or I have been really lucky)
More landscaping! I have planted a lot of herbs around and it really does seem to help keep the mosquitos down I think. The girls can also pick and choose if they want any.
A flower box for the window was made out of the extra gutter that we had left from the roof.
In 2012 I put in a stone walkway by their gate.
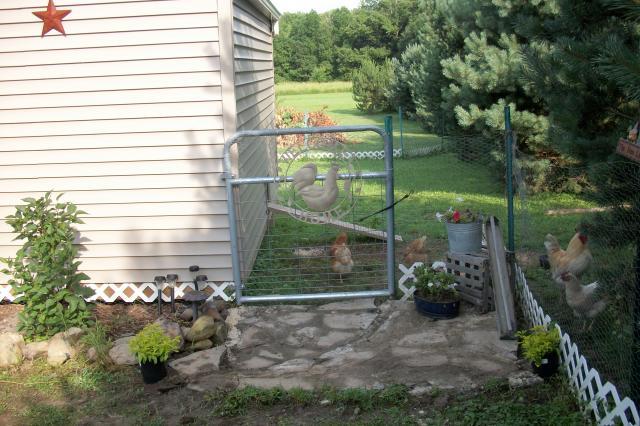
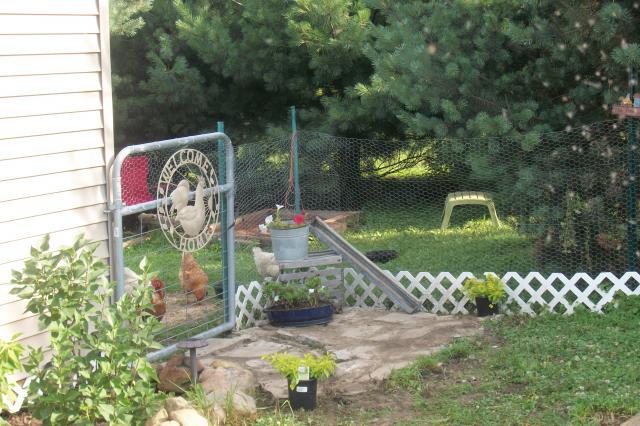
And more landscaping
Here is how the Fluffy Butt Hutt looks as of October of 2012 from the outside!!!!
I did add an little 'solarium' this fall to protect them from the elements. It worked out really well over this winter. I think I am going to leave it up year round. I used the clear plastic roofing sheets screwed onto a 2 X 4 frame with lattice on the sides. I was able to staple plastic sheeting to the lattice to enclose it on 2 sides. I put down a bale of straw and wow! what a difference it made for them this year.The can go outside and still have shelter from the wind and snow. I already had tin roofing and plan on putting that on the roof in the summer months for shade! This spring I will paint it white or brown to match the shed.
last year I installed an automatic door opener/closer. The BEST improvement I have made so far to the inside. It was a little pricey, but I have had it for 2 years without any issues. It is solar charged, so no electricity needed. I used 80 pound fishing wire run from the little motor to the door as my door is about 10 pounds in weight and heavy!!!! I like the heavy door because even a racoon can not lift it if they ever got close. I have never had an issue with a chicken getting stuck or the line breaking and slamming down and its on year 2. Cant not say enough good about it either.
Here are a few videos of the automatic coop door.
For Spring of 2013, I plan on painting the outdoor 'solarium' and planting them their own 'chicken greens' garden. I am talking to another friend of ours that does wiring too. I am only 100 feet from the garage and how cool would that be?

