Sunrise Chicks Chicken Coop
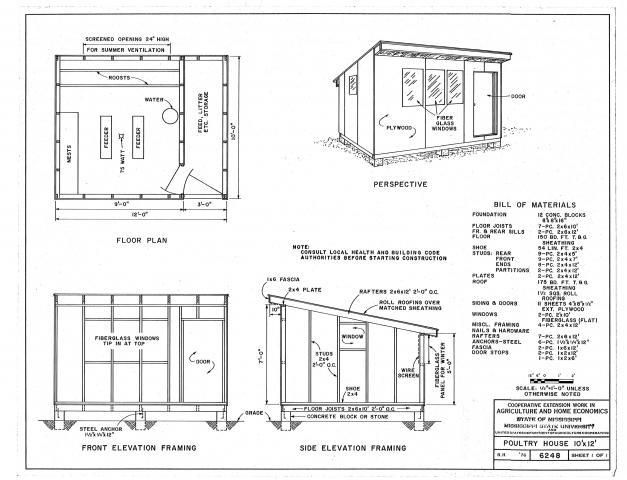
I got the basic plans for my coop from http://msucares.com/pubs/plans/6248.pdf .

These plans gave me a general starting point. This was the first time I had built any structure. My father was a carpenter, so I guess as my mother says "You have sawdust in your veins." is sort of true.
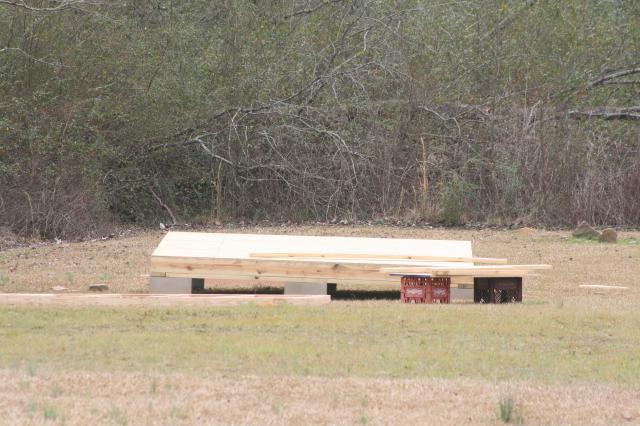
Step 1 - The Floor:

Step 2 - The Bones:
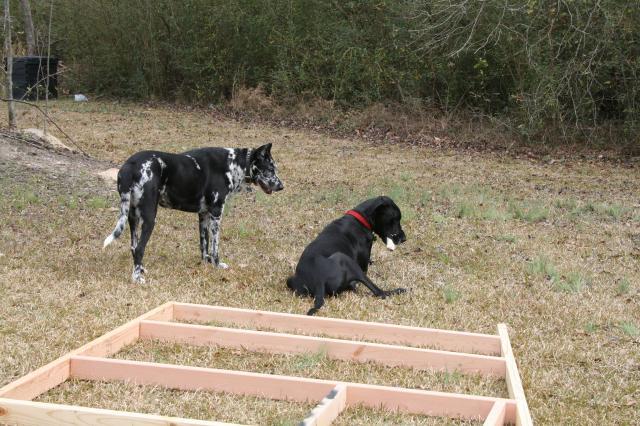
My dogs were not very helpful at all. Mainly they chewed on the scrape wood pieces.

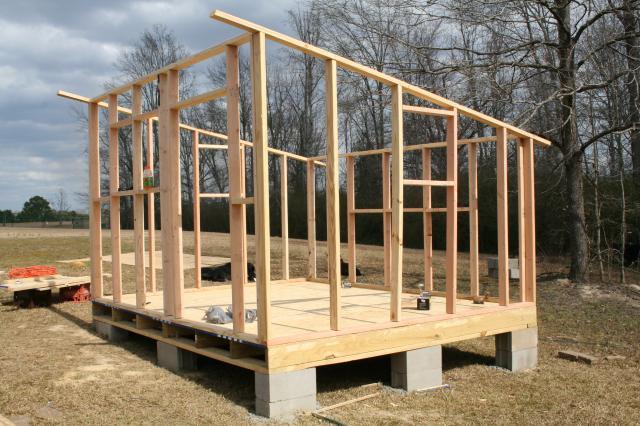
This is the frame.

I built it under a deciduous tree so the shade can keep it cool in the summer and it will get sun during the winter when the leaves fall off the tree.
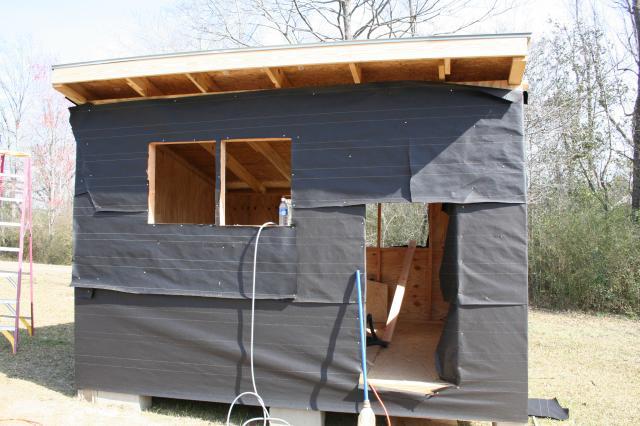
It is ready for siding at this point.

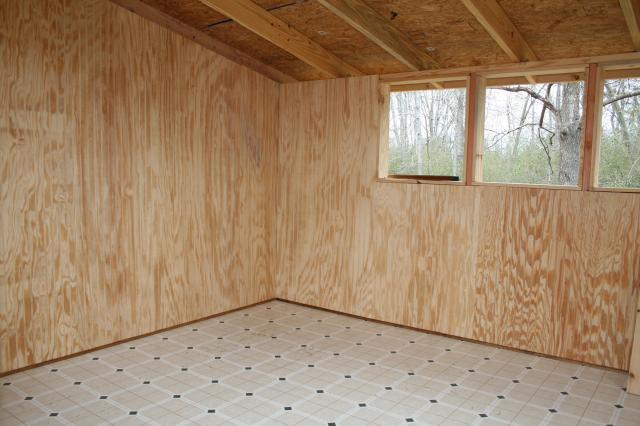
I put vinyl flooring in the coop for easier cleanup. I purchased the cheapest stuff at a local floor dealer. It's pretty though.

Step 3 - The Coop:
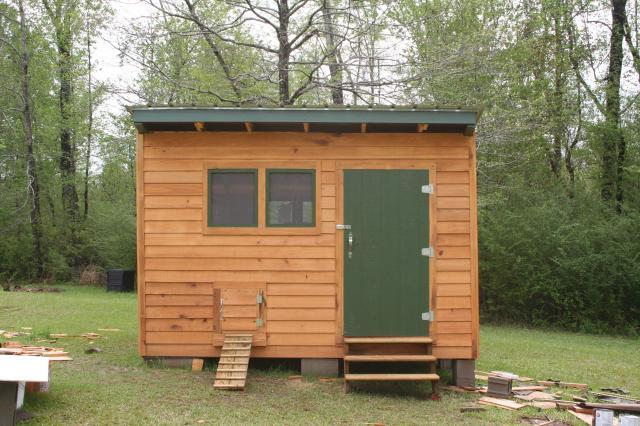
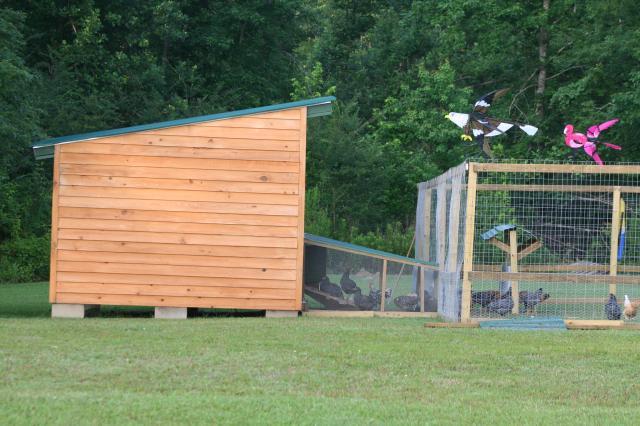
I put cypress siding on the coop. I put hardware cloth on the eaves for added venilation. It gets pretty hot in the summers in Mississippi.

Step 4 - The Run:
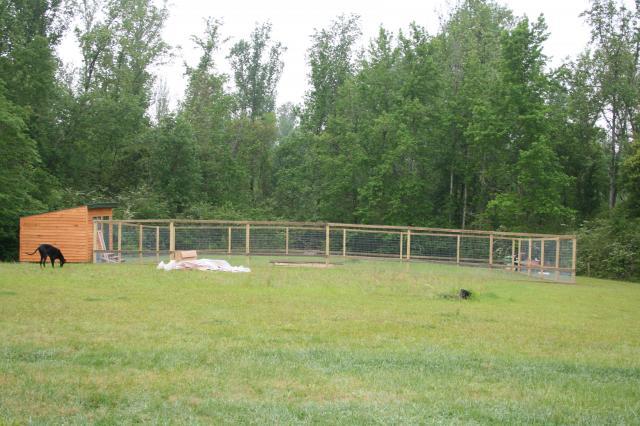
The run is 40' x 60'. It is 6' high with 2 x 4 welded wire with the bottom 2' reinforced with chicken wire. It has a half door on the coop side and double doors on the opposite side in case the run ever needs mowing.

Step 5 - The Chute:
I added a chute to attach the run to the coop at the poop door. The top of the chute lifts up so the poop door can be opened during the day and secured at night.

Step 6 - The Inside:
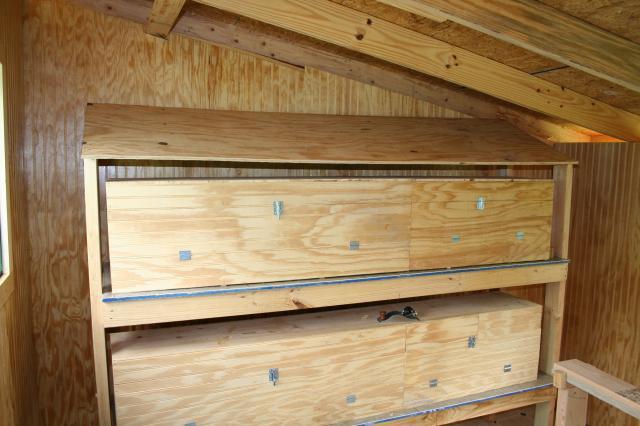
The nest boxes sit on shelves so they can be removed for easy cleanup. The hen enters in the back where it is dark and the eggs can be collected from the front.

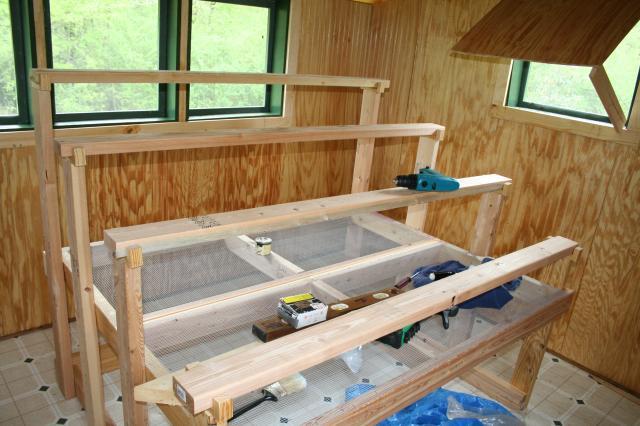
The roosts are removable for easy clean up.

Step 7 - Add Chickens And Enjoy!:

If I had to change anything, I would make it larger. I had no idea how much I would enjoy my chickens. I have 24 Barred Rocks, 28 EEs, and 1 Silver Spangled Hamburg Rooster and now I want more!
These plans gave me a general starting point. This was the first time I had built any structure. My father was a carpenter, so I guess as my mother says "You have sawdust in your veins." is sort of true.
Step 1 - The Floor:
Step 2 - The Bones:
My dogs were not very helpful at all. Mainly they chewed on the scrape wood pieces.
This is the frame.
I built it under a deciduous tree so the shade can keep it cool in the summer and it will get sun during the winter when the leaves fall off the tree.
It is ready for siding at this point.
I put vinyl flooring in the coop for easier cleanup. I purchased the cheapest stuff at a local floor dealer. It's pretty though.
Step 3 - The Coop:
I put cypress siding on the coop. I put hardware cloth on the eaves for added venilation. It gets pretty hot in the summers in Mississippi.
Step 4 - The Run:
The run is 40' x 60'. It is 6' high with 2 x 4 welded wire with the bottom 2' reinforced with chicken wire. It has a half door on the coop side and double doors on the opposite side in case the run ever needs mowing.
Step 5 - The Chute:
I added a chute to attach the run to the coop at the poop door. The top of the chute lifts up so the poop door can be opened during the day and secured at night.
Step 6 - The Inside:
The nest boxes sit on shelves so they can be removed for easy cleanup. The hen enters in the back where it is dark and the eggs can be collected from the front.
The roosts are removable for easy clean up.
Step 7 - Add Chickens And Enjoy!:
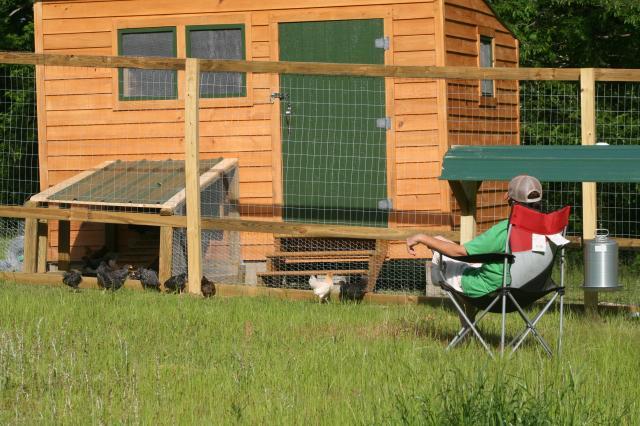
If I had to change anything, I would make it larger. I had no idea how much I would enjoy my chickens. I have 24 Barred Rocks, 28 EEs, and 1 Silver Spangled Hamburg Rooster and now I want more!


