Just indulged the chickens in a new and improved Coop.. actually this is Mk III
So here goes.. I had some dead space and wanted to build a coop using my Purple Omlet Eglu as the House.. Below is the 3rd race back and forth to the builders Yard... The coop ended up 28ft by 12ft on three different levels !

Next is getting the posts cemented in

I then levelled off the tops making three horizontal surfaces, put 2ft boards along the base and also cemented a 2ft trench for digging critters !

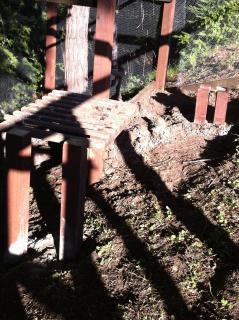
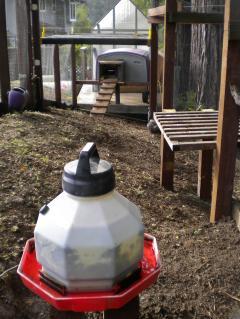
In the coop itself I used the left over post cut-offs and make a perch and also used four smaller pieces cemented in as a stand for the water and food containers !

Fast Forwaring to the end, I then used poultry wire, started with the roof parts and then the drops, I went through approcx 150ft of wire, a pile of staples both with a gun but also I secured with proper staples every 6inches all the way around

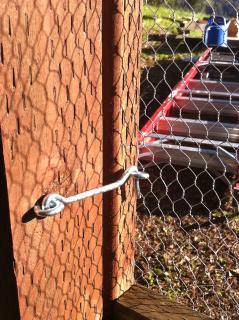
Couple of good points, make sure you put secure locks on the outside and also put a latch on the inside to help secure the dor when you are cleaning the run.

Having the latch inside is a real godsend, either I have this or my wife keeps locking me in !

And for the totally paranoid, although I put the wooden base and the trench of cement I figured I would add an electric fence seeing as we are exposed and in the Santa Cruz Mountains !

So there you have it, a monster Coop for 8lucky chickens.. My wife has named them all, I did add LED floodlights and VueZones for remote chicken watching but that's another story !

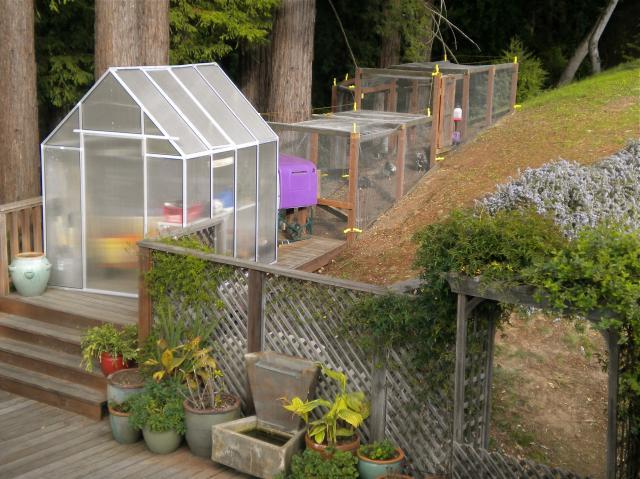
Picture from the house of the roof and location behind the greenhouse, note I installed the electric fence at digging and also jumping height

Picture best shows the coop nestled into the redwoods on a pretty aggressive slope !

View right through the coop towards the Eglu

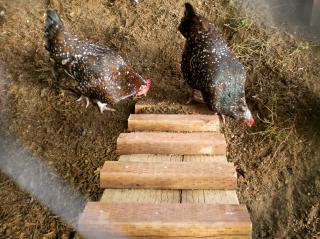
Couple of the Sussex girls about to rush up the ladder which I made from off-cuts of the supports

So here goes.. I had some dead space and wanted to build a coop using my Purple Omlet Eglu as the House.. Below is the 3rd race back and forth to the builders Yard... The coop ended up 28ft by 12ft on three different levels !
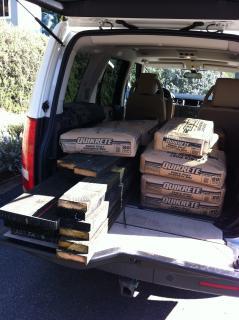
Next is getting the posts cemented in
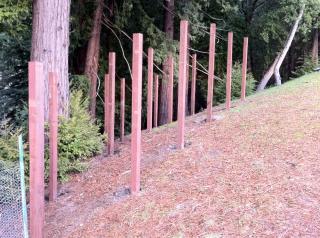
I then levelled off the tops making three horizontal surfaces, put 2ft boards along the base and also cemented a 2ft trench for digging critters !
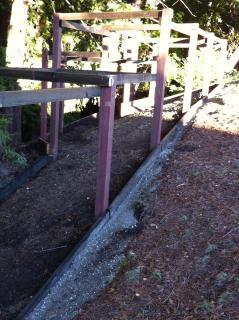
In the coop itself I used the left over post cut-offs and make a perch and also used four smaller pieces cemented in as a stand for the water and food containers !
Fast Forwaring to the end, I then used poultry wire, started with the roof parts and then the drops, I went through approcx 150ft of wire, a pile of staples both with a gun but also I secured with proper staples every 6inches all the way around
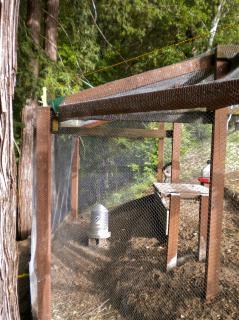
Couple of good points, make sure you put secure locks on the outside and also put a latch on the inside to help secure the dor when you are cleaning the run.
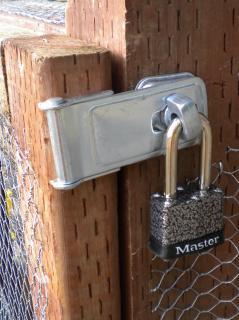
Having the latch inside is a real godsend, either I have this or my wife keeps locking me in !
And for the totally paranoid, although I put the wooden base and the trench of cement I figured I would add an electric fence seeing as we are exposed and in the Santa Cruz Mountains !
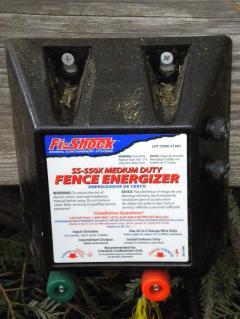
So there you have it, a monster Coop for 8lucky chickens.. My wife has named them all, I did add LED floodlights and VueZones for remote chicken watching but that's another story !
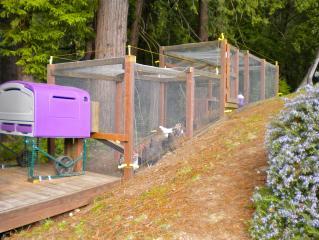
Picture from the house of the roof and location behind the greenhouse, note I installed the electric fence at digging and also jumping height
Picture best shows the coop nestled into the redwoods on a pretty aggressive slope !
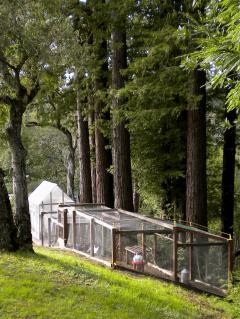
View right through the coop towards the Eglu
Couple of the Sussex girls about to rush up the ladder which I made from off-cuts of the supports
