-----------------------------------------------------------------------------------------------------------------------------------------------------------------------------
This page was created in 2007 when we lived in Abilene, TX. Since then we have moved back to near my hometown in Southwest Wisconsin where we now have two flocks with 2500 organic layer hens in each flock and sell about 120,000 dozen eggs per year through an organic farmers' cooperative. Please see my other pages for photos of our Wisconsin home:
https://www.backyardchickens.com/a/wisconsin-layer-barn
https://www.backyardchickens.com/a/wisconsin-may-2011
https://www.backyardchickens.com/t/578382/new-windows-and-perches-for-our-hen-house
-----------------------------------------------------------------------------------------------------------------------------------------------------------------------------
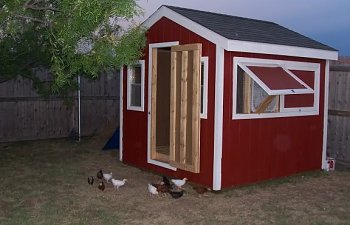
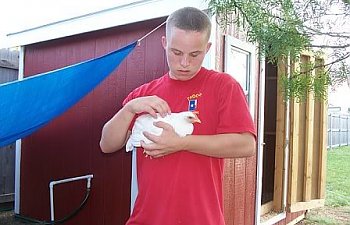
My 15 year old son and I built this coop in April of 2006. It is basically an 8x8 utility shed. I used a rough plan for an 8x8 poultry house posted here:
http://www.ext.vt.edu/pubs/poultry/factsheets/cutaway.html
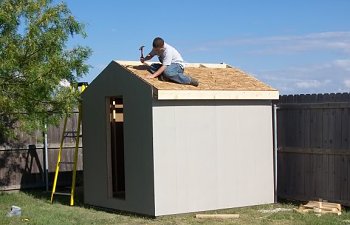
That became the basis for our coop although I framed it differently than shown in the plans. This photo shows my son framing six foot tall walls. The foundation is a square of pressure treated 4x4s. The deck was framed as the side walls were with 2x4s, 24" on center. The deck framing was toenailed to the 4x4 frame and two full sheets of 3/4" plywood became the flooring and squared up the deck framing. The floor does have a slight bounce to it. Most people like a solid feeling floor and in hindsight an extra 4x4 underneath or joists 16" on center would have made the floor feel more solid. The stud spacing on the front wall was adjusted to center a door and fit two aluminum mobile home windows from Lowe's.
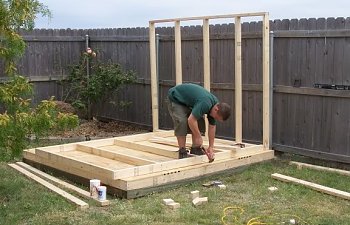
The roof was planned with a 5:1 pitch. We calculated that pitch would make best use of the 8' sheet siding, just covering the gable ends. Rafter tails provide a 6" lookout.
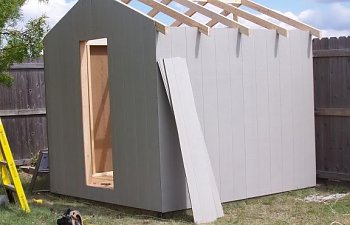
A 1x6 fascia board caps the lookouts. The siding for the front and back was supported on temporary framing nails while the sheet was held in place and a line was scribed transfering the roof pitch to the siding. The sheet was then laid on the ground for trimming. The door was sheeted over and an awl driven from the inside provided reference marks on the outside. Small nails were inserted in the awl holes on the outside and a chalk line was snapped showing the outline of the door. The circular saw was then set to a 1/4" depth to cut the door opening.
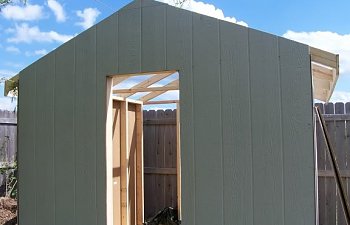
The roof was sheeted with 3/4" OSB and 40# felt stapled in place. Steel drip edge was installed and one square of shingles was just enough to cover the roof.
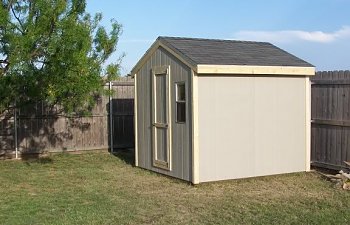
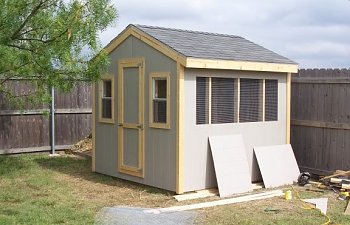
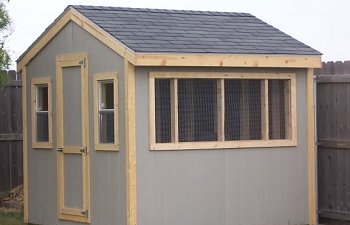
Windows were cut out with the same method as the door. 2x4 blocking (scraps from framing) were toenailed between studs at the window openings to provide nailing surface around the window frames. 1/4" hardware cloth was applied over the lower part of small windows before 1x3 trim was nailed in place. Hardware cloth was sandwiched between the siding and frame studs at the large window opening. 1x3 trim also caps the building corners and trims the door and door opening.
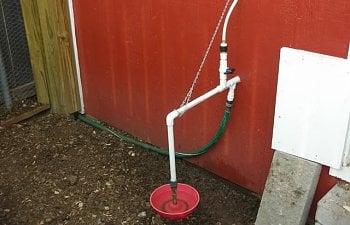
This is the water system with a hose from a tap at the house supplying water. Little Giant automatic waterers provide water outside and inside the coop. The valve and water line running out the top run misters inside the adjacent pen.
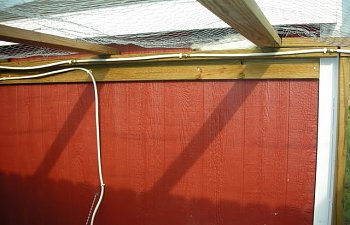
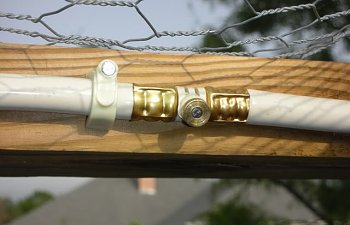
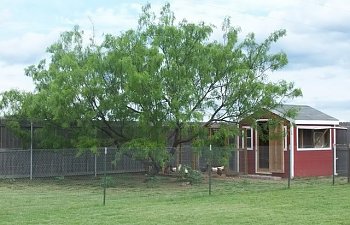
Here's a photo of the whole area. When I was deployed to Southwest Asia my wife was concerned about the birds wandering the backyard when she wasn't home so she built a covered pen behind the coop. We would still let them out to run the backyard when we were home until we planted gardens in the back. At that point I drove T-posts and fenced off an area about 20' x 40' for the chickens to run in:
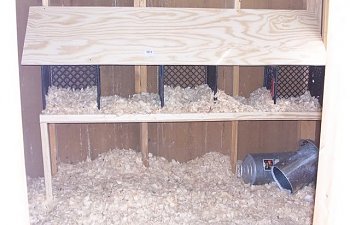
The nesting boxes inside the pen are just a shelf with milk crates. The piece of plywood over the top is just tacked in place with two nails and the sheet rests on the milk crates.
