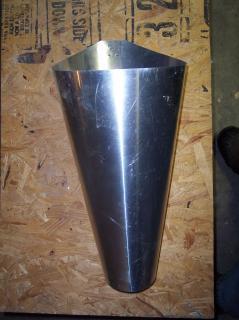
I decided that my first post should be informative. Here are instructions for building your own killing cones for broiler sized (4-8 lbs.) chickens. The final dimensions are 9" top opening, 4" bottom opening and a length corresponding to the width of flashing you use.
TOOLS:
Drill
Hand Riveter
Clamps
1/8" drill bit
Magic Marker or Grease Pencil
Framing Square
MATERIALS:
14"-16" wide roll of aluminum flashing or a 16"x30" rectangle of galvanized sheet metal.
Three 1/8"x1/4" aluminum rivets per cone
Step 1. Cut a piece of 14"-16" wide aluminum flashing to a length of just over 30".
Step 2. Find the center of both long sides and make a mark connecting them using a square.
Step 3. On 1 of the long sides measure 15" from the center mark each way.
Step 4. On the other long side measure 7" from the center mark each way.
Step 5. Connect the end of of one 15" mark to the corresponding 7" mark. Repeat for the other side.
You'll end up with a trapezoid that looks like this.
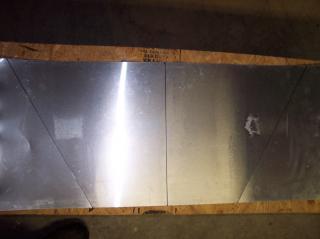
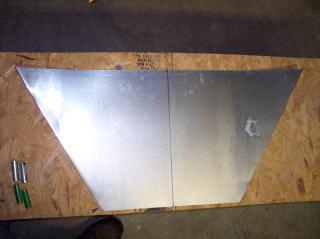
Step 6. Score the diagonal lines with a utility knife and fold gently away from the cut to tear the waste pieces off.
Here's what you'll end up with.
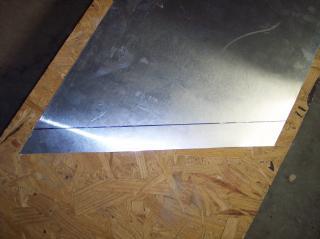
Step 7. Mark a line parallel to one cut edge 1 1/2" in.
It will look like this.
Step 8. Roll the metal up so that the marked side is overlapped to the line and clamp it. Drill a hole in the overlapping portion near the top, middle and bottom of the cone. Put a rivet in the hole from the INSIDE. The head of the rivet will be on the inside and is smooth. This way there is nothing for the bird to get snagged or cut on inside the cone.
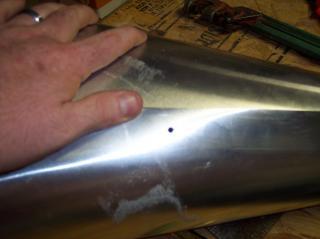
Step 9. Drill one or two holes near the top of the cone to hang it by.
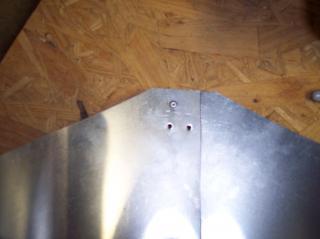
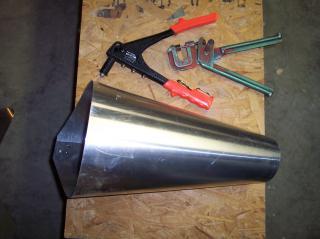
There you have it. One killing cone that can be cut out and assembled in less than 5 minutes.

TOOLS:
Drill
Hand Riveter
Clamps
1/8" drill bit
Magic Marker or Grease Pencil
Framing Square
MATERIALS:
14"-16" wide roll of aluminum flashing or a 16"x30" rectangle of galvanized sheet metal.
Three 1/8"x1/4" aluminum rivets per cone
Step 1. Cut a piece of 14"-16" wide aluminum flashing to a length of just over 30".
Step 2. Find the center of both long sides and make a mark connecting them using a square.
Step 3. On 1 of the long sides measure 15" from the center mark each way.
Step 4. On the other long side measure 7" from the center mark each way.
Step 5. Connect the end of of one 15" mark to the corresponding 7" mark. Repeat for the other side.
You'll end up with a trapezoid that looks like this.

Step 6. Score the diagonal lines with a utility knife and fold gently away from the cut to tear the waste pieces off.
Here's what you'll end up with.

Step 7. Mark a line parallel to one cut edge 1 1/2" in.
It will look like this.

Step 8. Roll the metal up so that the marked side is overlapped to the line and clamp it. Drill a hole in the overlapping portion near the top, middle and bottom of the cone. Put a rivet in the hole from the INSIDE. The head of the rivet will be on the inside and is smooth. This way there is nothing for the bird to get snagged or cut on inside the cone.

Step 9. Drill one or two holes near the top of the cone to hang it by.

There you have it. One killing cone that can be cut out and assembled in less than 5 minutes.


