res
Songster

Another poster on BYC has suggested and used clear vinyl shower curtains to winterize their run. It sounded like an affordable and durable idea, so I gave it a shot... It wasn't as hard to install as I had imagined, it was actual super easy on the 2nd section when I started at the top instead of the bottom. Cost for the project was $11 for 2 shower curtains (project required 4, but I already had 2 at home).

This section was the 2nd one I installed. It is "threaded" at the top using some poly wire that I had lying around. The top is actually quite tight, almost tighter than the bottom where it is held down with screws. I also used a cut open feed sack for the narrow section to the right. It was a perfect fit... Bottom is held in place with either sheet metal screws w/rubberized washers, or decking screws with 1/2" washers, just to spread the tension a bit further than the screw head. The sheet metal screws are INFINTELY easier to handle than the decking screws + washers, as the sheet metal screws hold onto their washers even when upside down.

Close up of the threading with the poly wire. I also overlapped the 2 curtains by 3 "holes" and then zip tied those holes together.

Middle is secured with plywood strips and more decking screws.

This is the 1st section I installed, and I actually used caribiner snaps on the top, so it can be dropped down for ventilation. In this photo, it is dropped and the whole 12'x3' section is open for airflow.

Used a brown/silver tarp on this side. Same method of install - sheet metal screws and plywood strips.

And... the roost I threw together today for the run. Had all the "parts" laying around, so figured, "why not?". The girls have already been using it today, even though they free range, they had to come check out what I was doing in their house.
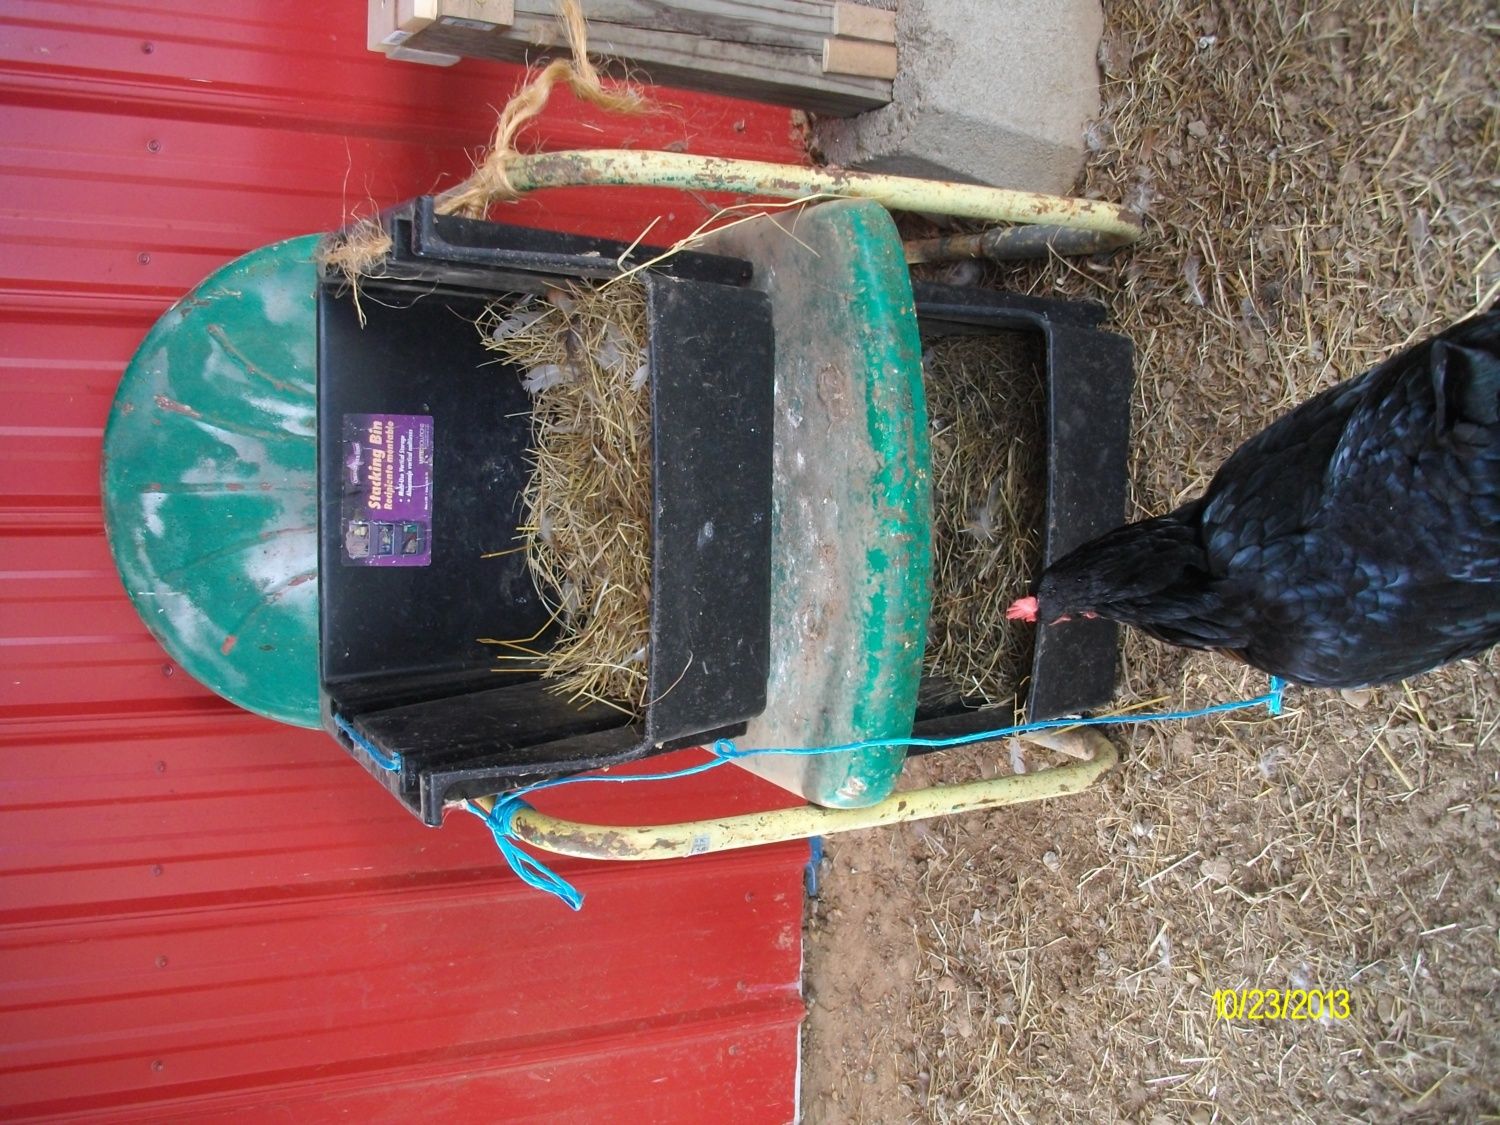
Crud! Forgot to rotate this one before I uploaded it. This is the nest boxes in the run...
This section was the 2nd one I installed. It is "threaded" at the top using some poly wire that I had lying around. The top is actually quite tight, almost tighter than the bottom where it is held down with screws. I also used a cut open feed sack for the narrow section to the right. It was a perfect fit... Bottom is held in place with either sheet metal screws w/rubberized washers, or decking screws with 1/2" washers, just to spread the tension a bit further than the screw head. The sheet metal screws are INFINTELY easier to handle than the decking screws + washers, as the sheet metal screws hold onto their washers even when upside down.
Close up of the threading with the poly wire. I also overlapped the 2 curtains by 3 "holes" and then zip tied those holes together.
Middle is secured with plywood strips and more decking screws.
This is the 1st section I installed, and I actually used caribiner snaps on the top, so it can be dropped down for ventilation. In this photo, it is dropped and the whole 12'x3' section is open for airflow.
Used a brown/silver tarp on this side. Same method of install - sheet metal screws and plywood strips.
And... the roost I threw together today for the run. Had all the "parts" laying around, so figured, "why not?". The girls have already been using it today, even though they free range, they had to come check out what I was doing in their house.
Crud! Forgot to rotate this one before I uploaded it. This is the nest boxes in the run...
