I knew right away the coop would be called "Coope Diem" because I made the decision to build a "spare-no-expense" coop shortly after I found out I'd be laid off at the end of the school year. "Carpe Diem" became my rallying cry. "Coope Diem" was a natural.
My first chicken was a rescue, so I didn't have time to plan ahead with the coop. I was also new to chickens, so I knew nothing about chicken math. As a result, I bought a pre-fab coop that was too small pretty quickly. My DP and I did what we could to expand it but that was only a temporary fix.
I wanted a coop that would look nice, provide lots of space and ventilation for the girls, and keep the noise to a minimum. (We have close neighbors). I began by sketching ideas in a graph paper notebook with rough dimensions. My DP can build anything. He tells me "Just draw it for me."
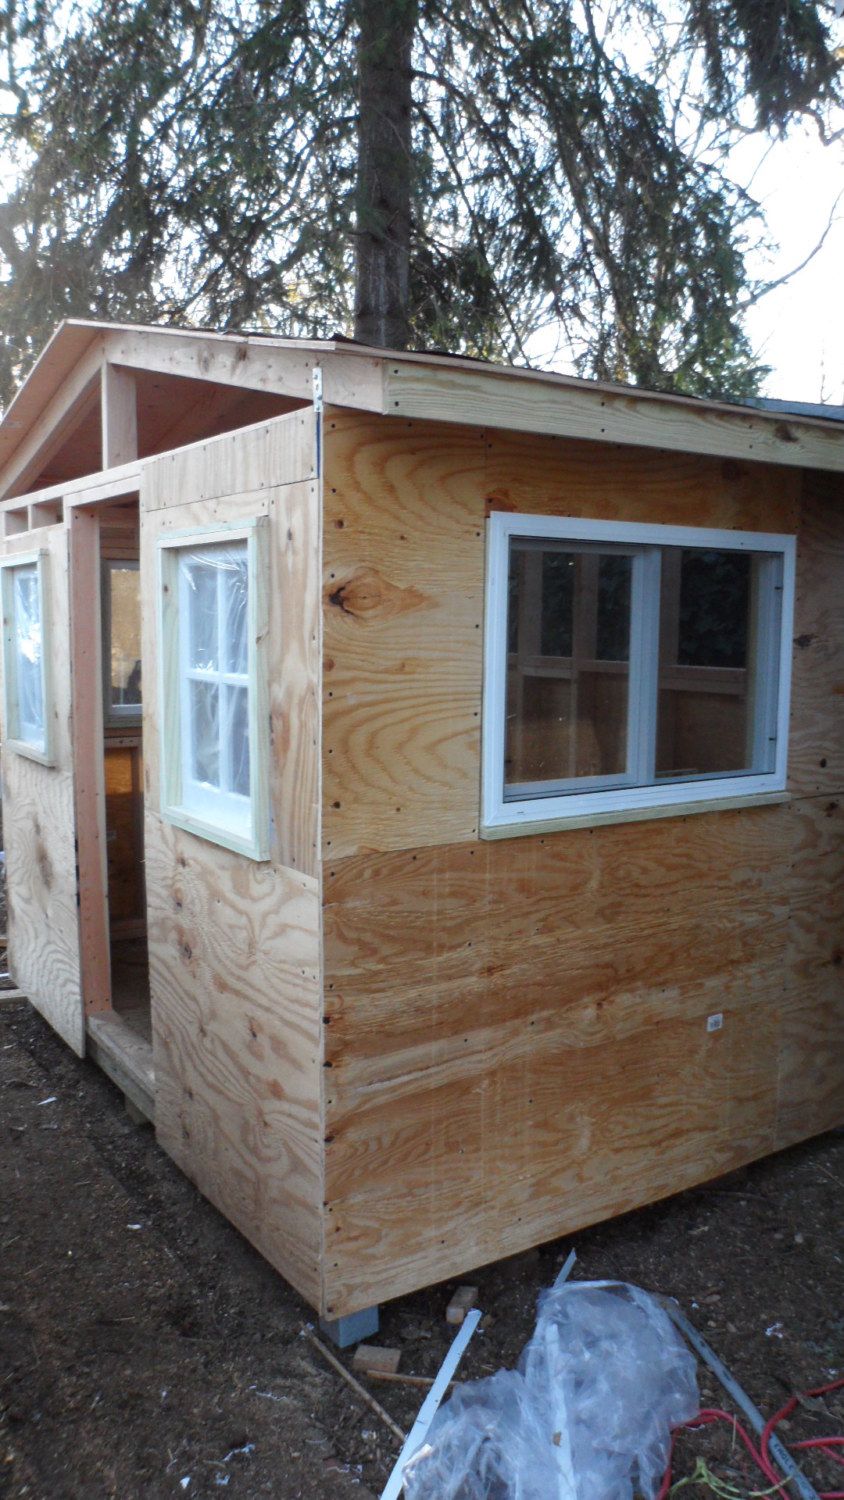
We began with a floor raised off the ground by about 6 inches. Enough to keep it dry without providing a hiding space. We decided to go 8' wide x 6' deep, and tall enough for us to walk around in.
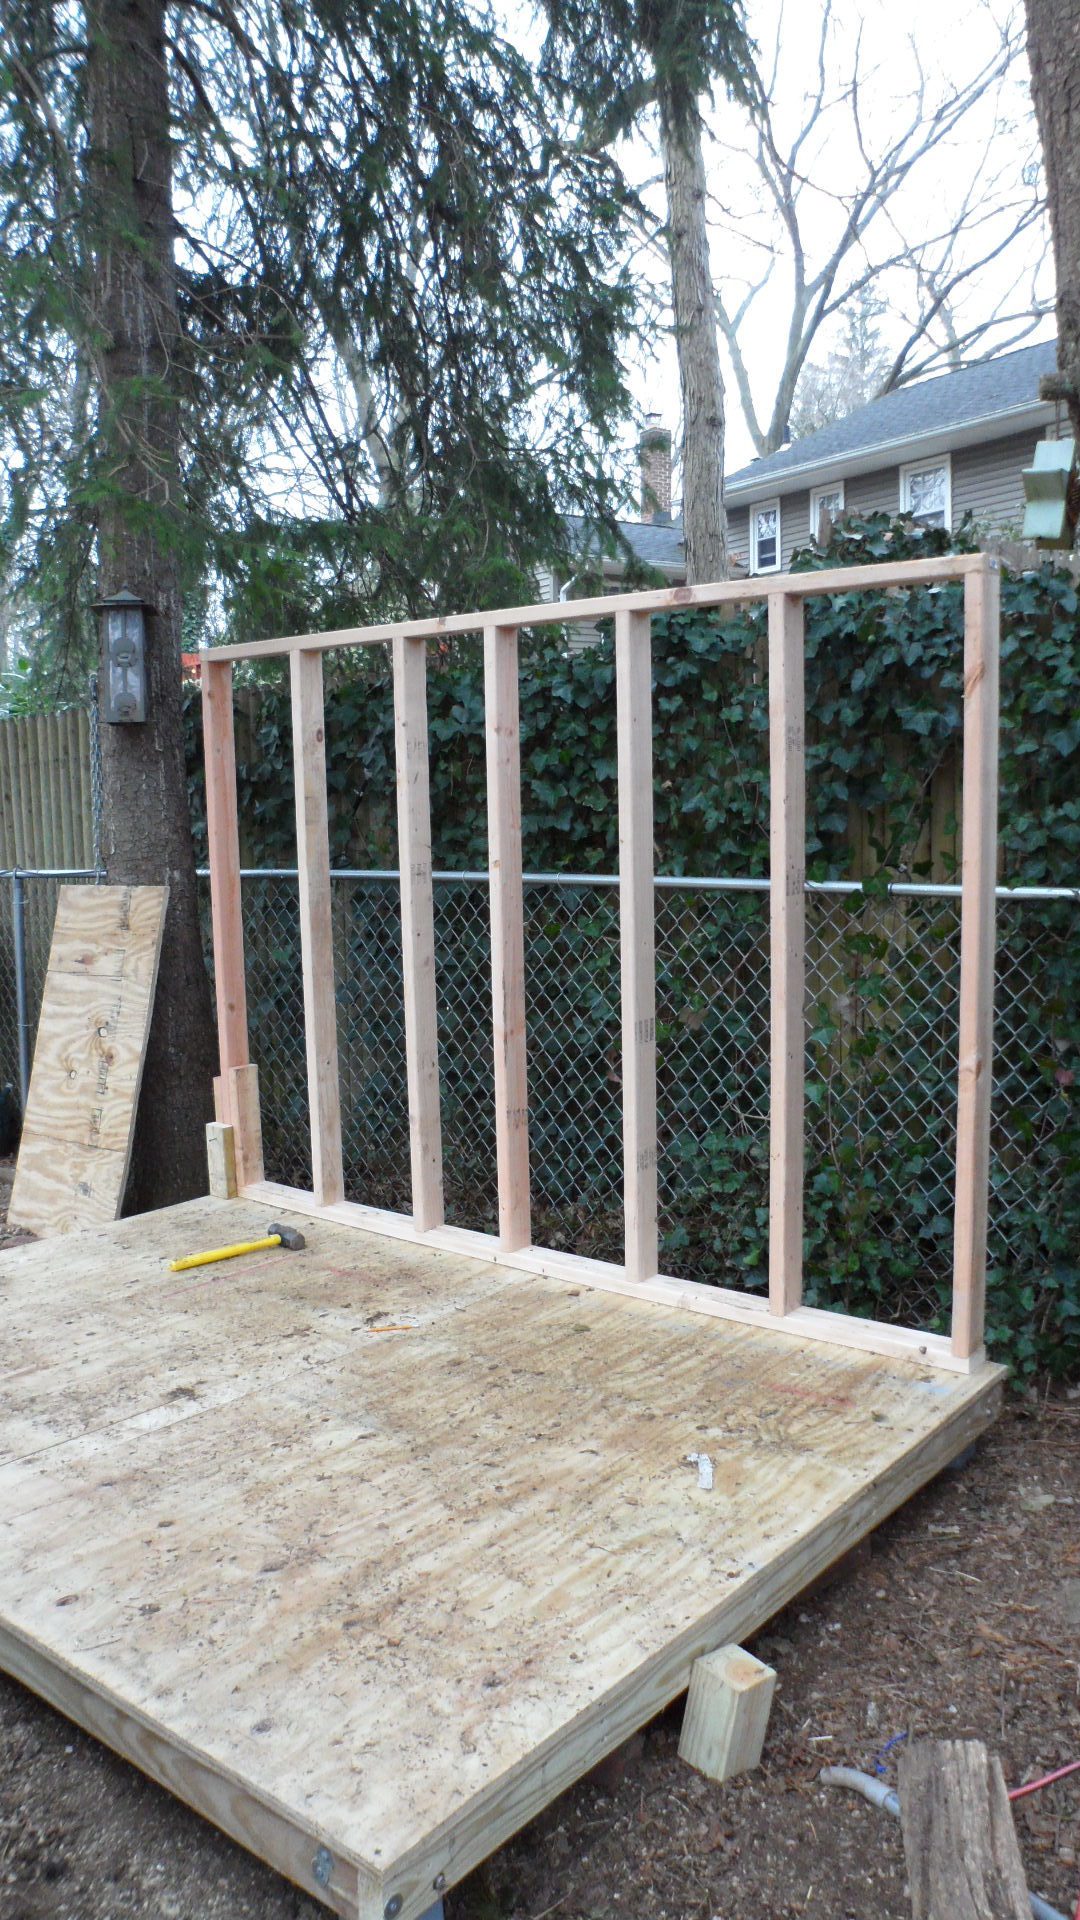
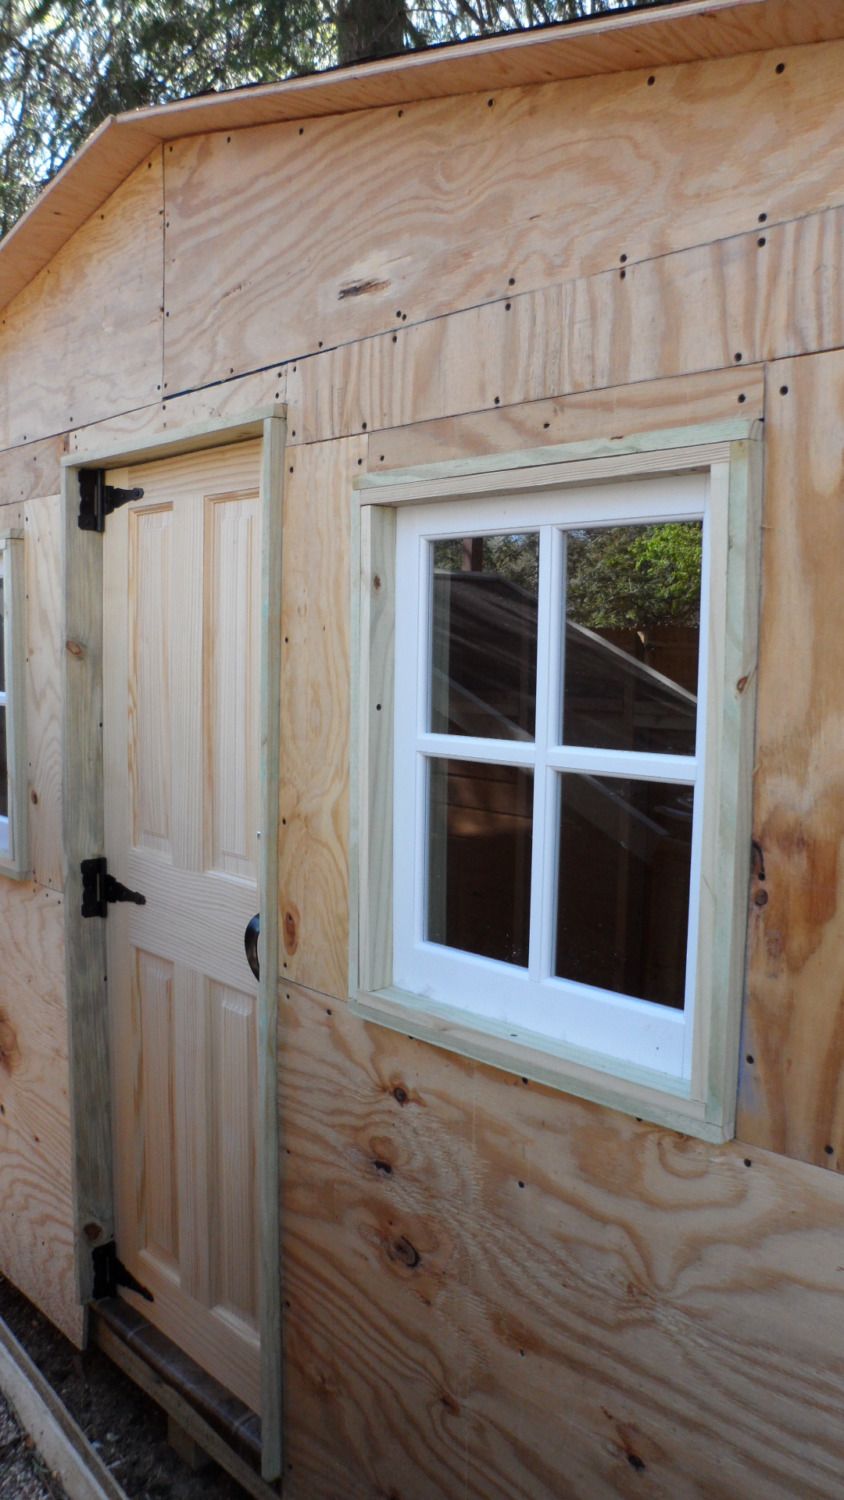
Next came the framing, including cut-outs for the windows and human door.
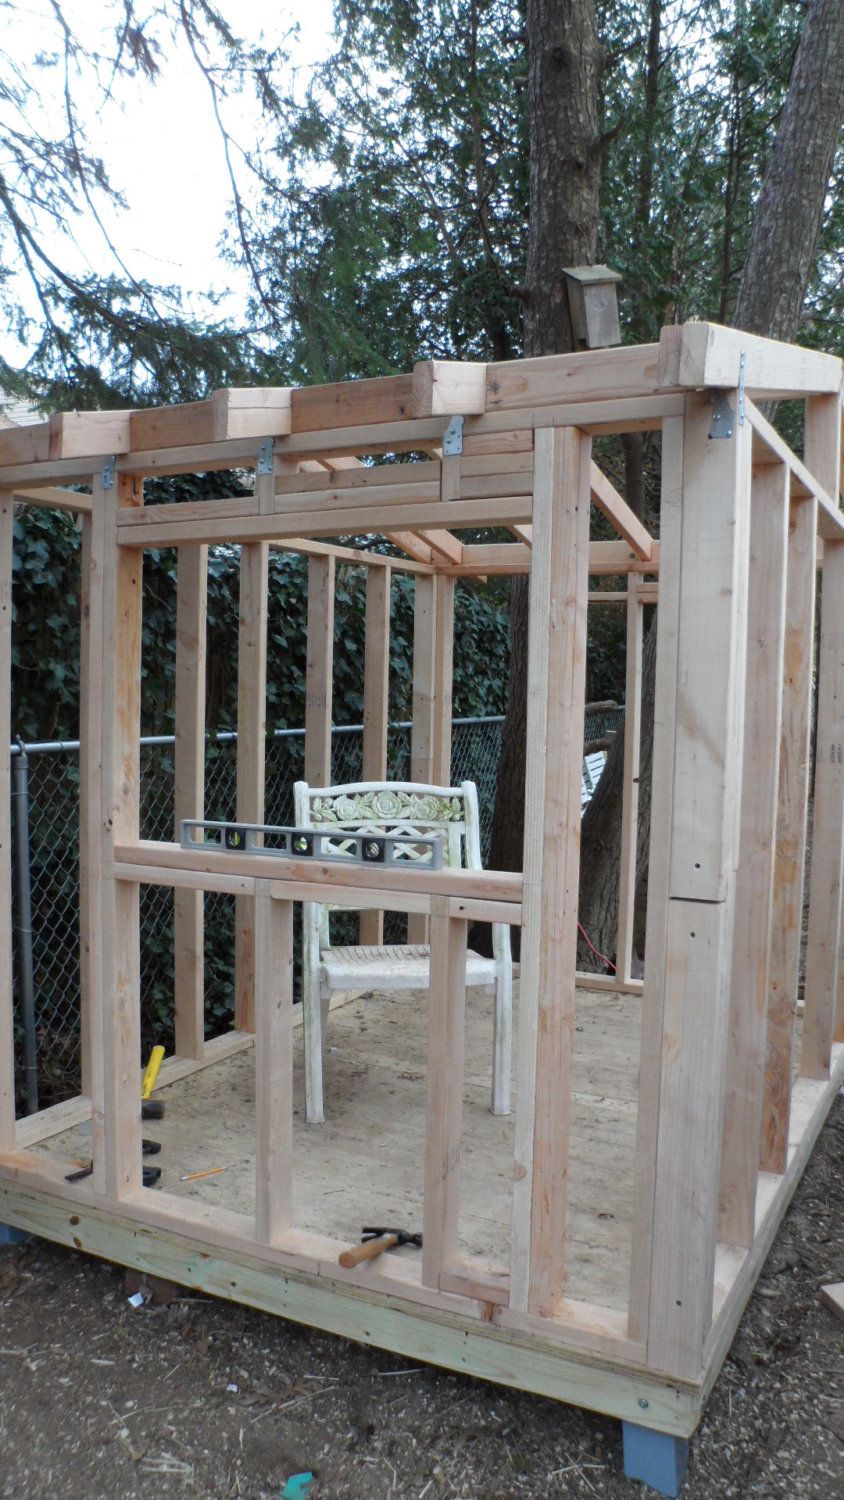
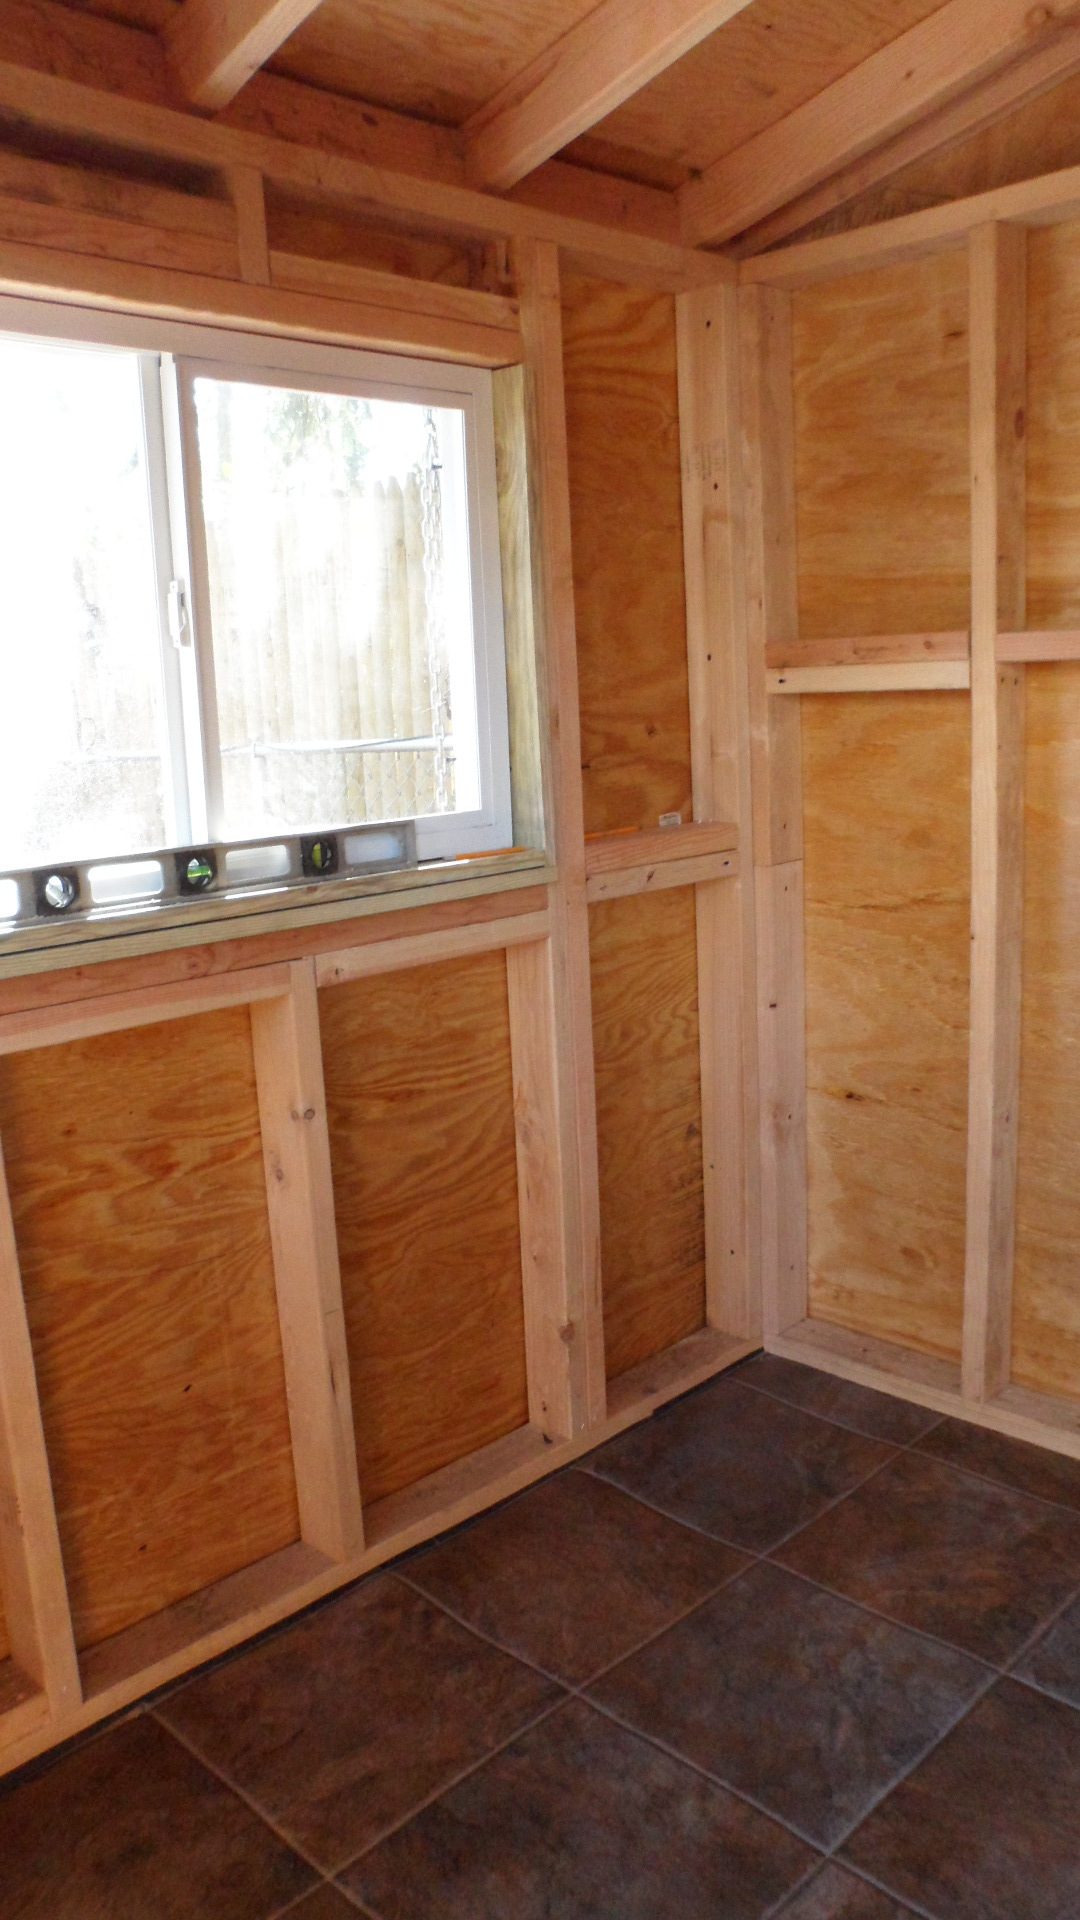
Here's what the coop looked like on the inside at this stage of building. After reading some coop descriptions on BYC, I decided vinyl flooring was the way to go for ease of cleaning. Home Depot had remnants (6'x8') for $27, so we went with that. I chose a darker color - the others looked a little "kitcheny" for a chicken coop. DP laid a sheet of tar paper down over the plywood sub floor, rolled out the vinyl and that was it.
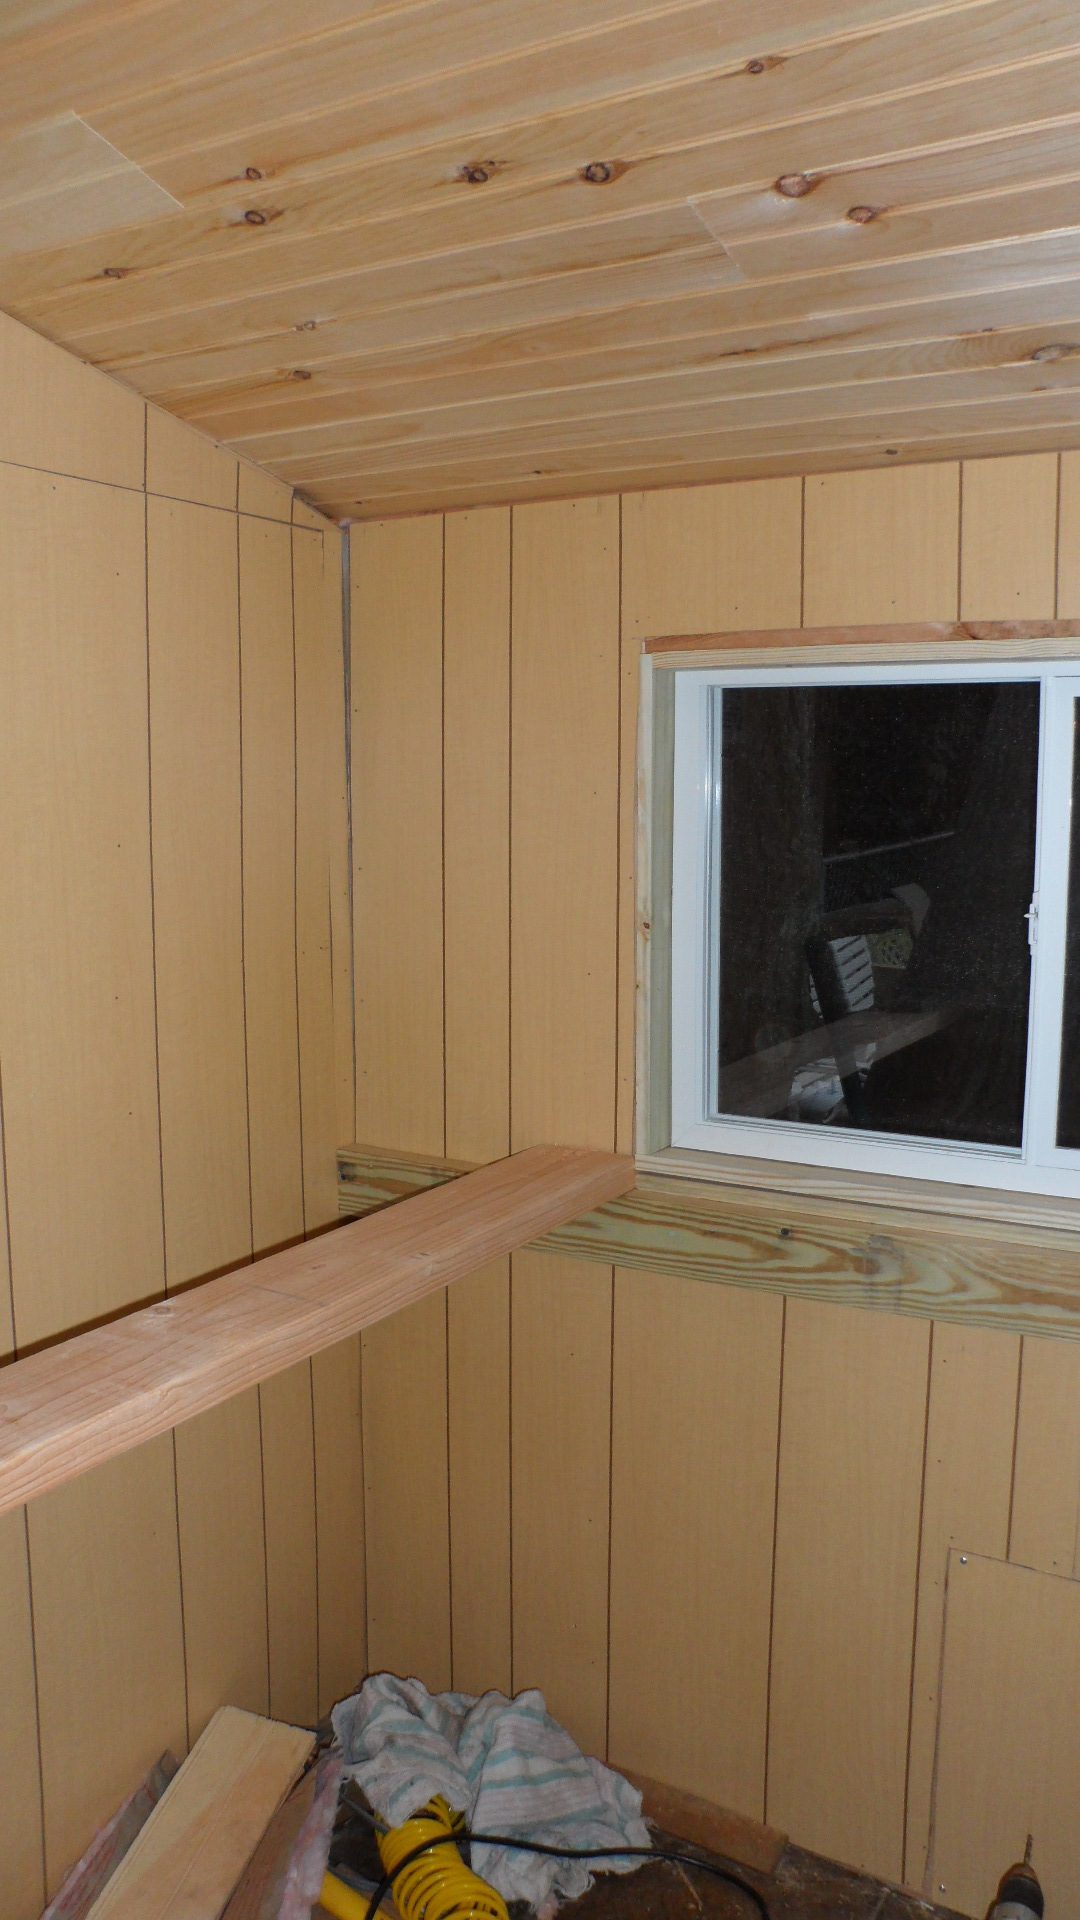
DP ran electric to the coop for light and to power the waterer heater. He also added a gfi outlet high up so I could plug in the shop vac for cleaning. He used tongue-in-groove pine for the ceiling. He had used it in a room he built for me, and liked working with it. I love the way it looks!
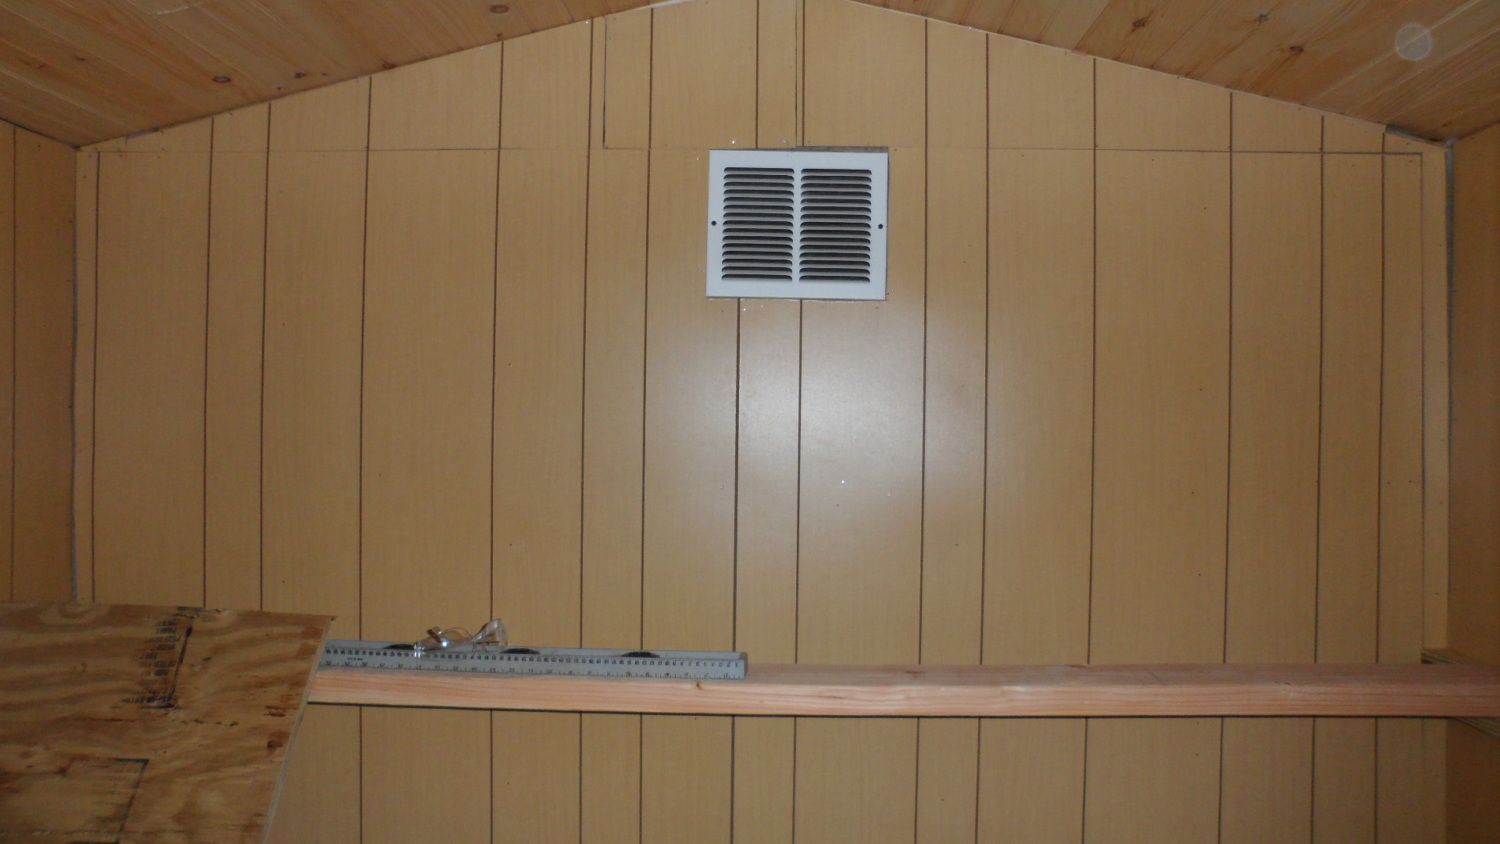
As far as interior walls go, I figured something washable would be best. We opted for cheap paneling (about $10 a sheet at Home Depot). It's pieced together in some places, but it's a chicken coop. The plan is to add molding in the corners and at certain joinings. We put in a 2"x6" roosting bar at about window height. It runs the entire width of the coop. Underneath, as a "poop receptacle", we will put plastic under-bed containers that can be easily removed and washed out. The plan is to put them on the floor, but if that gets too messy, we'll set up a shelf for them.
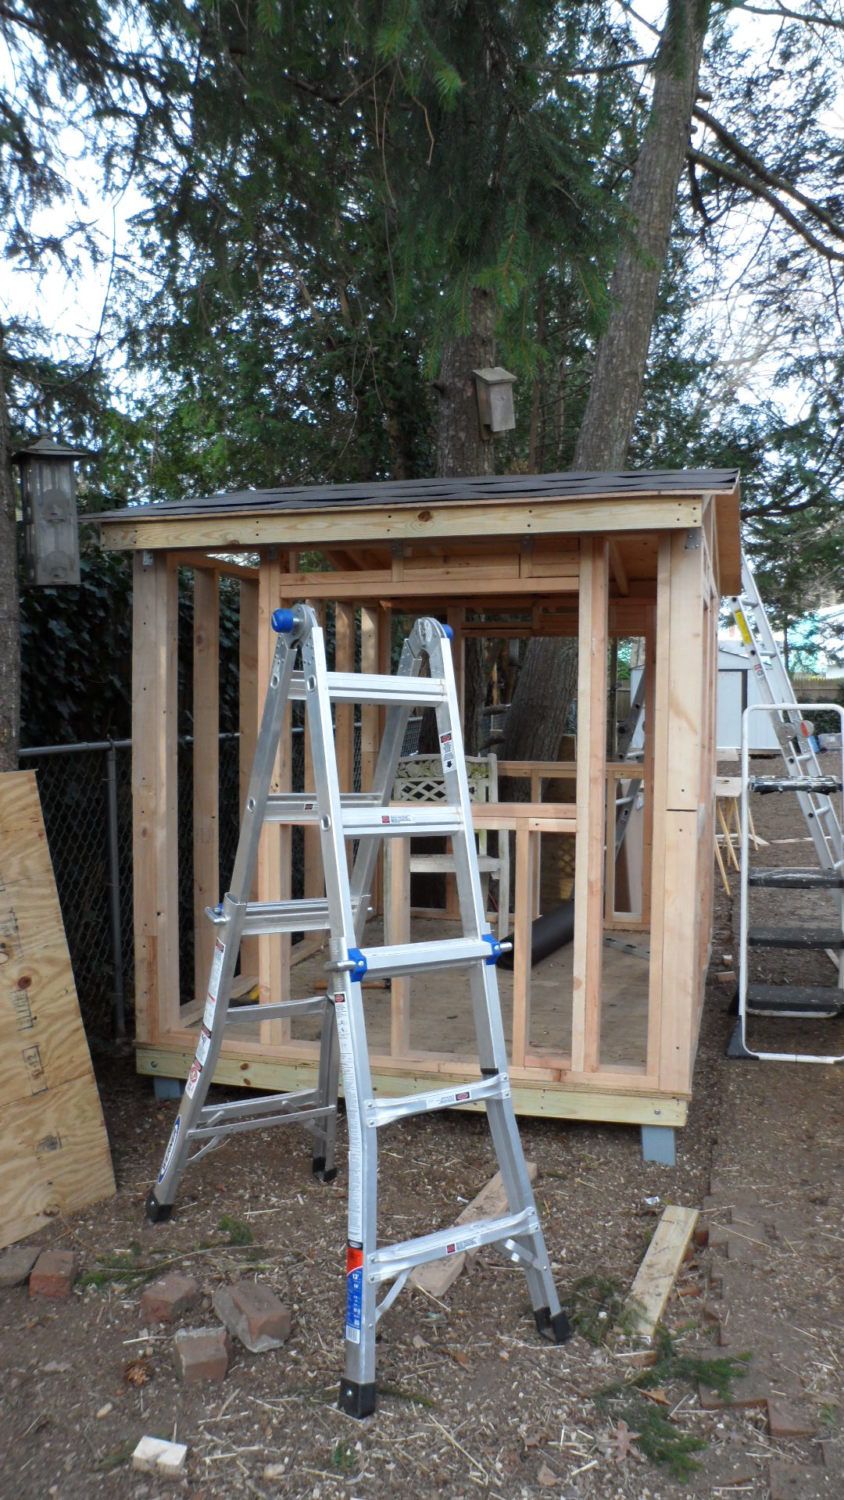
After about 30 days, this is where we're at. The vent has screening in it to keep bees and other flies out.
I have to give credit where credit is due here: my DP has done the lion's share of the work. I had rotator-cuff surgery on February 16, and am still very limited in what I can do. I've done most of the planning and helped out in minor ways, but the construction is all him.
I'll update again as we proceed. Just wanted to get it all down for now.
May 10, 2012
Other than a few minor cosmetic touches, like the sign I'm making and painting the front door, Coope Diem is finished.
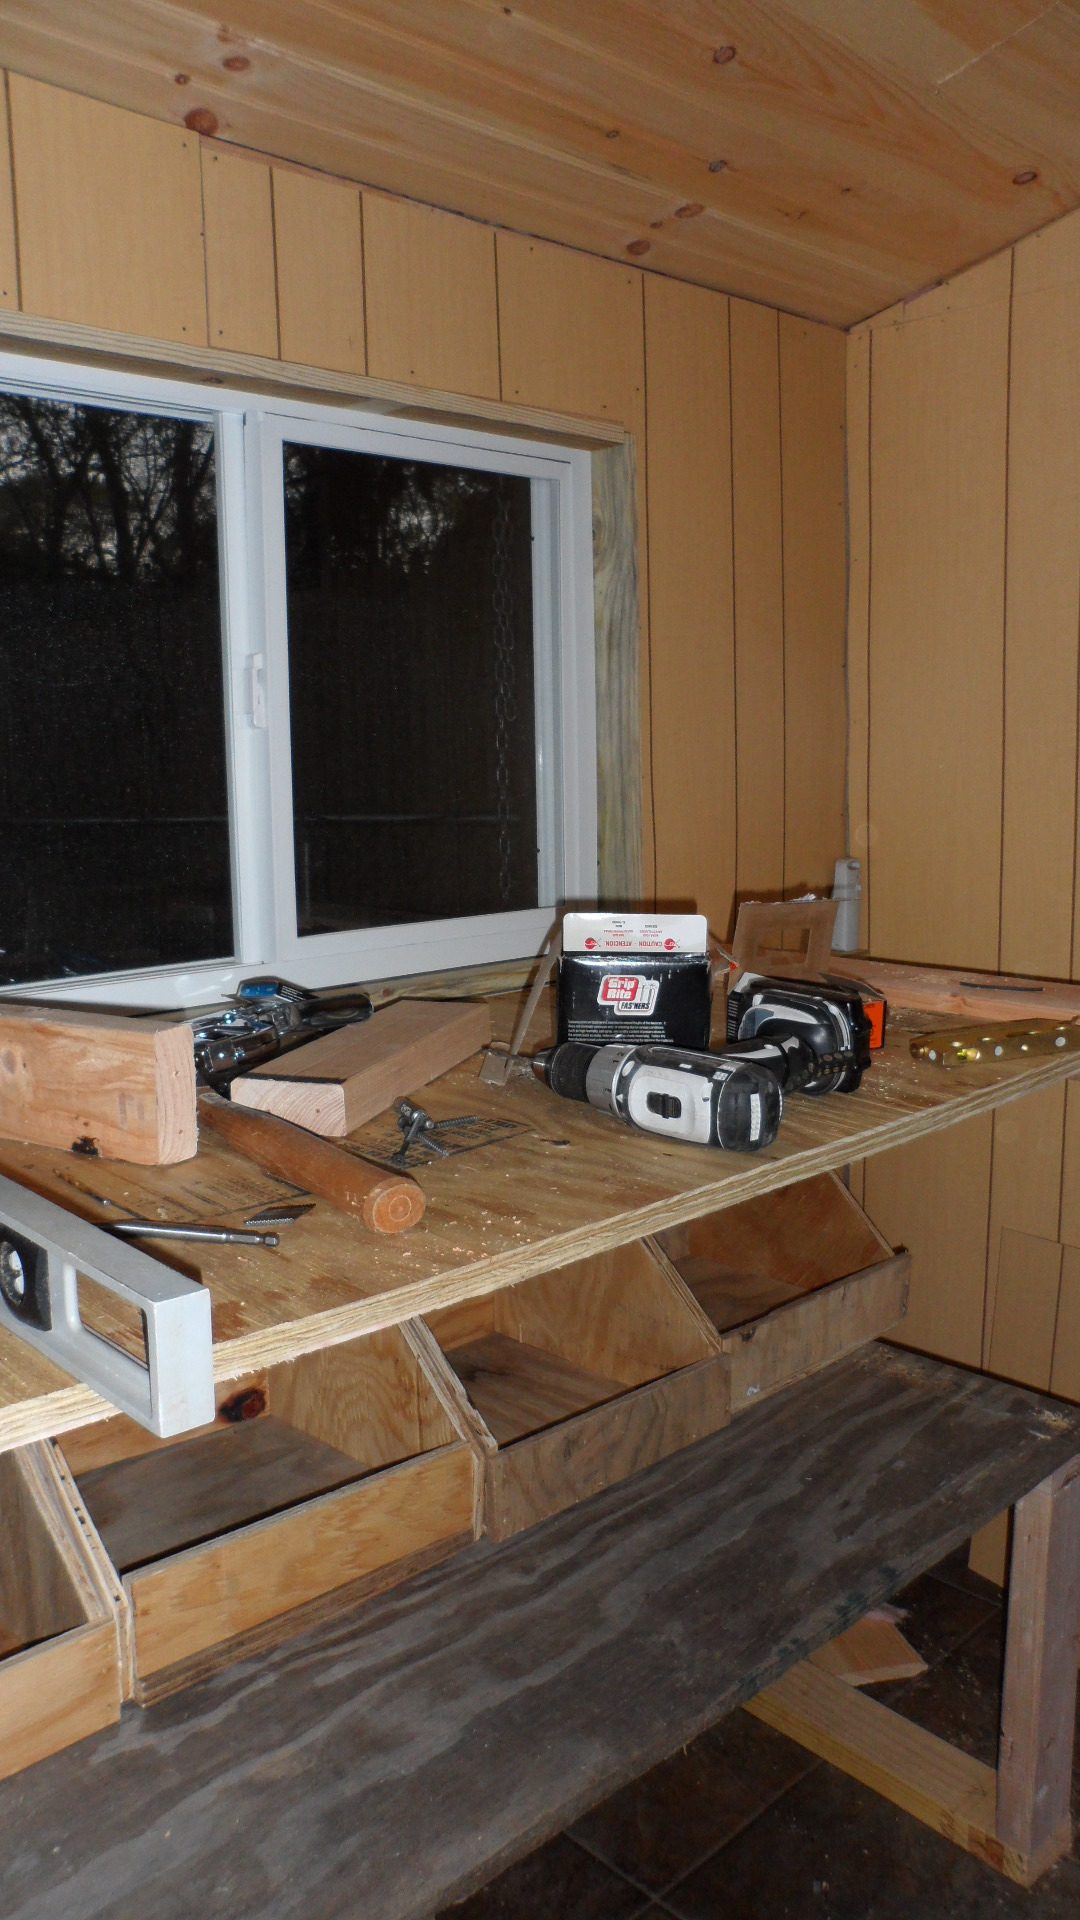
Here's the shelf on the other wall. The hole near the floor is where the conduit for the water heater comes in. It's hard wired, although we haven't hooked it up yet.