This was a small 4x3 ft chicken coop I threw together over a weekend. It was spurned on by the foul odor our chicken, duck, and goose were making in our basement. It was time for them to migrate outside. I originally had built a small 4x3x2 open box and lined it with 3 mil plastic liner for the floor and walls for the birds to live in while inside. I wanted to utilize that box for their new outside house.
I wanted enough room for the birds to be able to use later on down the road and I also wanted enough space to mount a heat light inside, since it was still a bit chilly outside and the duck and goose still hadn't developed their feathers. So I decided to go with a 45 degree gable roof top. I also wanted to have a roof top entry that would be large enough to be able to get in the coop with ease.
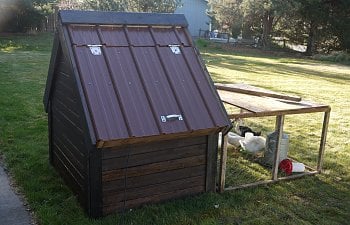
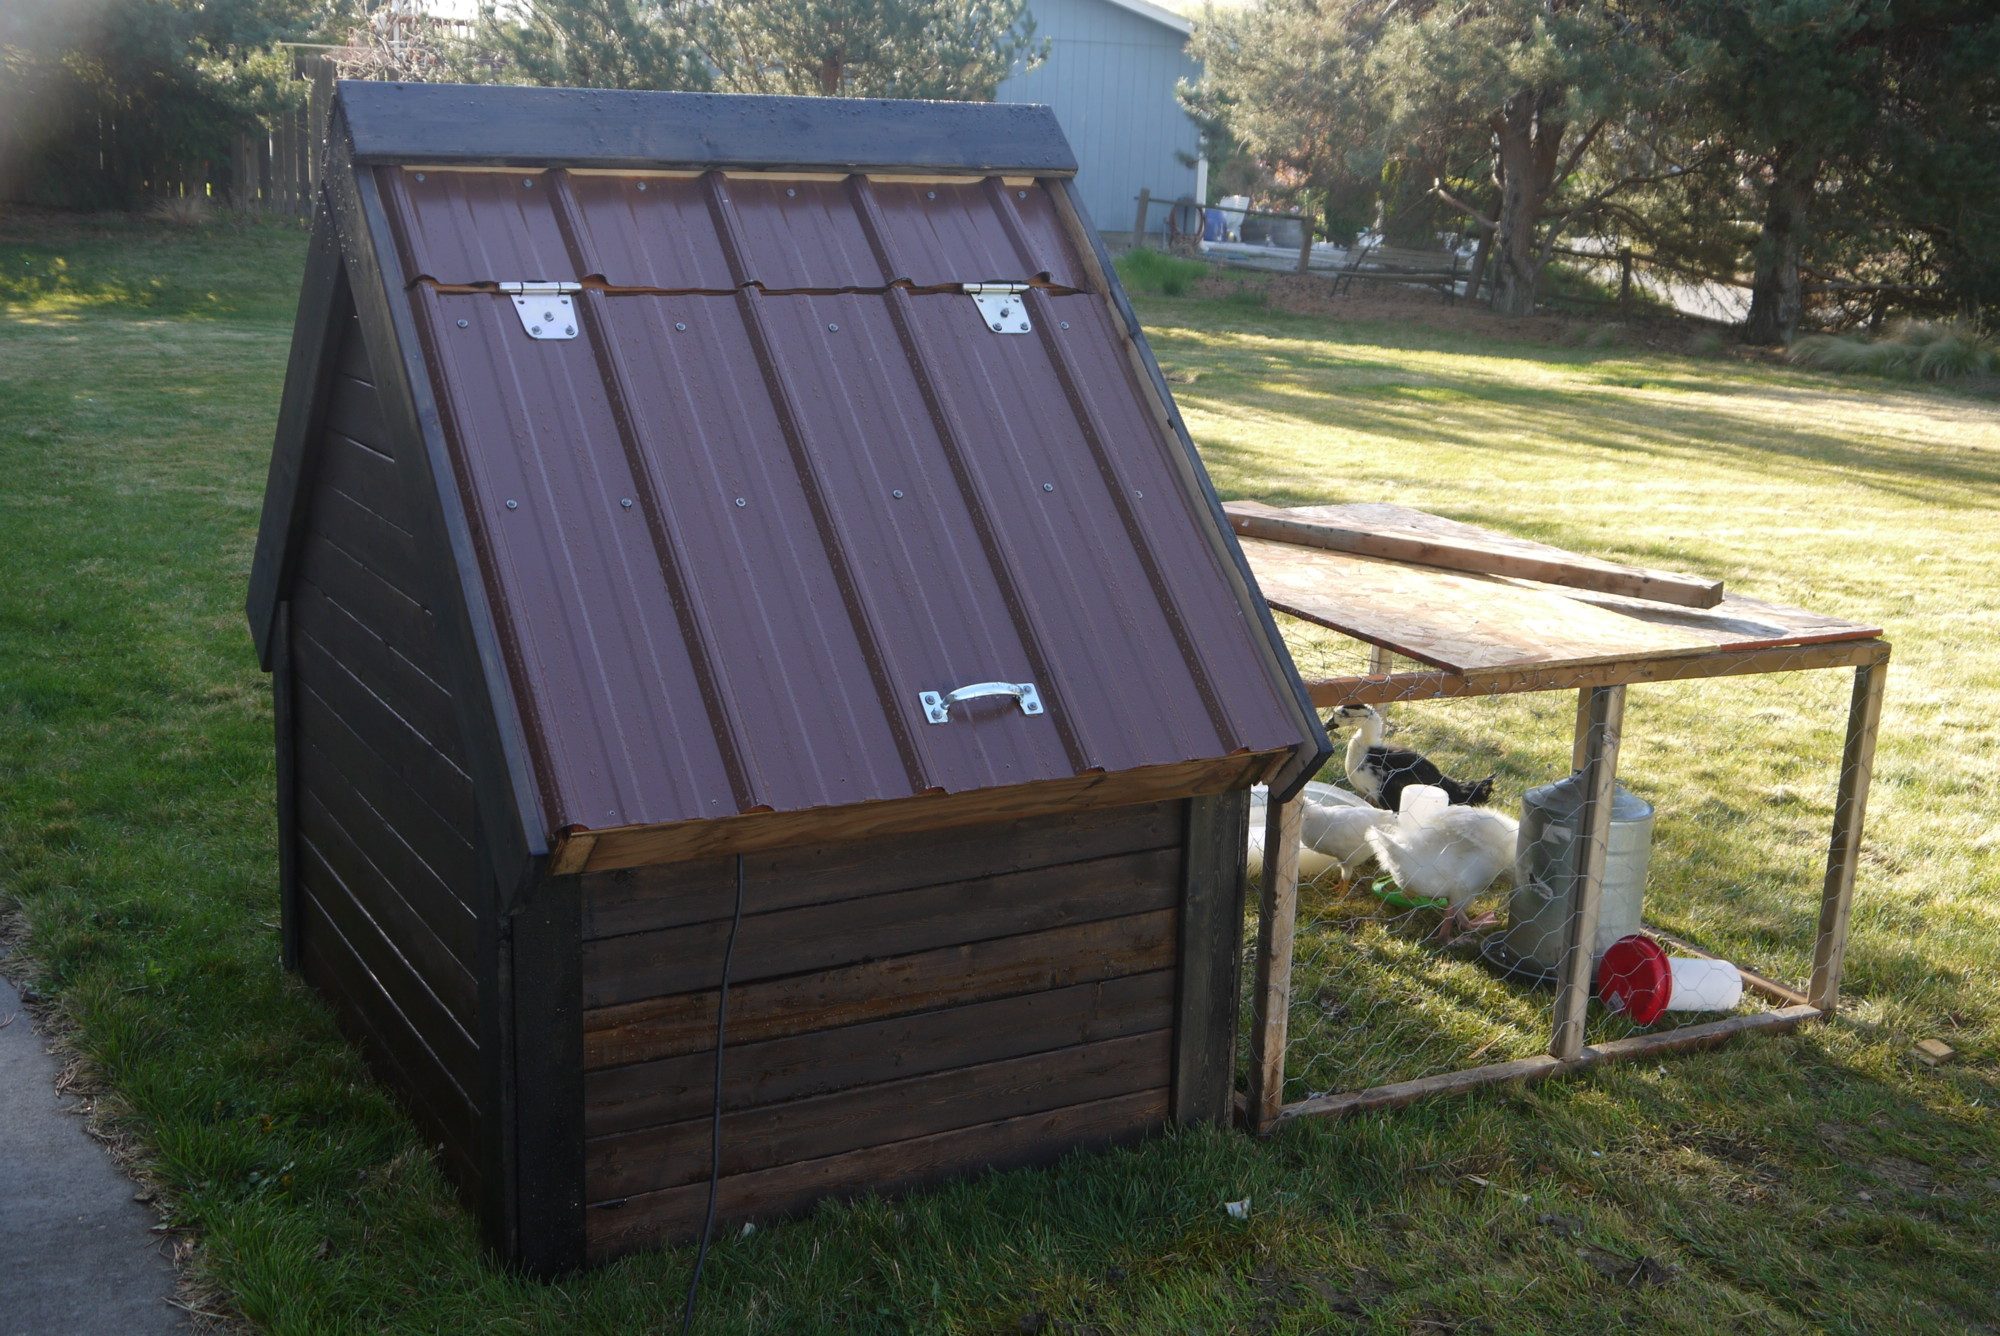
This little house started out small in my mind, but ended up being quite large and heavy. For the frame, I capitalized on using 2x4s from a stack of pressure treated lumber I got half price from Lowes scrap cut lumber. I lined the walls and roof with 3/4 inch pine and used cheep 1x4 firing for the siding. I used brown corrugated metal for the roof, one 3x10 sheet covered it all, and I used 5/4x6 cedar for trim. I went with a dark ebony stain for the trim and a dark walnut stain for the siding.
Overall I like the design. Plenty of room for the birds, but no way I can move this thing on my own. It is heavy and solid. Currently I'm using a 4x4 run for the birds out front, I plan on eventually moving the house to my back yard and letting the birds run free. That is, if our giant newfy pup will refrain from trying to eat them!

Some pics of the build:

I made two of these 4 ft long by 2 ft height 45 degree pieces to put on top of a 3x4 open box I had made for the birds to live in while inside. This would complete front and end wall frames.
Clamped it together and and used 16d nails good for pressure treated lumber.
Added end truss pieces. Screwed these in from underneath using 2 inch screws.
This board helps make the end walls stay straight up and down.
I added the second 2x4 on the side that would have the opening. This board will allow me to anchor down the hinges.
Time to put up the 3/4 inch pine backer board.
Framed in a door way.
2x2 inside for hanging stuff on (i.e heat lamp, water, etc.)
This side will allow for access into the chicken hut.
Time for siding. I used 1x4 firing. Thought it would be a little bit cheaper and look nicer than buying 4x8 sheets of pine siding.
Firing siding actually looks pretty good. I installed it using a crown stapler air gun. Went up pretty quick.
The birds in their new home. Just need to finish the trim and stain the wood.
I wanted enough room for the birds to be able to use later on down the road and I also wanted enough space to mount a heat light inside, since it was still a bit chilly outside and the duck and goose still hadn't developed their feathers. So I decided to go with a 45 degree gable roof top. I also wanted to have a roof top entry that would be large enough to be able to get in the coop with ease.
This little house started out small in my mind, but ended up being quite large and heavy. For the frame, I capitalized on using 2x4s from a stack of pressure treated lumber I got half price from Lowes scrap cut lumber. I lined the walls and roof with 3/4 inch pine and used cheep 1x4 firing for the siding. I used brown corrugated metal for the roof, one 3x10 sheet covered it all, and I used 5/4x6 cedar for trim. I went with a dark ebony stain for the trim and a dark walnut stain for the siding.
Overall I like the design. Plenty of room for the birds, but no way I can move this thing on my own. It is heavy and solid. Currently I'm using a 4x4 run for the birds out front, I plan on eventually moving the house to my back yard and letting the birds run free. That is, if our giant newfy pup will refrain from trying to eat them!
Some pics of the build:

I made two of these 4 ft long by 2 ft height 45 degree pieces to put on top of a 3x4 open box I had made for the birds to live in while inside. This would complete front and end wall frames.


Clamped it together and and used 16d nails good for pressure treated lumber.


Added end truss pieces. Screwed these in from underneath using 2 inch screws.

This board helps make the end walls stay straight up and down.


I added the second 2x4 on the side that would have the opening. This board will allow me to anchor down the hinges.

Time to put up the 3/4 inch pine backer board.

Framed in a door way.


2x2 inside for hanging stuff on (i.e heat lamp, water, etc.)

This side will allow for access into the chicken hut.

Time for siding. I used 1x4 firing. Thought it would be a little bit cheaper and look nicer than buying 4x8 sheets of pine siding.

Firing siding actually looks pretty good. I installed it using a crown stapler air gun. Went up pretty quick.

The birds in their new home. Just need to finish the trim and stain the wood.