The Chicken Shack
I have been wanting chickens for quite a while now, but with my tiny, landscaped backyard, I just couldn't figure out how to do it. Then my wonderful, wonderful, dear husband came up with the most creative idea ever. We had a small wooden shed, 4'x8', that was primarily used for storing junk that should have been tossed out. DH said why not convert that to a coop & if I give up only 5'x10' of my garden, we'd have enough room for a few chickens. So, mid-October, we got started
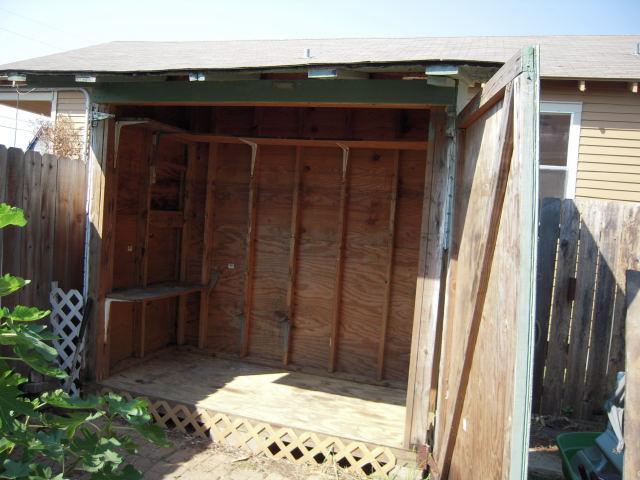
First we had to empty the shed to see exactly what we had. It really was in better shape that I thought it would be. This was a shed that was covered with 9' of floodwater after Hurricane Katrina. Plus, the water stayed for about 2 weeks. So 5 years later, we're taking a good hard look at it. Luckily, the foundation was pretty level. And there wasn't too much rot.
We knew we were going to need a lot of ventilation with all the heat & humidity in New Orleans. Both doors were lowered 18", and that
space was covered with hardware cloth. The left door will have 2 nesting boxes sticking out & the right door will be all hardware cloth.
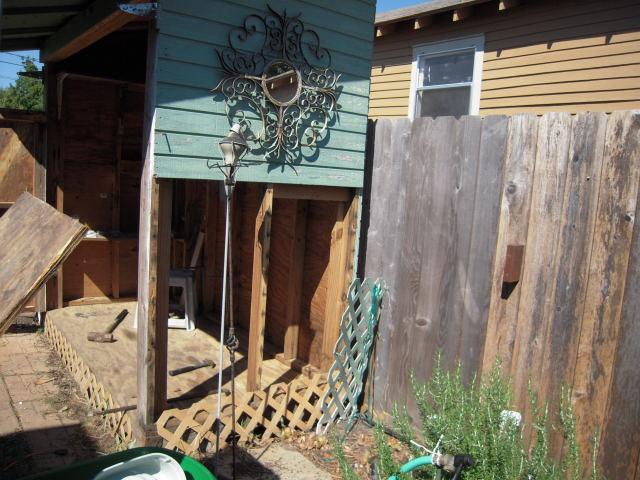
The right side of the coop will be towards the run. The bottom half of that wall will be hardware cloth and the pop hole would be there also.

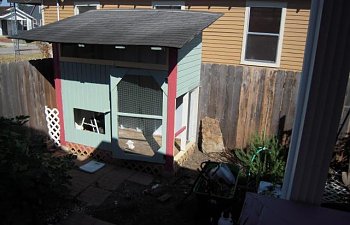
When we were almost finished with this coop, this is what we had. We needed to install the nesting box and we hadn't started on the run. But, it was starting to shape up.
The run was planned to be approximately 4 1/2' deep by 10' long. The back side will abut our 6' wooden privacy fence and the height will be about 5' tall. I had to move several large plants to clear this area, although I did leave a large rosemary plant. We decided to cover the run with sheet metal. We get a lot of rain and the run would be in full sun. The slanted metal roof will provide some shade and rain protection.
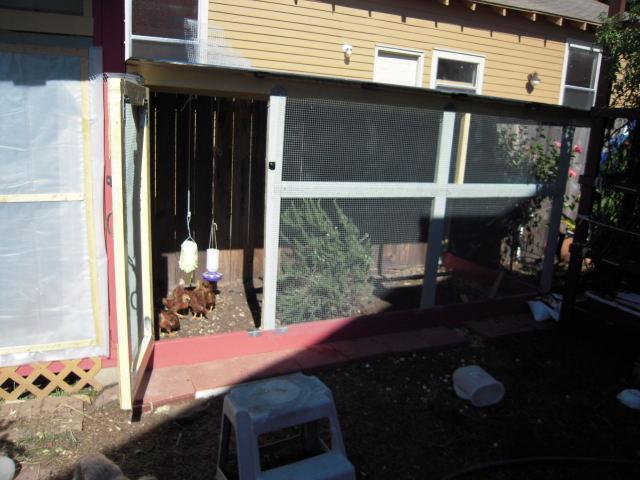
After all the hardware cloth was installed, all the hinges put on all the doors, we decided to cover the right open door & the right open wall with plastic for the winter. Since I was getting young chicks, I didn't want to expose them to more cold than necessary.
So we were finally done!! This was chickies first experience in the coop & run. The weather was really nice & warm, so they had a great time in all their new space. They really didn't know what to do with all the space, but within a few minutes, they were running all over they place & even trying out their little wings.
So here are a few pictures of my completed coop & run.
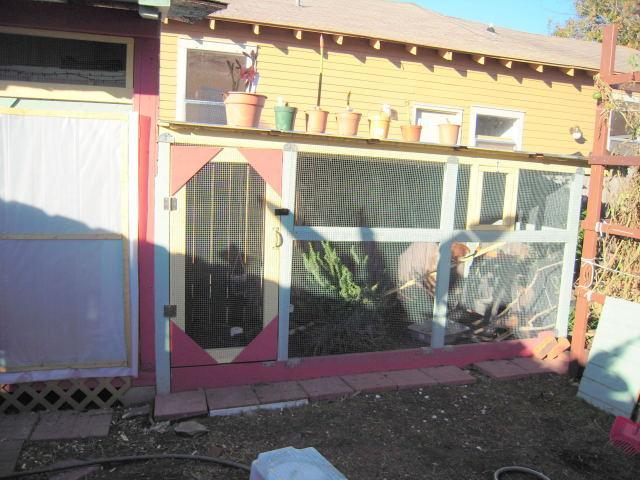
Completed coop and nest boxes.

Completed run. I can enter the run from the door there.
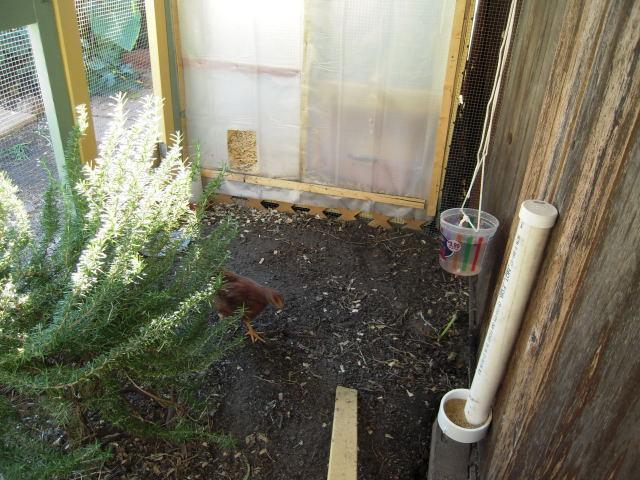
The inside of the run looking towards the coop.This side has plastic on it for the winter only.
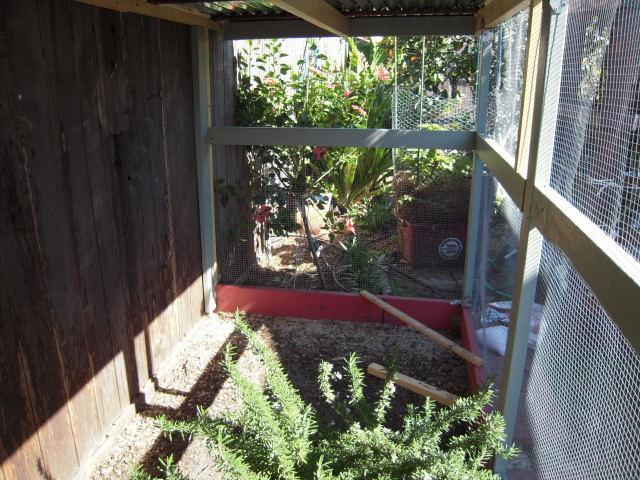
The inside of the run looking away from the coop. I've added some branches & additional perches, since the chickies love to get up high.
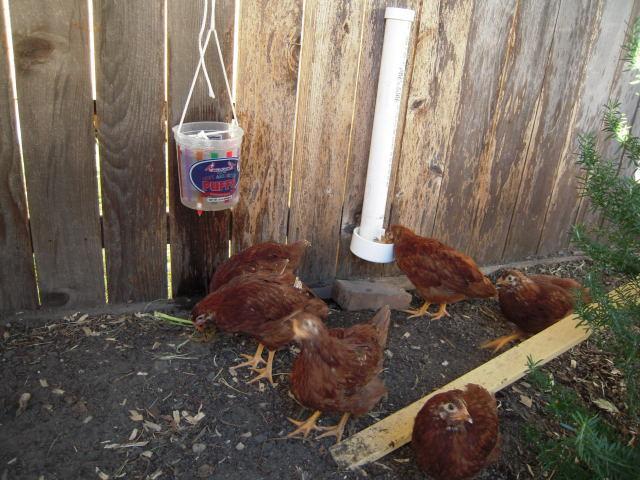
This is the temporary feeder & waterer. When the chickens get full grown, I plan on installing an automatic waterer. And I know I'll need a larger feeder since this one barely holds enough feed for one day.
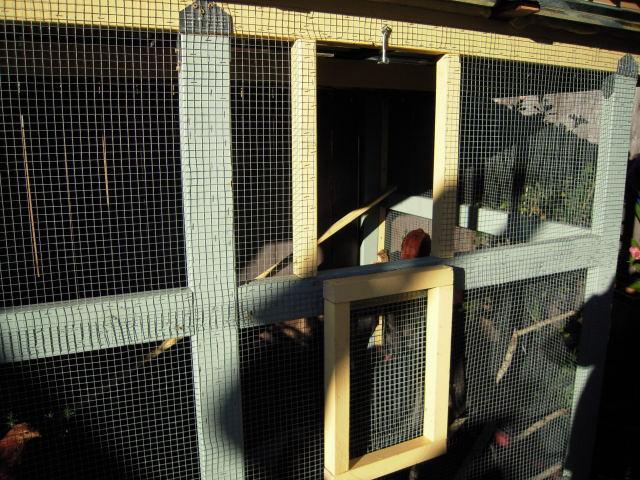
Something I added at the last minute - a treat door. My little ones have figured out how to make a break for freedom when the run door is opened.
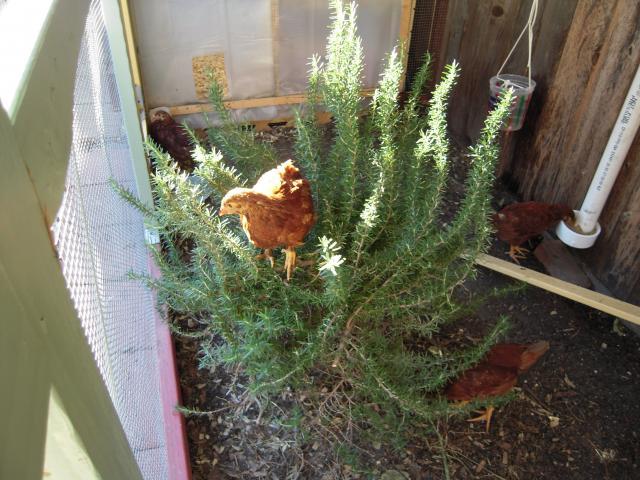
I'm glad I left the rosemary bush in the run. The chickens don't seem to want to eat it, although they do like the flowers. They dust bathe under it & occassionally fly up to get a better view.
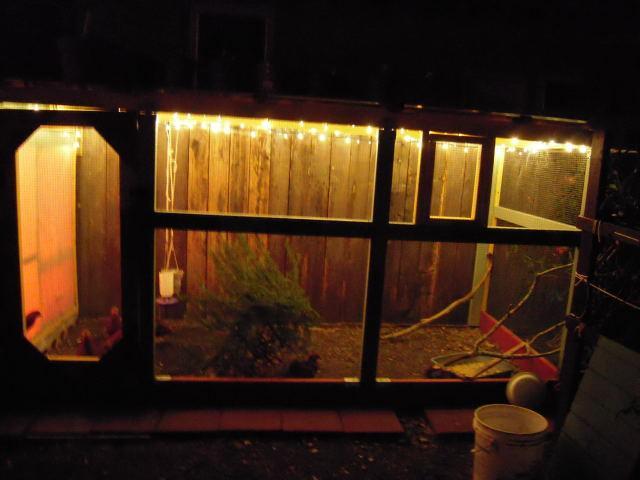
Finally, Christmas Lights!! These were first put up for decorations, but I think I'll use them to extend the light hours. The lights go off at 8pm & the little darlings stay outside until the lights go off.
So, this is the home for my little chicks. May they grow big & strong & bless me with some eggs sometime in March or April.