EarthAlabama
In the Brooder
I am absolutey new to brooding newly-hatched chicks: no 250W heat lamps ("Easy-Bake Oven"?) for me!
Instead, I have built up my own example of the Mama Heating Pad brooder "cave", with grateful thanks to all the good MHP information I have found here on BYC.
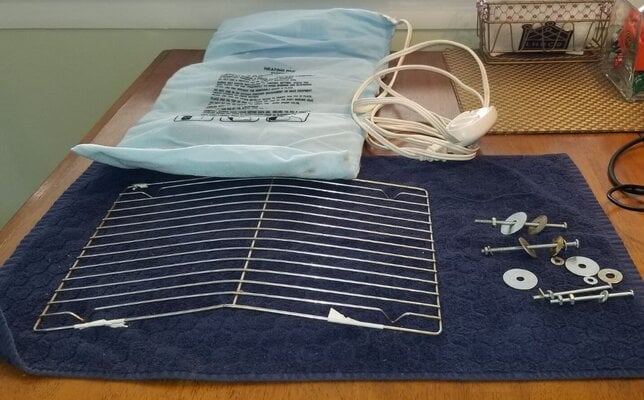
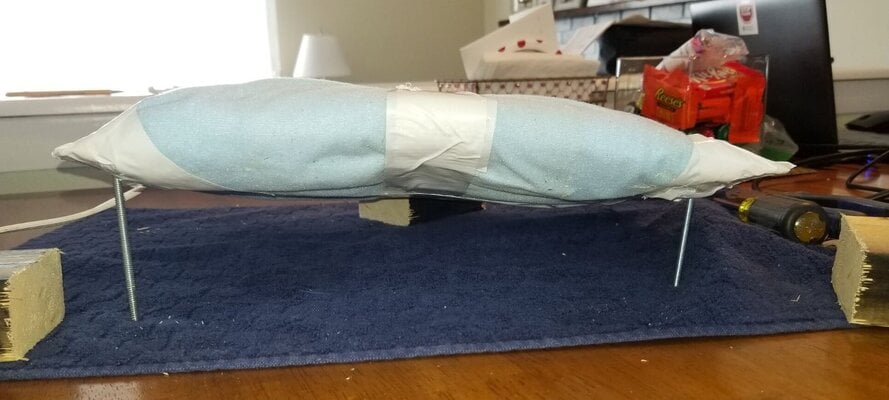
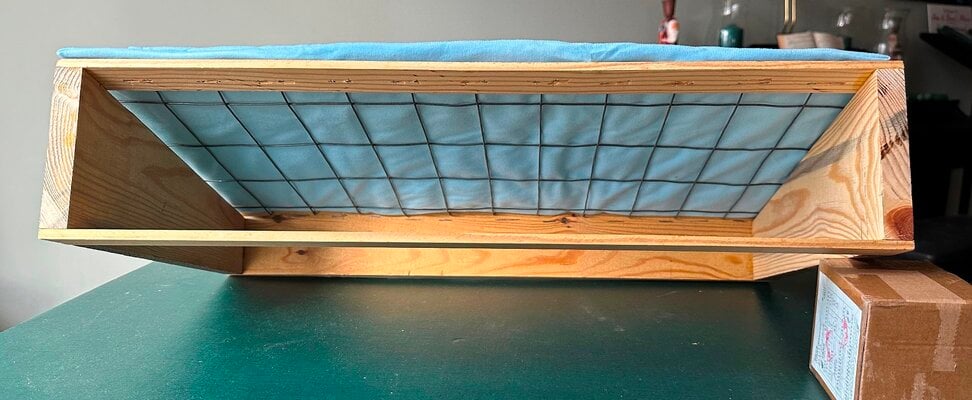
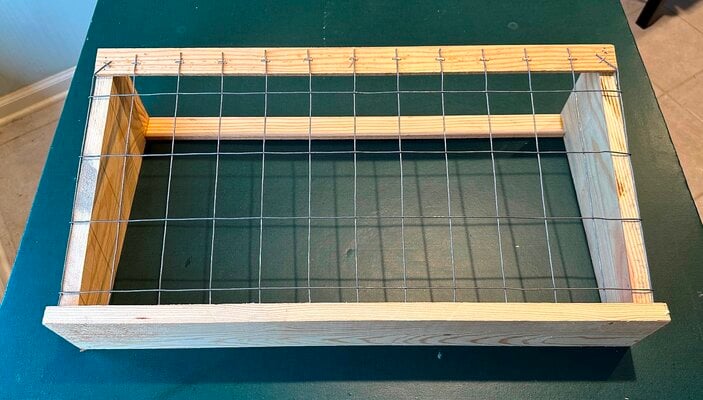
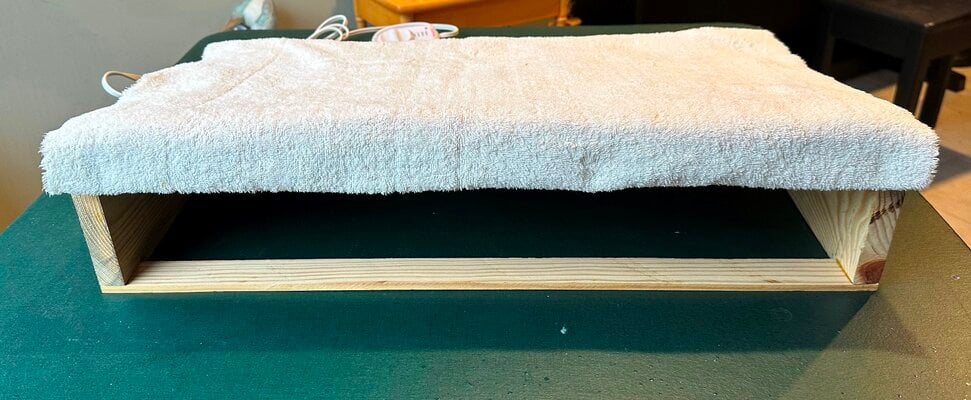
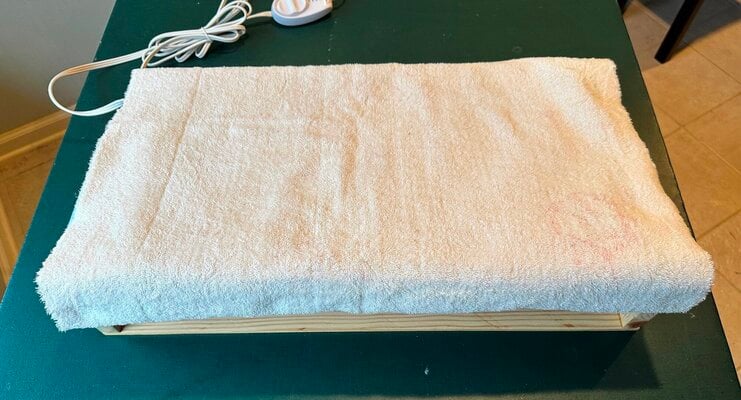
I am using the basic Sunbeam XL (12"x24") heating pad (50W, no auto shut-off), about $20 at the Amz place, and a scrap wood / garden wire (2"x3" grid) support frame, with the pad covered by an old towel on the top.
The 12"x24" wood frame is 4" high at the front, sloping down to a solid 2.5" (inside ht) back wall. The towel hangs down about 1" over the front edge, to form a bit of awning for better heat retention.
Again, after tons of research here on BYC re: preferred bedding for new chicks, I am planning to put down a layer of large-flake pine wood shavings (TSC), covered by a few layers of paper toweling for the first few days, to give the new chicks a slightly smoother surface upon which to scramble around on and see / peck at their starter crumbles food at first.
I plan to remove the paper towels after a few days, letting the chicks scratch around thru the pine shavings bedding for the remainder of the brood period.
As always, I am totally open to suggestions and recommendations.
Thanks!
Instead, I have built up my own example of the Mama Heating Pad brooder "cave", with grateful thanks to all the good MHP information I have found here on BYC.
I am using the basic Sunbeam XL (12"x24") heating pad (50W, no auto shut-off), about $20 at the Amz place, and a scrap wood / garden wire (2"x3" grid) support frame, with the pad covered by an old towel on the top.
The 12"x24" wood frame is 4" high at the front, sloping down to a solid 2.5" (inside ht) back wall. The towel hangs down about 1" over the front edge, to form a bit of awning for better heat retention.
Again, after tons of research here on BYC re: preferred bedding for new chicks, I am planning to put down a layer of large-flake pine wood shavings (TSC), covered by a few layers of paper toweling for the first few days, to give the new chicks a slightly smoother surface upon which to scramble around on and see / peck at their starter crumbles food at first.
I plan to remove the paper towels after a few days, letting the chicks scratch around thru the pine shavings bedding for the remainder of the brood period.
As always, I am totally open to suggestions and recommendations.
Thanks!


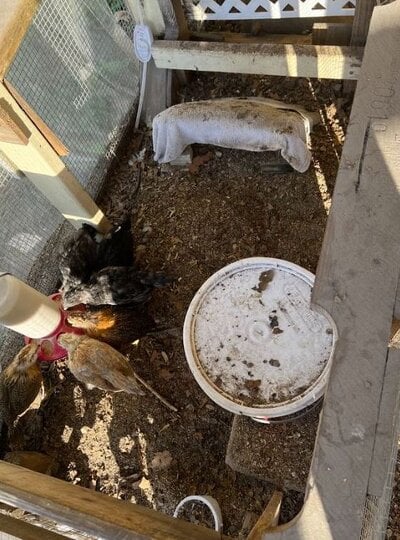
") After using a setup like this for three broods, I did have to throw out the heating pad. I also duck tape an old towel to it in the picture in the brooder. Next year when I get some new chicks I will buy a new heating pad. Good luck.
After using a setup like this for three broods, I did have to throw out the heating pad. I also duck tape an old towel to it in the picture in the brooder. Next year when I get some new chicks I will buy a new heating pad. Good luck.