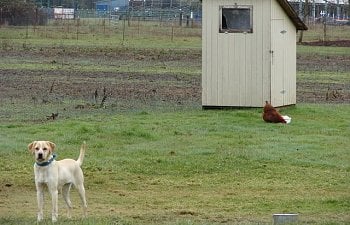
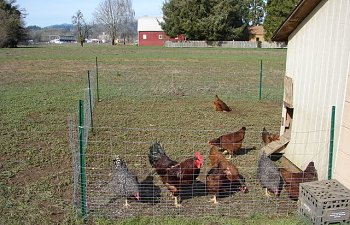
Hen House Addition
We were blessed to be able to purchase a previously made hen house from a friend who no longer had chickens. We paid about $75 bucks for it, and quickly realized that it would have cost us several hundred in supplies to have built it by ourselves. We also quickly realized that parts of the house were difficult to access and hard to clean! Once we made the decision to order new chicks, we realized we'd need to do a remodel. This house comfortably suited the 5 hens I used to have, but 15? Not a chance. Then, another surprise... we adopted a flock of adult hens from a sick friend, and needed to remodel urgently! Over a week of evenings, we got it almost finished! Here's some pictures of our progress.Removing the front panel from the building

Attaching the aluminum framing...
we recycled this from the floor of a metal storage shed that got destroyed in the last windstorm.

The aluminum frame is completed, and a temporary wall and "cardboard curtains" are affixed for the night.

The box is completed, and the doors were cut. So far, we're using all scrap materials that we already had on hand.
We did buy hinges though, I wanted ones that matched!

And the door even works!
I asked for a hinged roof too... thought it might come in handy some day.

Nest "crates" are cut and installed.
Ready to cut out the holes on the wall.

Interior view of the completed boxes - 9 in all

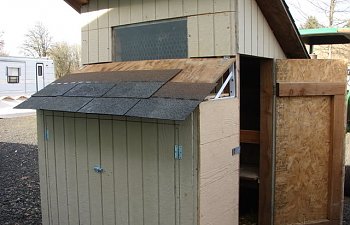
Exterior view - nestboxes are done!

Adding roofing material

I neglected to take photos of the roosts!
We tore out all the interior nesting shelves and boxes and replaced them with roosts.
I also cut down the length of the ramp, as it went from outside the building on one side, clear to the opposite wall. This meant for a really hard time cleaning out from underneath the ramp, and hens always lay eggs where it's hardest to reach them!
There is currently 11 happy chickens enjoying this space, although they've yet to get the hang of the nest boxes!
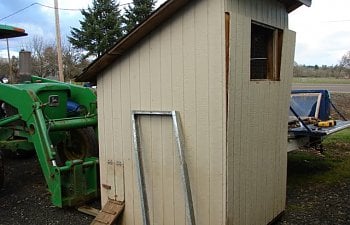
Attaching the aluminum framing...
we recycled this from the floor of a metal storage shed that got destroyed in the last windstorm.
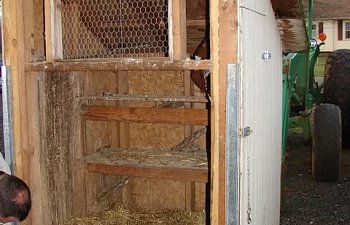
The aluminum frame is completed, and a temporary wall and "cardboard curtains" are affixed for the night.
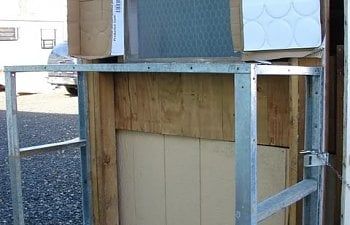
The box is completed, and the doors were cut. So far, we're using all scrap materials that we already had on hand.
We did buy hinges though, I wanted ones that matched!
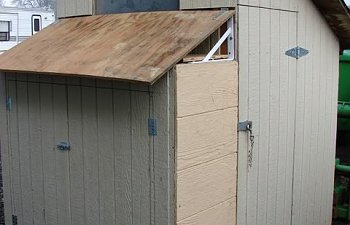
And the door even works!
I asked for a hinged roof too... thought it might come in handy some day.
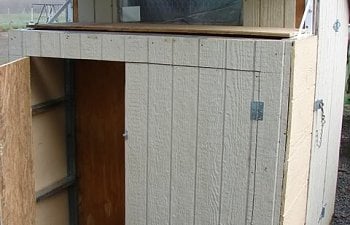
Nest "crates" are cut and installed.
Ready to cut out the holes on the wall.
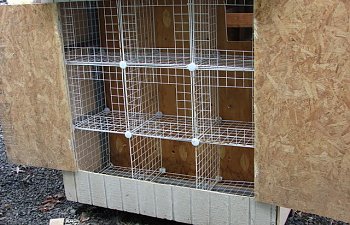
Interior view of the completed boxes - 9 in all
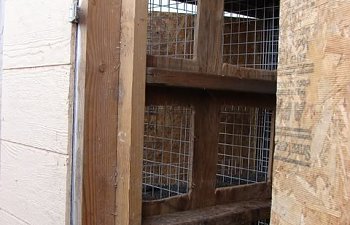
Exterior view - nestboxes are done!
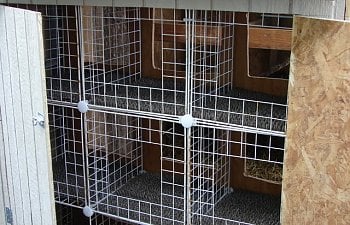
Adding roofing material
I neglected to take photos of the roosts!
We tore out all the interior nesting shelves and boxes and replaced them with roosts.
I also cut down the length of the ramp, as it went from outside the building on one side, clear to the opposite wall. This meant for a really hard time cleaning out from underneath the ramp, and hens always lay eggs where it's hardest to reach them!
There is currently 11 happy chickens enjoying this space, although they've yet to get the hang of the nest boxes!
All in all, we purchased hinges, a box of wood screws, a new piece of plexiglass to replace the broken, brittle one, and we also purchased the roofing material that will get used for several different projects. All said, I think we spent thirty bucks!

