- Feb 21, 2012
- 17
- 0
- 82
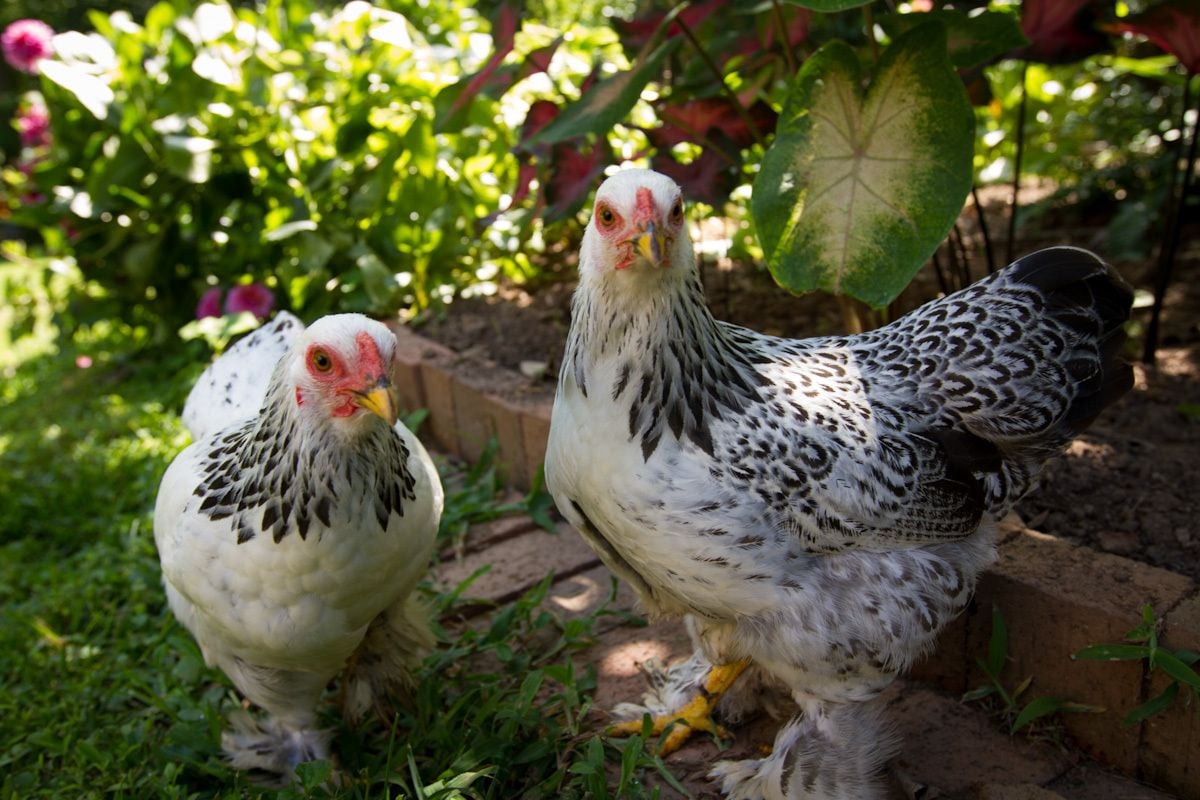
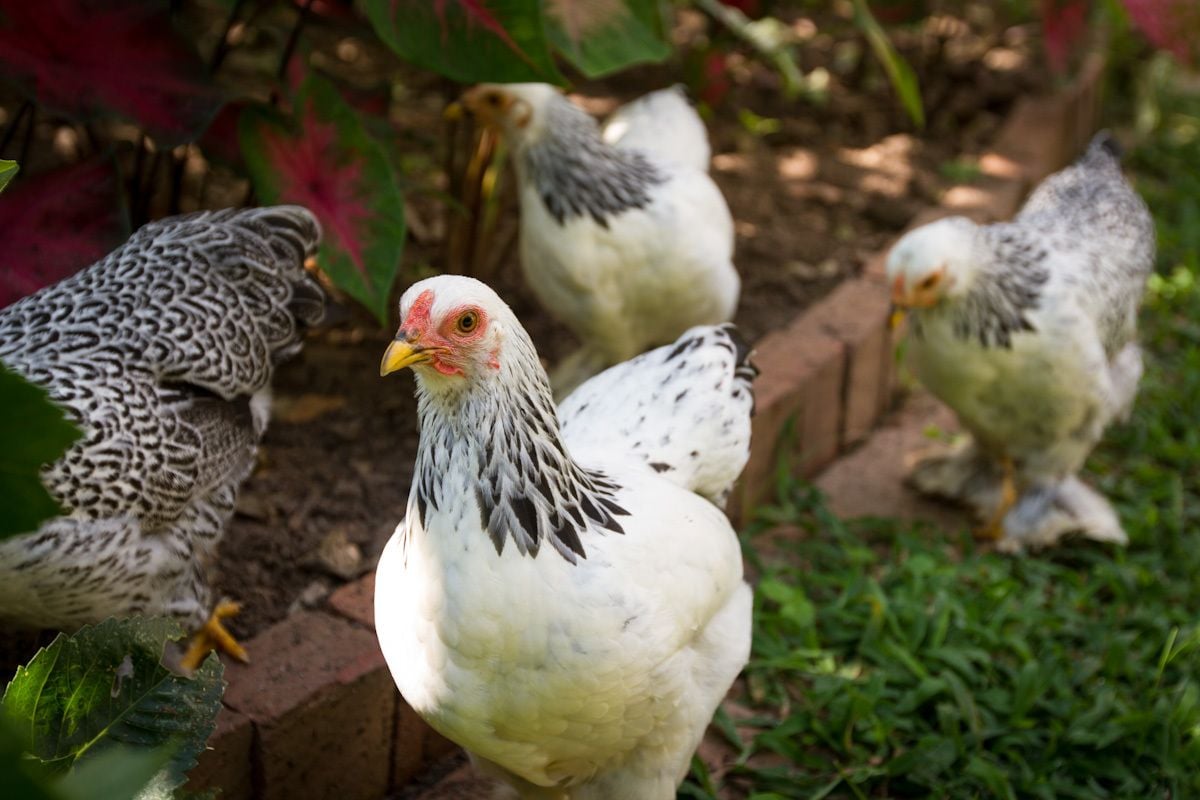
Hi all. My wife and I are new chicken enthusiasts. I acquired an EggYolk chicken tractor back in May and four Brahma Bantam pullets. I love the EggYolk and the birds are very happy in it. But with foxes and hawks already sighted in our back yard I wanted to further secure the birds during the day or when we might not be at home to watch them.
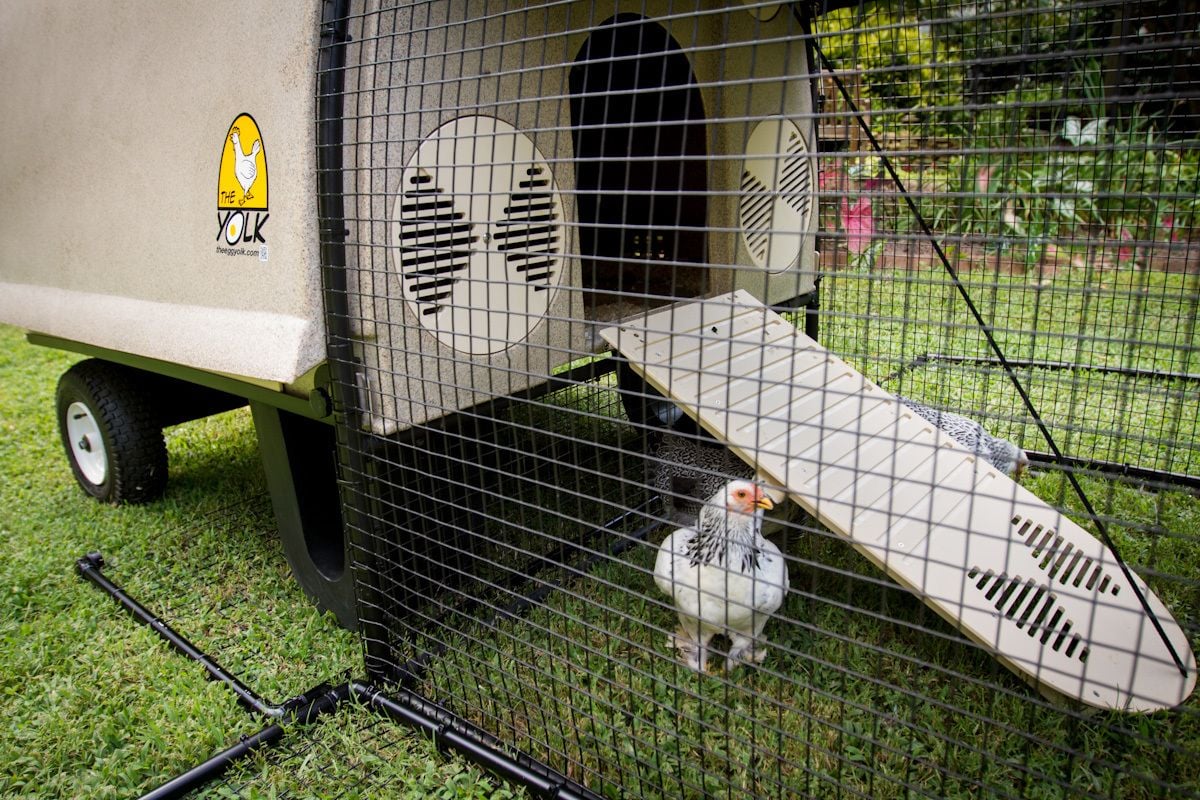
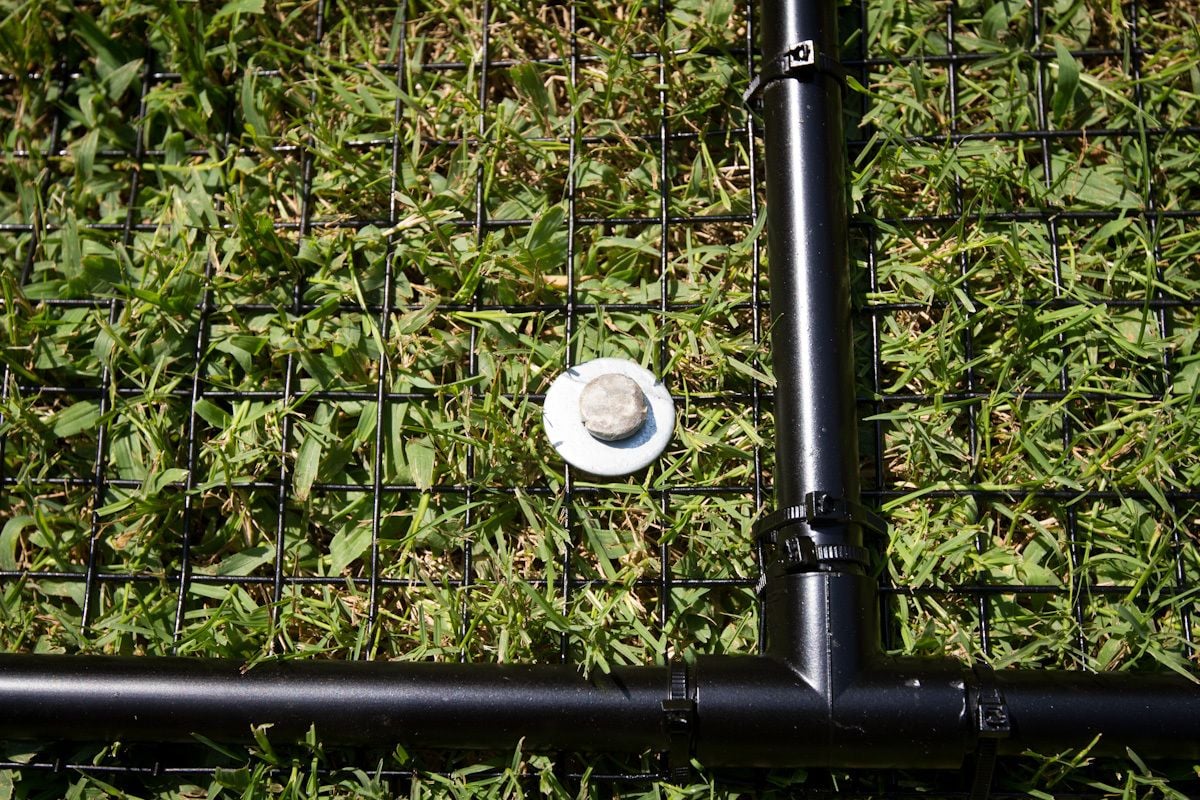
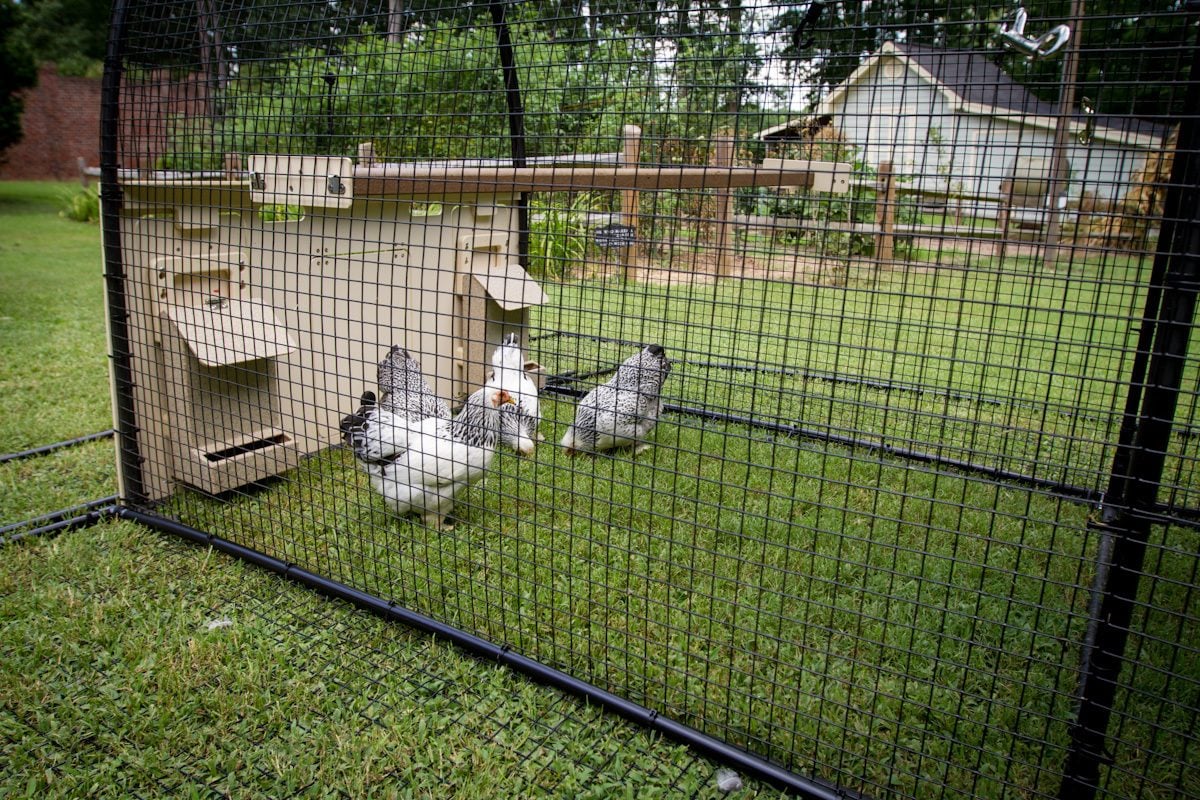
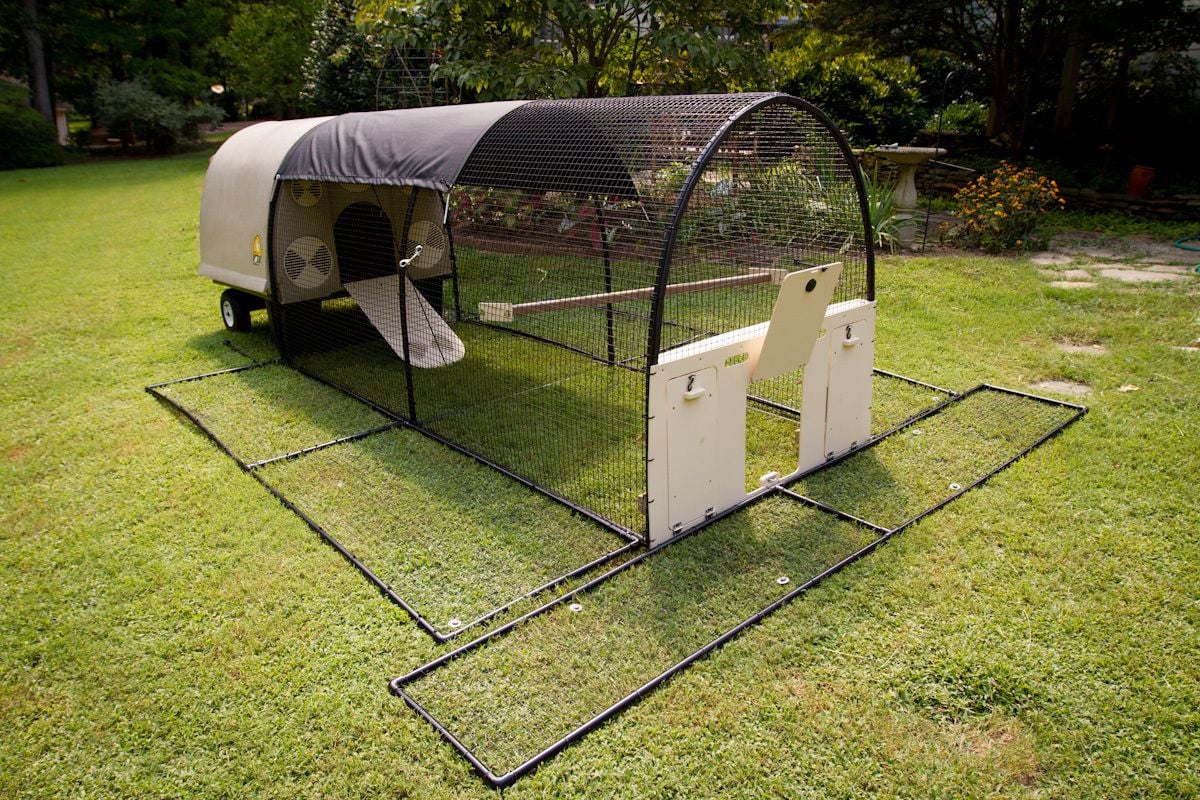
So i got some extra wire like that used on the EggYolk run, some 1/2" PVC pipe and elbows and t's, and some black paint to match the EggYolk run. I made two 10'x2.5' side panels, one 10'x2' run end panel and one 5'x2' coop end panel to lay under and around the EggYolk. I decided to use PVC instead of aluminum because it would weigh less and the PVC elbows were $.28 each instead of $2.00 plus each! I spray painted them black to match the Yolk run color. I attached the two side panels to the Yolk run via stainless steel ties. I then purchased (2) clips to hold the side panels in the "up" position when needing to move the Yolk. The run end panel simply lays in front of the doors. The Yolk end panel lays on the ground then I simply roll the Yolk onto it. I then secure the side and run end panel with 12" galvanized spikes with 1/2" galvanized washers that I secured with ties underneath so they don't fall off. I simply hammer the spikes down over the wire as seen in the photo and when I want to move the Yolk I just pull up the spikes, pick up the run end panel, lift up the two side panels and clip them, then roll the Yolk off the Yolk end panel, move the Yolk to where I want it, lay down the Yolk end panel, roll the Yolk up on it, drop the side panels, lay down the run end panel, and secure them again with the spikes.
I'm pretty happy with the result. Here are some pics of the finished product and my birds. Let me know if you have any questions about the setup. There are probably better ways to do it but this worked for me and now I feel very safe in leaving the birds out during the day or night in their run.
")


