BROODER thread! Post pics of your brooders!

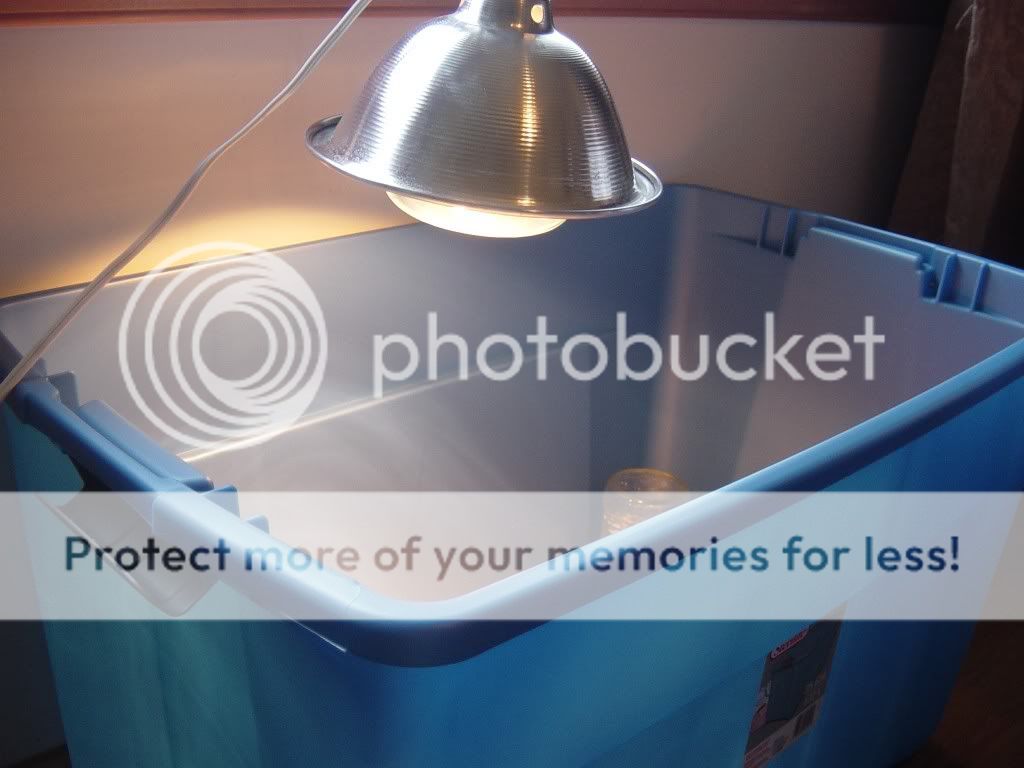
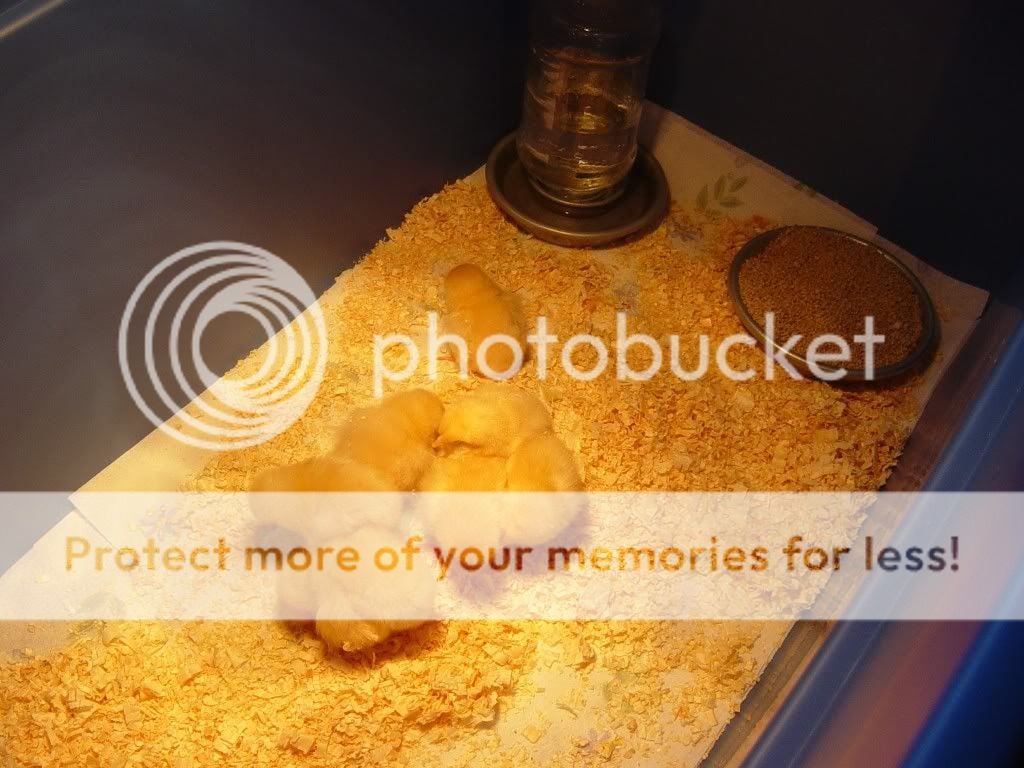
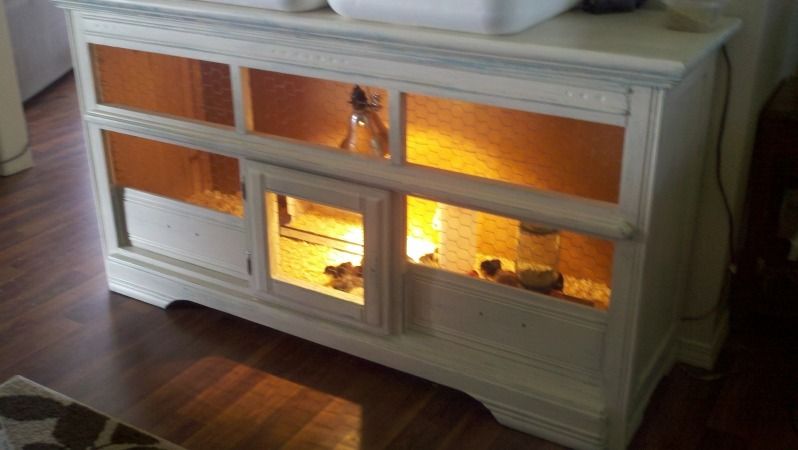
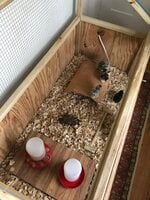
Heres mine.... It is a childs large plastic swimming pool about 5ft in diameter. It is surrounded by an outdoor baby gate covered in clear plastic so they can see out and I can see in. The top is made from hardware cloth stapeled to some scrap wood and resting on top. I made two panels so I can lift either side without opening the whole thing. The light and food dish hangs from a metal clothes rack that is only part way assembeled so that its not so tall. In the begining I divided it in half with cardboard but that only lasted about a week. I have 25 chicks in it who are now 5 weeks old and they are starting to look a little tight. My coop should be going up this weekend so maybe another week and they can move outside. Its starting to smell like a barn in my dining room.

DSC01626.jpg
 
Here is our brooder. It is a 35 gallon rubbermaid tub that cost about 8$ at Walmart. We did have a cover very similar to Jsto's cover a few posts up. We had 7 and it was great and very easy to clean. I kept them in my living room until they were about 5 weeks old, then they moved out into their house with a heat bulb of course.


Miscpics032.jpg


Miscpics030.jpg
 
Okay... My brooder is all set up. I have a plastic bin for the first week or so with MHP.
IMG_20180123_112713.jpg
Then the top of that brooder becomes one of the side panels for the interim teenage chicken holding cell.
IMG_20180123_112222.jpg
Right now there are some absorbent pads on the bottom of both which will eventually be pine shavings. I used the red tape over the edges of the hardware cloth just so I don't cut myself on it. XD
This was all made from scrap lumber and hardware cloth left over from my coop build.
 
Last year, we used a large plastic storage container. I modified it for use as a brooder but we had bad weather and the chicks needed an expansion before they could go outside. Last week, I came home from a trip and found my DH had gone a bit overboard on this year's brooder. To give you an idea of the dimensions, that's a 3' x 6' sheet of plywood forming the base and a 1 x 6 frame to keep the mess in. The heat lamp with ceramic bulb is temporary until my heat plate comes back from loan!
(I guess he really wasn't keen on having to expand the old brooder...
barnie.gif
)


He attached the 1 x 1s (just the ones you see forming the inner rectangle in the pic below) to the base. The frame is loose in case we want to remove it for end of season cleaning. (How chicks can poop upward is a mystery!) Anyway, note that it's critical the frame fit precisely since the side panels slide into, and are held in place by, the channel formed by the 1 x 1s and the frame.

He placed bolts closer to the top of the end panels to secure them better to the panels running lengthwise.

He also put locking casters on the bottom so we can move it easily and clean underneath it.

I will reuse last year's nipple waterer mounted in a bicycle holder and attach it to an upright support of one of the long side panels. A heavy plastic liner will go in the bottom and that'll be covered with a nice layer of hemp bedding.
I asked DH to make a top out of light duty plywood with a piano hinge in the middle. It'll be the same size as the bottom plywood sheet so there will be some overhang and no handle will be necessary. (Remember, the heat lamp will be replaced with a heat plate before the chicks are a week old so they won't be trying to jump out by then.)
At the end of its season, the liner will lift out with the used bedding, the bicycle holder will be removed, and the bolts with wingnuts will be removed. Then, the side panels will slide out and store flat within the 1 x 6 frame. The top will sit on the frame and I can stack my seasonal supplies on top to save floor space.
Thank you DH!
love.gif
 
Brooder for 17 chicks. Top pic has the 17 chicks in it, they are hiding mostly under the heat plate. The bottom pic is of it, before use. It has a smooth flooring for easy cleanup, a drop down side for cleaning, notches for power cords, wheels, and rope handles for maneuvering. We put a roost bar on one side, but chicks at 2 weeks aren't too interested yet.

Screen Shot 2018-03-15 at 1.56.25 PM.png
Screen Shot 2018-03-15 at 1.55.51 PM.png
 
This stays indoors in an unheated room for about 10 to 14 days just to make sure that there are no problems, then the whole setup goes into the big girl coop for look no touch. I use the MHP method I learned from this site, love love love it!

After about a week we close the coop pop hole for about an half hour or so every day ,open the little chick door on the brooder so they can explore in peace and then gradually do supervised time with the big girls.
Then after a few days we leave the chick door open all the time so they can come and go as they want and they have a safe escape route back in the brooder if needed, (the big girls generally just ignore them by now!) and by 5 weeks or so they are usually starting to try to roost with the big girls!
In fact they climb all over the roosts in the daytime like a big play frame,way before that!
 

Attachments

  • IMG_1320.JPG
    IMG_1320.JPG
    670.3 KB · Views: 80
  • IMG_1321.JPG
    IMG_1321.JPG
    740.8 KB · Views: 71
  • IMG_1322.JPG
    IMG_1322.JPG
    686 KB · Views: 67
This is our favorite setup. Brooder from incubator warehouse, nice and large with room to play and a mesh zipper closing top for safety and great airflow. The outside is a tent material, and comes with removable/replaceable bottom inserts for easy cleaning. Also collapses for easy storage during the off season. Heat plate is Brisnea EcoGlow, absolutely love it, and no learning curve for the little chicks, they go right under like momma hen and get cozy warm. Adjustable legs to increase height as they grow and need less heat. The brooder has a small opening to allow heat plate cord to go through.
 

Attachments

  • 44CCC40D-4CB1-4CF7-9576-35AF64BDFA25.jpeg
    44CCC40D-4CB1-4CF7-9576-35AF64BDFA25.jpeg
    523.8 KB · Views: 27
  • F0F0EF86-46F9-49FF-9832-D9544D52BD33.jpeg
    F0F0EF86-46F9-49FF-9832-D9544D52BD33.jpeg
    471.2 KB · Views: 21
  • DDECAD3C-E2FE-4491-AC4D-CA6EB7A11199.jpeg
    DDECAD3C-E2FE-4491-AC4D-CA6EB7A11199.jpeg
    562.9 KB · Views: 18
  • image.jpg
    image.jpg
    483.4 KB · Views: 33

New posts New threads Active threads

Back
Top Bottom